



Search the Blog






Latest Comments
Outfitting Embroidery Frames
Here are a few images from the workspace, so to say - I've been outfitting part of the new embroidery frames with bands to attach the fabric.
The way these frames work is rather simple: You baste or herring-bone-stitch your embroidery ground fabric to the bands at top and bottom of the frame. Then you tension the fabric between the frame bars with help of the wooden pegs; if your fabric is a long strip, you can roll it around one of the frame bars to store the excess. (The bars are fairly rounded to avoid sharp crimps in the fabric or, as you progress, in the embroidered fabric.)
Once your vertical tension is thus established, you get a nice horizontal tension by stitching the left and right edges to the vertical slates. Using a needle, you pierce the fabric, then wind your tensioning thread around the slate, then go through the fabric again.
This setup of the fabric is, obviously, more time-consuming than just plopping a modern round embroidery frame onto a piece of fabric, but it will give you a higher, more controlled tension that will not slack off quickly or easily.
To make all this possible, though, you need the bands on top and bottom of the frame - and fitting these is a story of its own.
First of all, the bands are cut and their edges are hemmed. Then the real thing is up - the attachment. I use small copper tacks to attach the linen bands to the frame; they have to be placed close enough to each other so the band doesn't get a lot of opportunity to sag between attachment points.
They are tiny, and soft, and they look really nice. As they are tiny, it's rather fiddly to handle them, though. And because the wood of the frames - birch, beech, or maple - is rather hard, it's also very easy to just deform the tacks instead of hammering them in - which is why every one needs some pre-holing. I do that with help of a slim steel nail.
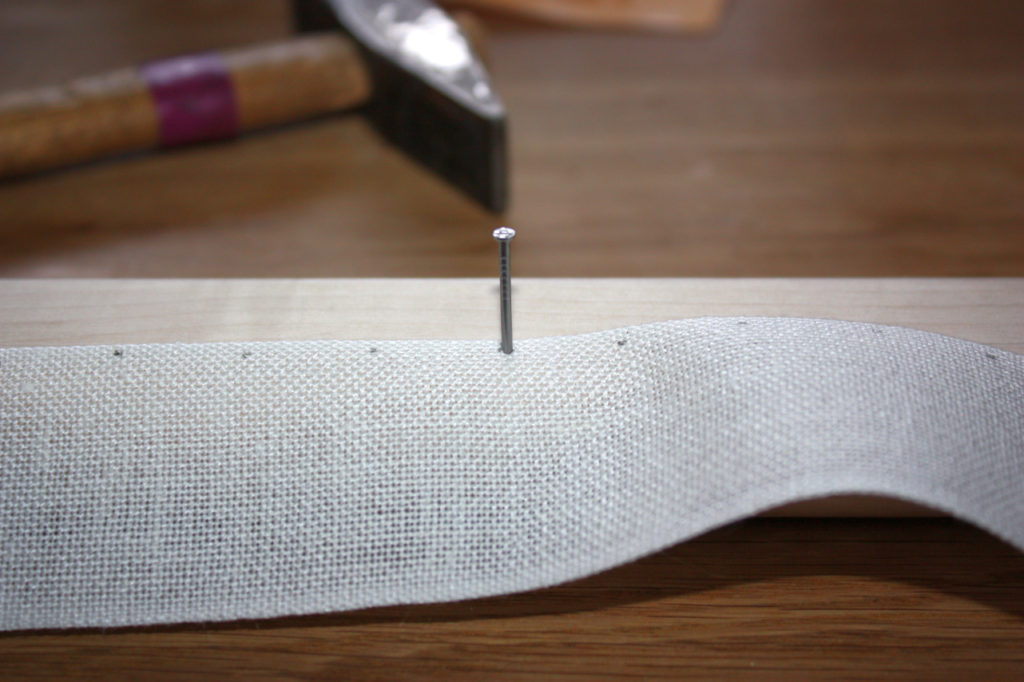
Once every attachment spot has its hole prepared through the band and into the wood, the tiny tacks are inserted into the holes, two or three at a time. Theoretically, I could insert all of them at once, but experience has shown that this does not save time, as the vibrations from hammering in their mates makes those further down the row jump out of their prepared holes again... which is not very helpful.
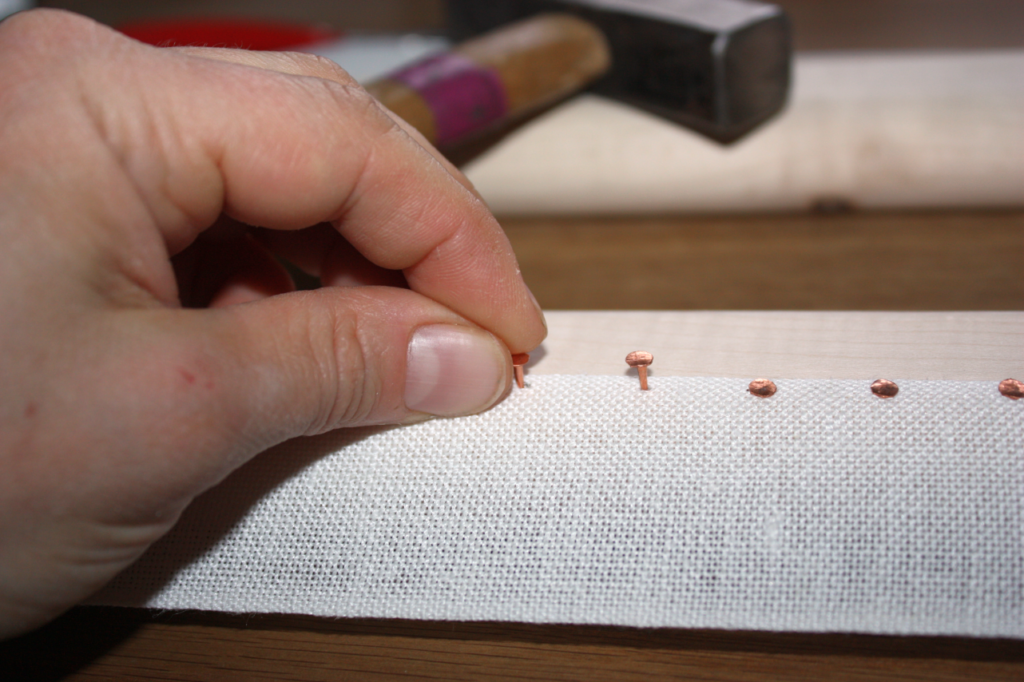
So there's bit by bit fitting and hammering, until all of the holes are filled. And then the process is repeated for the second of the bars for each frame.
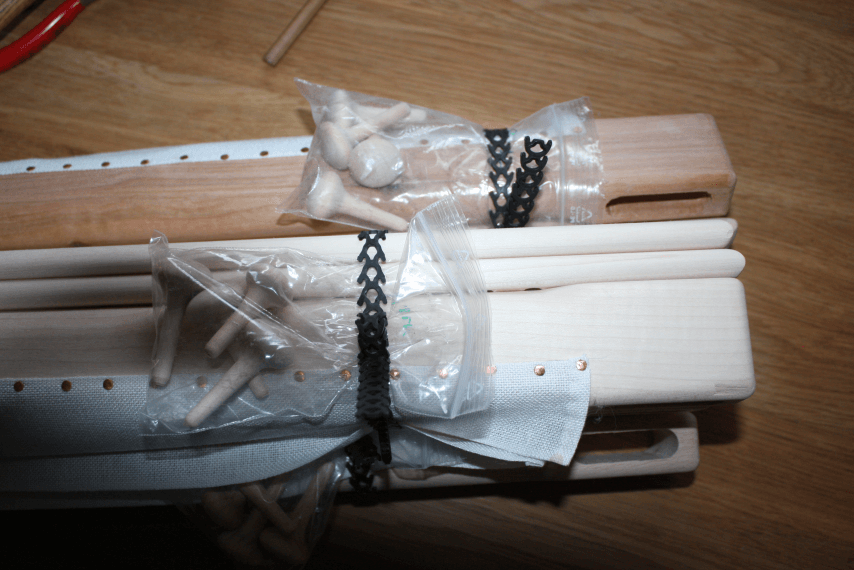
Once that is done, the two fitted bars get bundled with their side slates and four pegs, turned out of the same wood - and they are ready to be used for some lovely embroidery!
Comments
By accepting you will be accessing a service provided by a third-party external to https://pallia.net/