")
")


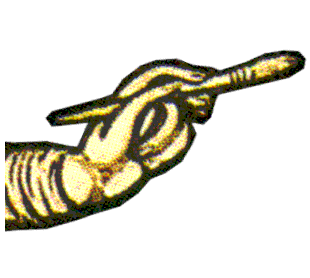
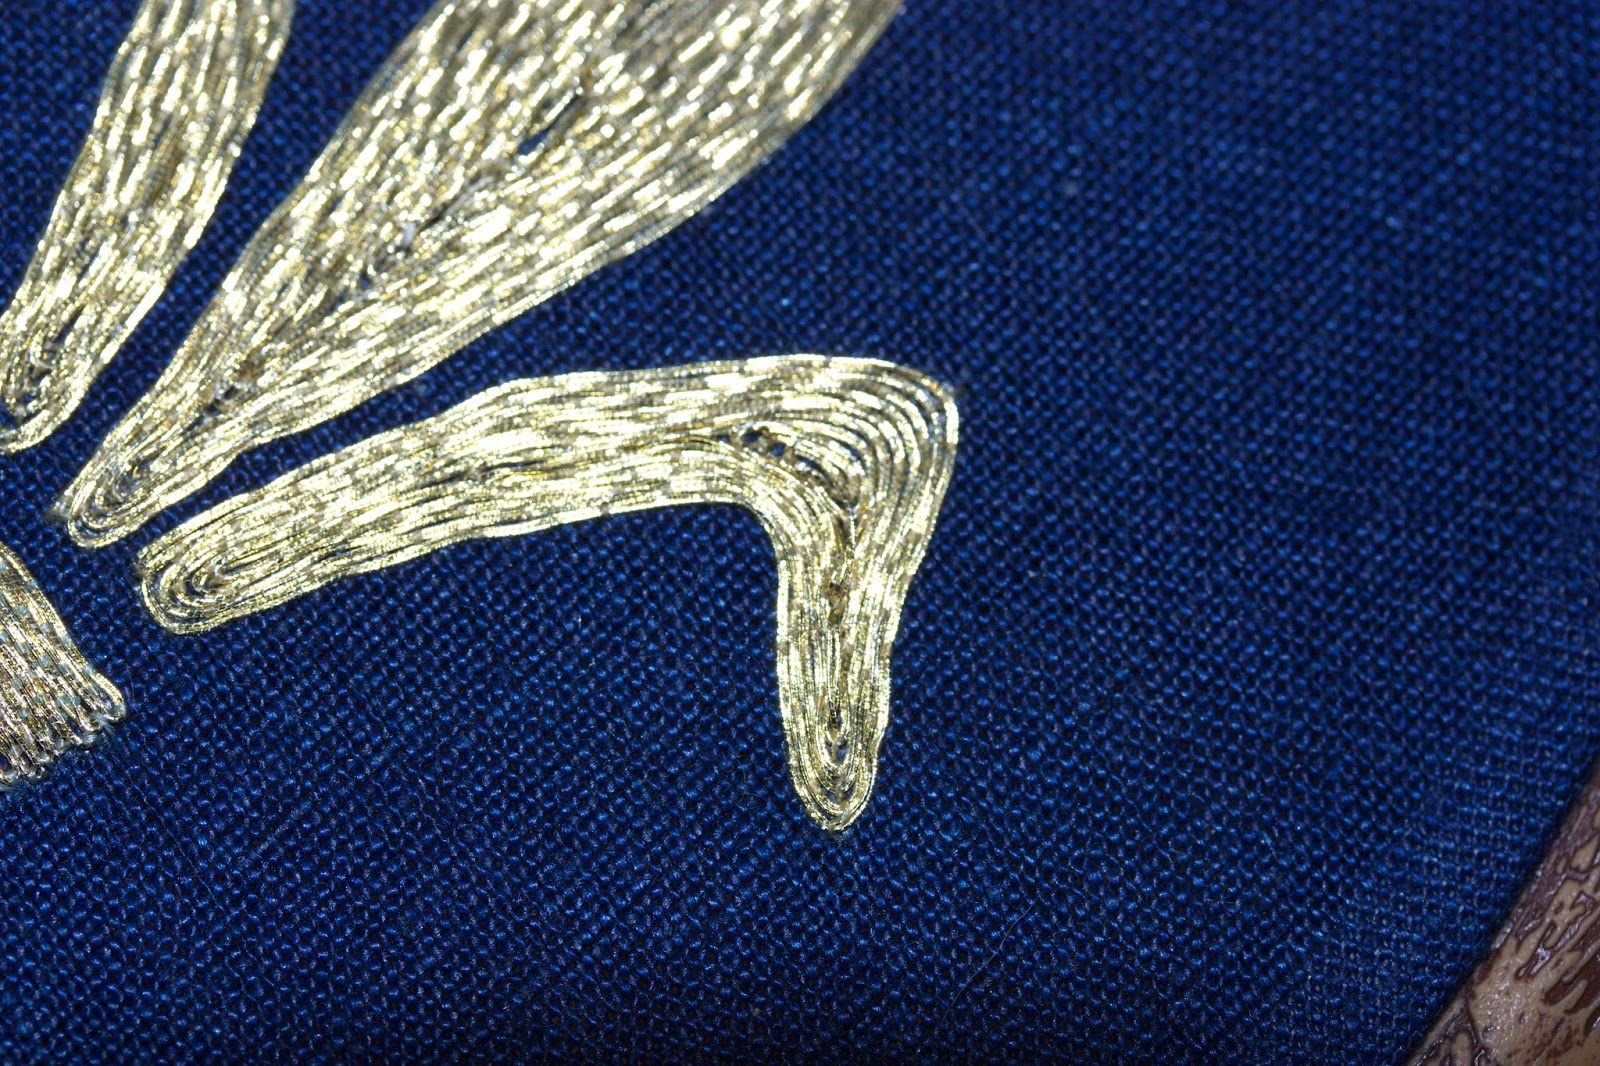
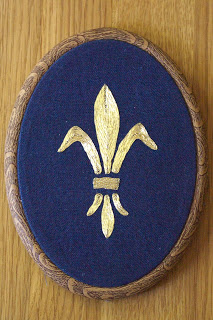
Yesterday, I posted the picture of the finished fleur-de-lis embroidery on Facebook - and promptly got a reply that the form of the fleur is not corresponding to the typical medieval form.
The side petals on the historic versions are much wider, much more curved, and they go out more to the sides. Does that explanation even make sense? Here, let me show you:
This should make it pretty clear what the differences are. If you search the British Library database for fleur de lis, you'll get some more hits, some of them shapes that are very far from what a modern eye would expect.
So why have I opted for something so different? Part of the differences are due to the medium. The motif is much clearer if you have gaps inbetween the individual petals, as my first tries did show - so running the individual parts together as in the 1500s version would not work just as well. Partly the decision is also due to the shape of the frame - a taller, more slender version fits better with the oval frame shape than the more squat version.
Finally, my personal experience is that motifs with the pronounced changes between slender and fat (as in the leaves of the medieval version) are harder to embroider for a beginner than shapes with only gentle changes in thickness.
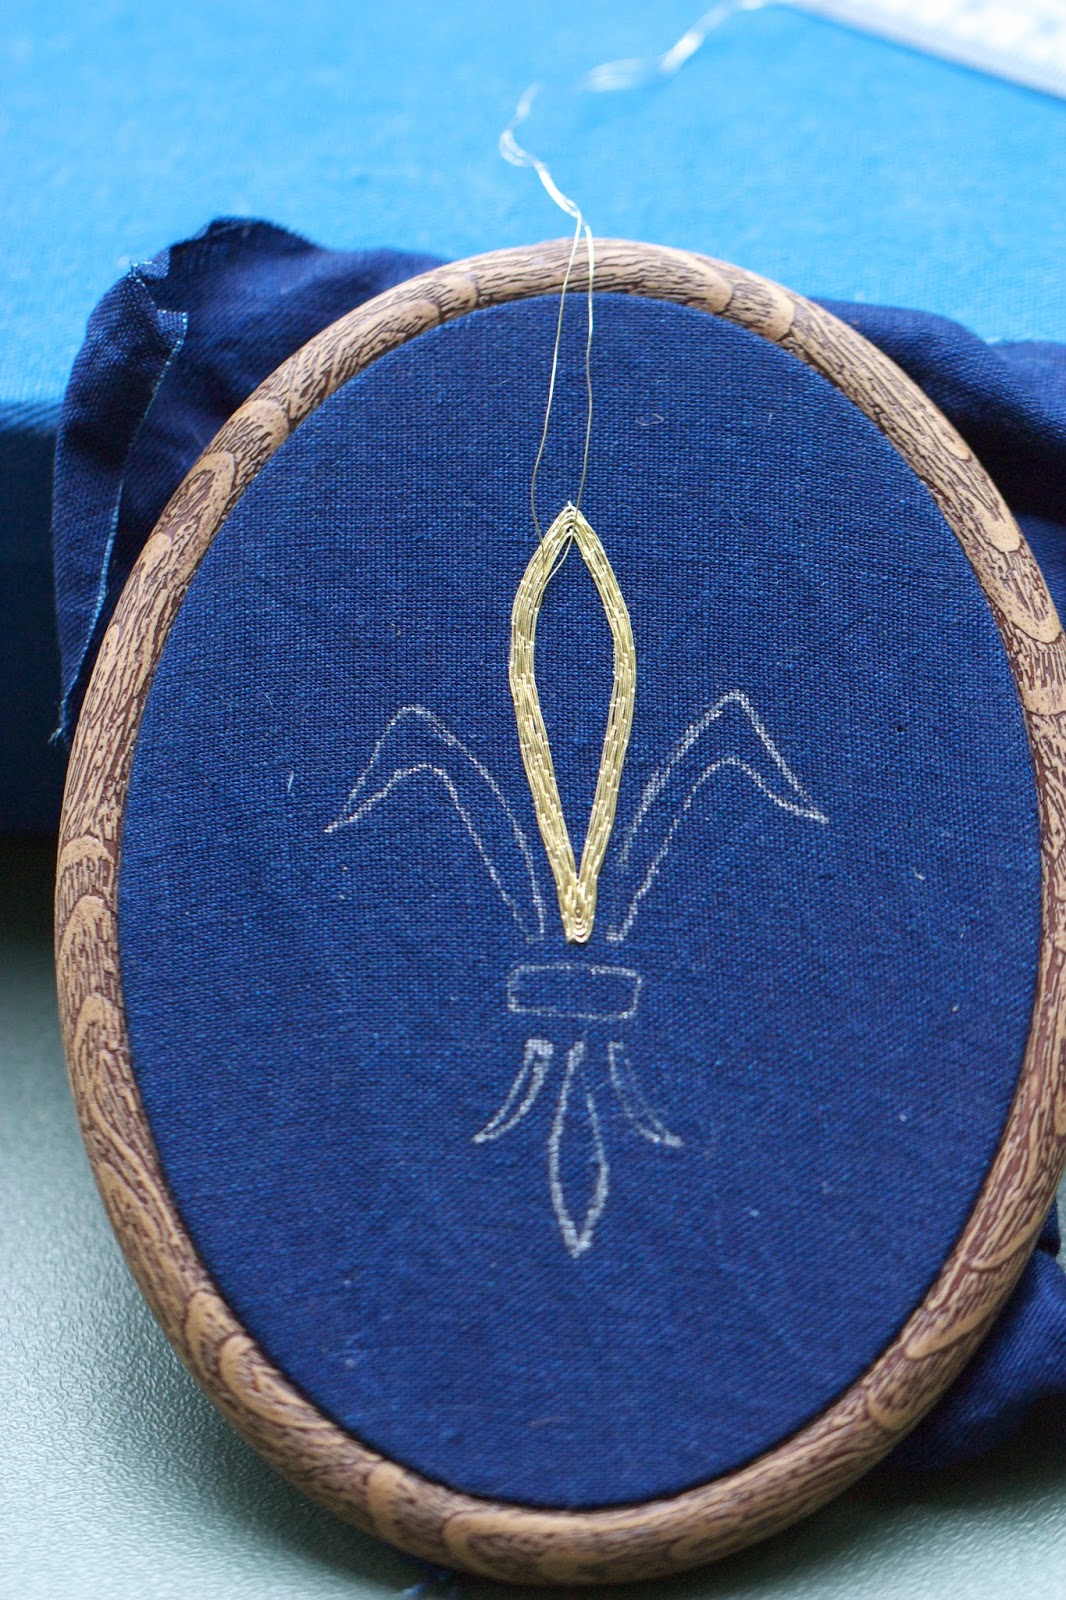
The whole embroidery kit is a hybrid of medieval and modern things. Gold thread and silk thread? Medieval. Basic technique? Medieval. However, a medieval gold embroidery on linen fabric would usually cover all the ground fabric, not only a little bit of it - so having the ground fabric dyed blue with indigo, and only embroidering the lily, is a compromise as well (because embroidering everything with blue silk... that's lots of work, and quite a bit of material too).
The frame itself, with its rubber rim and plastic inner rim, and its oval shape, and the hanger so it can serve as a picture frame is very, very modern as well. So are the needles that I will supply with the kit.
It's a hybrid, a compromise to offer a chance to do gold embroidery without investing insane amounts of time and money in trying it. A compromise between appealing to today's embroiderers and offering the experience of working with historically correct materials. A compromise that results in a piece with a lot of decorative value without the need to mount it into a proper frame first.
I've put a lot of thought into this, and I hope that it will turn out to be a good compromise. Let me know what you think, please?
The side petals on the historic versions are much wider, much more curved, and they go out more to the sides. Does that explanation even make sense? Here, let me show you:

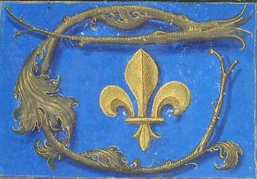 |
| British Library Royal 16 F II, f. 137, detail. Netherlands, around 1500. |
This should make it pretty clear what the differences are. If you search the British Library database for fleur de lis, you'll get some more hits, some of them shapes that are very far from what a modern eye would expect.
So why have I opted for something so different? Part of the differences are due to the medium. The motif is much clearer if you have gaps inbetween the individual petals, as my first tries did show - so running the individual parts together as in the 1500s version would not work just as well. Partly the decision is also due to the shape of the frame - a taller, more slender version fits better with the oval frame shape than the more squat version.
Finally, my personal experience is that motifs with the pronounced changes between slender and fat (as in the leaves of the medieval version) are harder to embroider for a beginner than shapes with only gentle changes in thickness.
The whole embroidery kit is a hybrid of medieval and modern things. Gold thread and silk thread? Medieval. Basic technique? Medieval. However, a medieval gold embroidery on linen fabric would usually cover all the ground fabric, not only a little bit of it - so having the ground fabric dyed blue with indigo, and only embroidering the lily, is a compromise as well (because embroidering everything with blue silk... that's lots of work, and quite a bit of material too).
The frame itself, with its rubber rim and plastic inner rim, and its oval shape, and the hanger so it can serve as a picture frame is very, very modern as well. So are the needles that I will supply with the kit.
It's a hybrid, a compromise to offer a chance to do gold embroidery without investing insane amounts of time and money in trying it. A compromise between appealing to today's embroiderers and offering the experience of working with historically correct materials. A compromise that results in a piece with a lot of decorative value without the need to mount it into a proper frame first.
I've put a lot of thought into this, and I hope that it will turn out to be a good compromise. Let me know what you think, please?