Latest Comments

Beatrix Experiment!
23. April 2024
The video doesn´t work (at least for me). If I click on "activate" or the play-button it just disapp...
Katrin Spinning Speed Ponderings, Part I.
15. April 2024
As far as I know, some fabrics do get washed before they are sold, and some might not be. But I can'...
Kareina Spinning Speed Ponderings, Part I.
15. April 2024
I have seen you say few times that "no textile ever is finished before it's been wet and dried again...
Katrin How on earth did they do it?
27. März 2024
Ah, that's good to know! I might have a look around just out of curiosity. I've since learned that w...
Heather Athebyne How on earth did they do it?
25. März 2024
...though not entirely easy. I've been able to get my hands on a few strands over the years for Geor...
MäRZ
05
0

Hah. Prepped.

Today was Warping Day. Well, Warping Afternoon - fortunately, the relatively small warps of limited length that we use in the weaving workshop are quite quick to make. So now I have this, waiting to be packed up: 

On the left there's a few "oh no bad things happened" warps, prepared in case something bad happens and we need a quick new one. On the right... that's a stack of edge tablets, waiting to be installed at some point. 

Edge tablets - usually all threads in one colour, and two or more of those monochrome tablets per edge - are an absolute fixture in historical bands. They make for neat edges, and if you weave patterns with my system, they are one way to tell which tablets turn in which direction. 

However... adding edge tablets also makes warping a little more time-consuming, and it means one more thing to keep track of. That's why I did my workshops without edge tablets in the past. (Remember what I wrote about things evolving? That's one of them.) I've thought about a few different options on how to include them without making things too weird at the beginning, and I think I have found the solution and the hopefully impeccable timing for adding edge tablets: The point where they are actually helpful, and where the basic understanding stuff that does not require extra "empty brainless twisting" has already happened.

Next Monday I will know more. Now there's a tad more preparation to do, but the main stuff has all happened. 

Oh, and due to the Bahn going on strike on Thursday and Friday... I will have to figure out whether I can go by train (probably not) or will have to take the car after all. Sigh.

1
MäRZ
04
0

Workshop Preparations.

I'm already looking forward to the next weekend - a group has booked me for a tablet weaving workshop, so we will spend the weekend twisting tablets and brains, and making straight and diagonal lines, and understanding where to look and why things work just as they work. 

So I'm now preparing for the workshop, which includes prepping the tablets:

The workshop starts with warping tablets, and then we weave our way into understanding how patterns happen, and how to make them look just like you want them to look. It's the system I've developed that can be taken further into weaving 3/1 broken twill without a written pattern (though we won't go that far during this weekend). 

All the tablets we'll need are now ready for warping, with all the punched holes empty and waiting to be threaded. I have a list of some more things to prep, and a few printouts to make, and some warping for the edge tablets.

Like all workshops, my tablet weaving workshop evolves over time - sometimes there's a chance discovery of something that works very well, or there's a "snag spot" where participants seem to struggle regularly, so these things get updated in my master script after a workshop, and are done a little differently next time. I really like to see how these things change and evolve and grow over time. And then there's the additional changes made to adapt the workshop to the group's wishes, so while the workshops are somehow the same, they also feel quite different every time... and part of the fun and joy in giving these is discovering their own specific vibe. (Plus, of course, the joy of seeing those little aha!-moments when something suddenly clicks.)

1
FEB.
28
0

Test Spinning 2 - Done.

A second round of test spinning has happened, and now it's done and the yarns have had their hot bath and are drying, with a bit of weight to keep them stretched. Next step in the adventure will be to activate all my weaving skills and do a little bit of test weaving with the stronger-spun warp yarns, and see how the fibre combination we're planning to use will work. 

You can see the difference in the amount of twist in the two skeins - the grey one is obviously contracting much more than the white one. Fascinating, isn't it? 

0
FEB.
26
0

Evaluating.

Here's the next step in our adventure of fabric reconstructions: Evaluating the tests. 

I've spun the yarns, my partner-in-crime Silvia has done test weaving, and now the samples have been washed (hot! because some like it hot, you know) and it's time to take a close look at them.

First step is to see if the thread count matches - which it does, satisfactorily, in the warp, but it's a bit too low in the weft. Next step is the close-up, and checking to see if thread twist and thread thicknesses, and the overall look of the fabric, matches our goal. 

Which.. well. Let's say there's room for improvement. In this case, the warp yarns can actually have a good bit more twist to match our original fabric; the weft yarns, to me, seem to be okay. Thread thicknesses are within range, too, I'd say.

Now we'll have to decide if we want to do a second sample piece with changed yarn parameters, or if we can gauge the necessary changes well enough to go for the piece proper straight away...

0
FEB.
16
0

Reconstruction Documentation.

I've been talking about textile reconstructions and some of the things involved in making them, but I think I haven't covered the topic of documentation for them yet... so here's a bit about that.

When I'm working on a reconstruction, I keep track of my work times. That's usually done with a time tracker for the research/planning tasks, such as reading up on textile finds, gathering information, and making plans and preliminary calculations. For the actual work away from the computer, I use a stopwatch, as that is handy and easy to use. A stopwatch is easily stopped for taking a break and started again, and that will guarantee that I have the exact times for how long things take.

Or... the almost-exact times. There's two reasons that I want to keep accurate track of times: For calculating the payment due for my work (obviously), and for gathering information about how long it takes to do things. The latter is half for being able to do better, more accurate pre-calculations and estimates, and half for research purposes. How well the times taken are suited for research depends, of course, on the tools used and the processes in detail, so I won't use my spinning times on the e-spinner for estimating spinning times in the Middle Ages, but there's plenty of tasks that are similar to what would have been done in the original creation to be of some value.

Now, of course, it would be helpful to separate different tasks and write down what each of them was. It makes a difference whether I'm sewing a straight line, or whether I'm hemming seam allowances. It is handy to know how long it takes to spin as opposed to weaving, and then there's the yarn skeining time, and time needed to set the twist. All of these could be just taken together as work time on item X, but it's of more help for my future work to have the extra detail.

Which, of course, adds some overhead work time for documentation.

It's also a smart idea to take at least some rough notes about how things are done, if it's not so simple that there's no other way. (Spinning would be an example for that. But it could already be interesting to note whether a pair of hose was sewn from the bottom up, or from the top down.) A few photos taken of the process also don't hurt... 

In some cases, when a reconstruction is ordered, the museum asks for a bit of "making of"-documentation, which could be pictures or videos, or both. That makes it easier to remember to do the visual documentation - for all the other things, having something to blog about also means I usually take a few photos of things going on.

Otherwise, regarding spinning, I record the following things in an Excel sheet: 

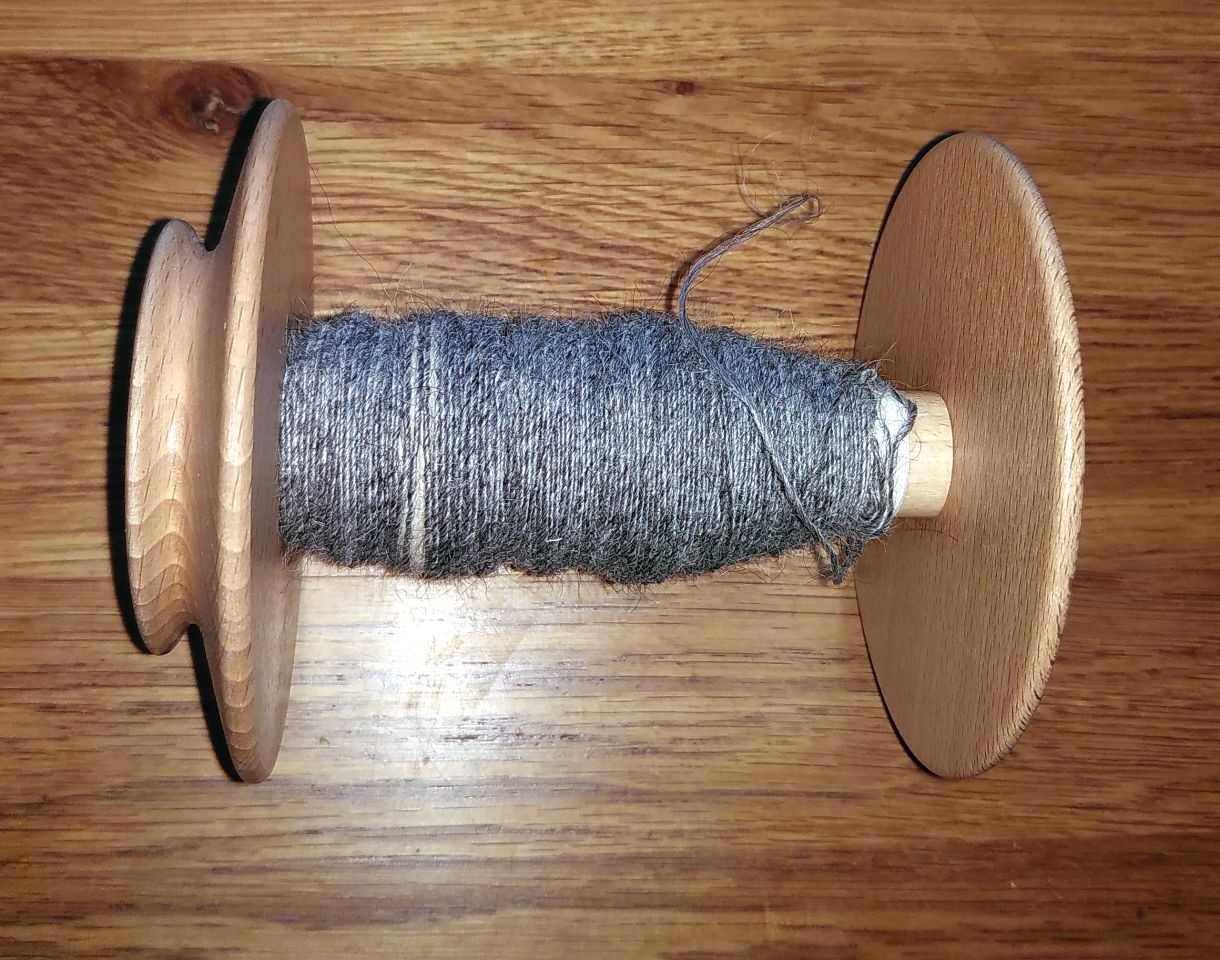
Bobbin number (so I can keep track of the yarn batches) and how long the spinning time for that bobbin was; how many turns on the skein winder (I have a counter for that, so this is a quick and easy way to measure yarn length); weight of the skein. Then my sheet does the calculation on yarn length (number of turns multiplied by 1.69, as that's my skein circumference), spinning speed in metres per hour, and nM as the yarn grist. I'm also getting a running calculation on how much yarn I have (adding the bobbins/skeins already done), and how much is left to do for the project according to my and the weaver's estimates.

So far, I have found that spinning time does vary according to the type of yarn, the amount of twist, and the fibre - but it's usually in a similar range. It does look like I have a normal drafting speed that I will fall into, and that limits the overall working speed. Not very surprising, but there you are.

Do you document your spinning? Or are you tempted now to do so?

0
FEB.
15
0

Yarn!

Since I was asked about progress on the reconstruction process... well. Here's a first glimpse of the yarn from the test-spin, still on the bobbin: 

I've done a bit of spinning with both Valais Blacknose and Gotland wool, and though I'd have preferred to like the Valais better... I'm inclined towards the Gotland right now, at least for the warp. It's a bit easier to spin, and it comes closer to my impression of the original warp. The weft, though... it might well be that the Valais is better suited for that. 

The new empty bobbin is already sitting on the spinner, ready for the s-spun weft test yarn. Now if I hadn't gotten sidetracked with a lot of other things to do today... 

Mind you, I'm not complaining. But sometimes juggling all the things that have deadlines, or do not have deadlines but still need attention... well. You probably know what I mean! 

0
FEB.
13
0

Bayeux Embroidery.

In case you're looking for a bit of embroidery input, my fabulous colleague Alexandra Makin is working on a Bayeux-related project, and her newest update is available on YouTube. She's talking about how to transfer the design in that installation: 

Datenschutzhinweis

Diese Webseite verwendet YouTube Videos. Um hier das Video zu sehen, stimmen Sie bitte zu, dass diese vom YouTube-Server geladen wird. Ggf. werden hierbei auch personenbezogene Daten an YouTube übermittelt. Weitere Informationen finden sie HIER

This is right on top of my list of things to watch now - I'm very much looking forward to finding out more about how she will handle this! 

For my own projects, I've usually traced the design, using a window or a table (depending on how strong the lines on the design original were, and how thick the fabric was) and went at it with my iron gall ink. More rarely I did use the pounce method with charcoal dust and then tracing with ink, and even more rarely I've done freestyle drawing with charcoal, followed by tracing what I was happy with in ink. (Or, extremely rarely because of the small project size, just using the charcoal lines.)

I always find it fascinating to find out more about the original tracings on fabric, and especially to see how much, in many cases, the embroiderers just did as freestyle shading. That, however, is often hard to see, as you usually have either the drawing (when the threads fell out and are lost) or the embroidery (hiding all lines drawn on the fabric)...

0

Kontakt