Latest Comments

Guest - Aislinn Dyestuff Citizen Science.
09. Oktober 2026
This is a great project. I look forward to the results. Thanks for letting us know.
Guest - Aislinn Time for...
09. Oktober 2026
Looks delicious!
Guest - Katrin Sprang Discussion
18. September 2026
Hi Rachel, I have looked for more photos of you, but that was not very successful. I found a link on...
Guest - Beatrix Sprang Discussion
15. September 2026
That lozenge pattern element is not a photograph, but a scan. So it should be to scale. But I pinned...
Guest - Katrin Sprang Discussion
15. September 2026
I was not referring to Rachel's reconstruction (is the reconstruction you refer to the one photograp...
SEP.
23
2

Working on Spinning, again.

Spinning, as a research topic, has been occupying me a lot lately, and the next paper that I'm going to give, and that is currently in preparation, will also focus on spinning as an important part of textile production.

This time around, I am planning to look a bit more at the physics of what holds a yarn together, and to the properties of yarns with high vs. low twist, before launching into a look at different spinning methods - the one typical for modern hand-spinners today in the western world, and the two methods that can be reconstructed for medieval spinning.

The topic of spinning never ceases to rope me in and keep me interested. There are so many questions left - such as why there is a different spinning technique depicted on the few images from Hallstatt and the many more images from medieval times, even though Hallstatt threads were also high twist? Why is our modern technique not the medieval one anymore? When did those changes take place, exactly?

Spinning, to me, is the building block for almost every other textile technique that comes after. The properties of the yarn will influence everything done with said yarn - which means that you have to start with the spinning if you want something specific reconstructed as closely to the original as possible. And that, in turn, is a wonderful challenge for a spinner.
0
MAI
13
0

Fabulous fabrication.

We have a regular (weekly, usually) session of "get excited and make things". It's a fixed day and time of the week, and most of the time, one or several friends drop by. They bring their projects and we all sit together and work on our things - knitting, sewing, woodworking, paper-related stuff. There's been miniature painting and programming done, too, as well as the very mundane task of mending socks and darning clothes.

Last week, our meeting went on an outing - into the FabLab in Nuremberg. Just in case you have never heard about a FabLab, it's short for "fabrication laboratory". Usually, a fablab is an open workshop where you can make things, for a very small fee.

Most fablabs have a set of tools for mechanical and electronic stuff, a laser cutter, and a 3D printer. You might also find a large drill, a CNC machine, a sewing and/or embroidering machine, a few computers, and some other stuff. Plus a stash of materials you can buy for your projects.

So, last week, I sat at the FabLab, designing new whorls and a new flyer and new bobbins for my little Finnish spinning wheel. I got that wheel back in 2012, and it's been running with the roughly tweaked flyer and bobbins since. They do work, but they are a waste of space in the spinning assembly, since the flyer is huge and the bobbin is tiny. (The wheel seems to be called the Varpapuu Toika, and someone else was so nice as to post a video of it.)


As you can see, the flyer is... less than elegant. A waste of space, and energy, and I am going to replace it with a lighter one, with longer wings to accommodate a bigger bobbin. I'll space the hooks closer to each other too, and fit it with smaller whorls. Someone at the FabLab has offered me help with the metal axle, and the rest... I'll laser cut wooden parts for the bobbin ends and the flyer, probably drill holes through some leftover dowels for the bobbin cores, and the whorl bits will be 3D-printed. (3D-printing takes ages, AGES, so as I'm an impatient person and want several bobbins, I will just print the whorl disks.)

If you have a FabLab in your region - go check it out. They are fabulous!


0
JAN.
23
2

Gratuitous Yarn Pics.

A while ago, I went to a monthly spinning meet-up for the first time. That was fun.

A month later, I went there again... and fell in love with some fibre. It's not that I do not own enough fibre for spinning. (Seeing that I have fibre to sell, that would be sort of weird.) It's also not that I don't have enough spinning projects already, or things and techniques I should (or want to) try out, or improve in. And I also own more than enough sock wool for the next few years worth' of sock knitting, seeing how slowly I knit. (Intermittently, and that is probably mostly to blame. Even if your actual knitting speed is not snail-like but only on the low end of mediocre, leaving a knitting project in a bag for a few months because there just is no leisure for it means that making a pair of socks will take ages.)

That fibre... it sang to me. It was dyed, modern-style, in blues and greens with a dash of teal and a dollop of grey in it, and it looked too, too lovely. Long story short, after a while of considering and getting a snippet of the fibre to test-spin, I caved. I bought the fibre and took it with me to spin it during our post-Christmas time with friends. (They know me. Neither of them did blink an eye when I turned up with my spinning wheel in tow.)

I divided the dyed top into three parts, length-wise, and spun each part in my normal thickness and my normal amount of twist (and that's lots). I plied it up three-ply, feeling very generous with my time and very modern, and came out with almost sock-yarn thickness. (It's about as thick as normal sock yarn if you stretch the normal yarn a little.)

When I was finished, I knit up a little sample... which I then tossed into the washing machine, the normal cycle that we use for our clothes. Twice. It came out a little softer than it had come in, but unchanged in size.

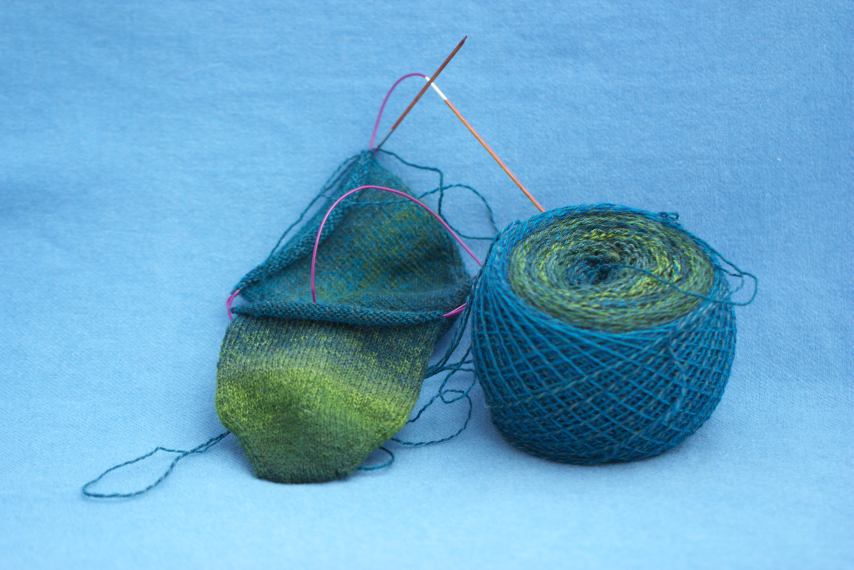
And then I started knitting socks from it.


I am insanely happy with this yarn (even though I could have added more plying twist in a few places, and even though the colours from the three plies don't exactly match up).


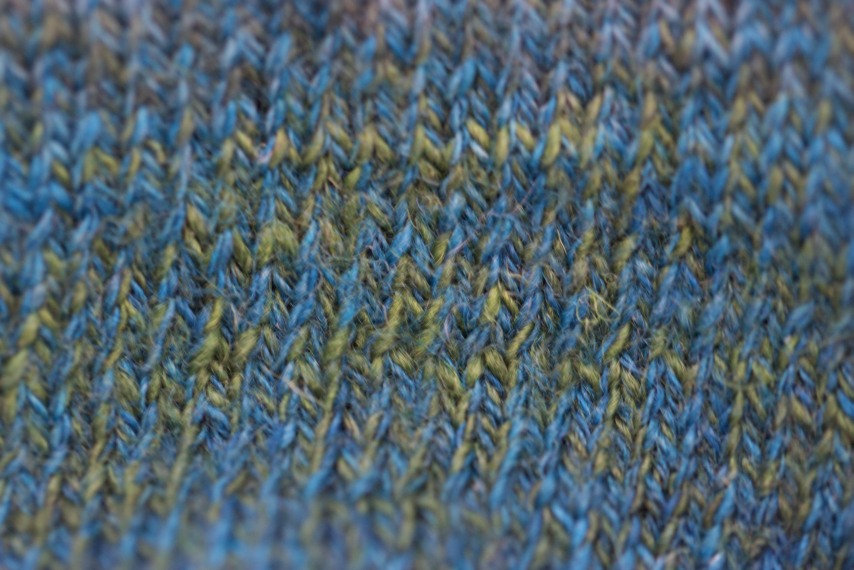
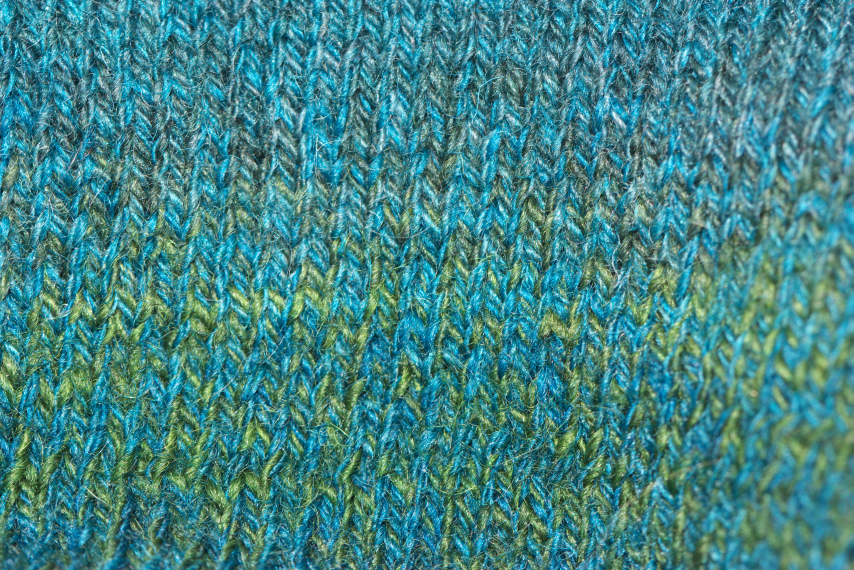
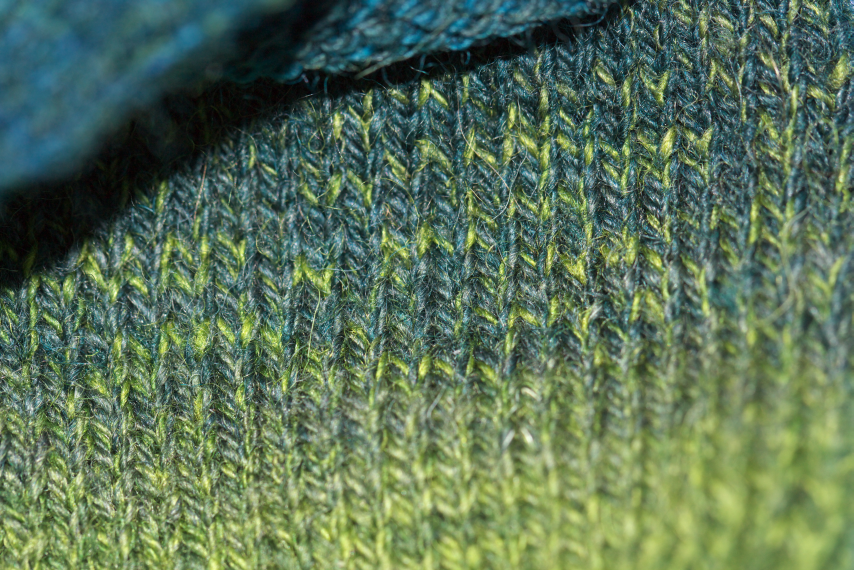
The different colours and the mixing of them, however, make for interesting patterning.


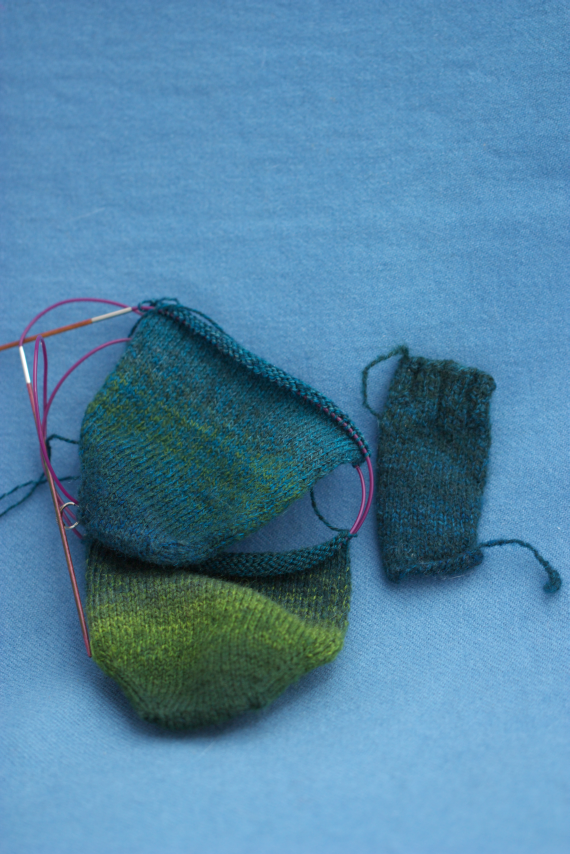
And I'm looking forward to the time when both socks will show a share of green and blue...


because at the moment, it looks a bit as if I were knitting one sock each from two different wools.


I don't really mind, though. I am very happy watching my hand-spun wool knit up, and looking forward to having new socks at an unspecified time in the future.
0
JAN.
16
2

More Distaff Questions.


As requested in one of yesterday's comments, here is a follow-up post with a little more stuff about the distaff... for the basic explanation about the reconstructed medieval spinning, see also this post.
I am guessing that one takes fibre from the distaff and somehow moves it to the spindle, but I can't tell from this part if you are taking it randomly from any part of cousin It, or if you intend to take it sequentially, in the same order it was placed on the band, or what...
You draft from the distaff, and the flow more or less occurs naturally. I try to work my way along around the distaff, turning it a bit from time to time, so that I don't use up all the fibre on one side first. Otherwise, I don't much care where my fibre supply flows from, as long as it flows easily and evenly.

I am also curious to know how much time this distaff dressing process takes, and how much spinning time one gets from it. I gather from other posts of yours that it used to be that "everyone" used a distaff, but for modern spinners it is not so common to use one (though becoming more common again as more historical reenactors experiment with them?)
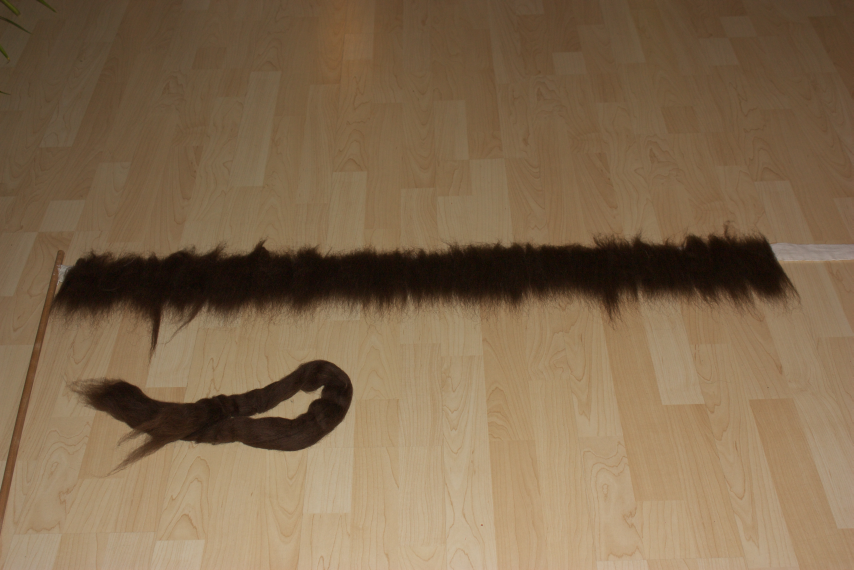
I can tell you exactly how long it took me for dressing this one: I snapped the first blurry pic at 13:56 and finished with the Portrait of Cousin Itt at 14:04. That's eight minutes, and I guess that at least three of these minutes were photo time. So in textile work terms, dressing a distaff this way does not take any time at all.
The spinning time you get from it, on the other hand, totally depends on how fast you are spinning and how much fibre you are using up per make (i.e. how thick you are spinning), so I can't tell you. Me, I go a long way with 42 g of fibre.

Modern spinners don't use a distaff, for the most part, because their spinning technique does not technically require them to do so. For the medieval style, however, the distaff is essential and you cannot physically spin without it.
Is there a savings in total time when using a distaff? (e.g. while dressing the distaff takes time, the spinning part goes enough faster as a result of having done so to make it worth it) Is there an improvement in the quality of the spinning (I am guessing "yes", since I imagine that it would be easier to be consistent as to how much fiber is added per second to the spun yarn).
Since spinning in the reconstructed style is not possible otherwise, you might argue that yes, yarn quality is improved ; )
Joking aside, what really does take time and has a big influence on yarn quality and ease of spinning is the fibre preparation. The five minutes (even if it were fifteen minutes, same applies) for dressing a distaff are really next to nothing compared to the time needed for spinning a substantial amount of medium-fine to fine yarn, and preparing the fibre to accommodate this. Spinning quality hangs on the quality of the fibre prep and the spinner's skill. If you muck up in dressing the distaff by wrapping it too firmly, for example, or too loosely, this is easily and quickly remedied, and there is quite a bit of leeway in how it needs to be; you just need enough friction between the held fibres to make drafting possible.
If you had mucked up in prepping your fibre, though, not the best distaff-dressing in the world will make that better.


The distaff is, essentially, your third hand for spinning - the one holding your fibre and helping you draft. And just like a real hand, if it holds only crap... it will give you that same stuff it holds. You have a say in how firmly it holds on to its stuff, though, depending how you dress it.

Any more distaff-related questions, folks?
0
JAN.
15
9

How I dress my distaff.

The following is a photo report (wow, this word makes me think of my youth and those crappy romance photo stories in teen mags) of how I dress my distaff. Please be aware that this is a work in progress and a technique still in development, and that there are probably fifteen gazillion other methods that are at least as suitable as mine, if not better.

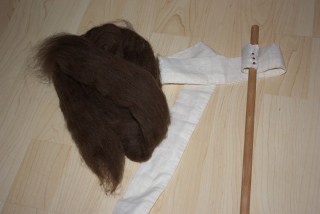
I start off with my distaff, which is a stick with a few notches cut in at the top to reduce slippage. The notches are a horizontal cut at the bottom, then a sloping cut downwards to meet the notch, resulting in something like a tiny shelf. Attached to the stick is a linen band about 1.5 m long (I used small copper nails to attach it). The band helps to secure the fibre evenly and give the necessary little friction.
I start by placing the distaff somewhere suitably flat; a table or the floor will do. I've chosen mixed brown wool for this, about 42 g of it.

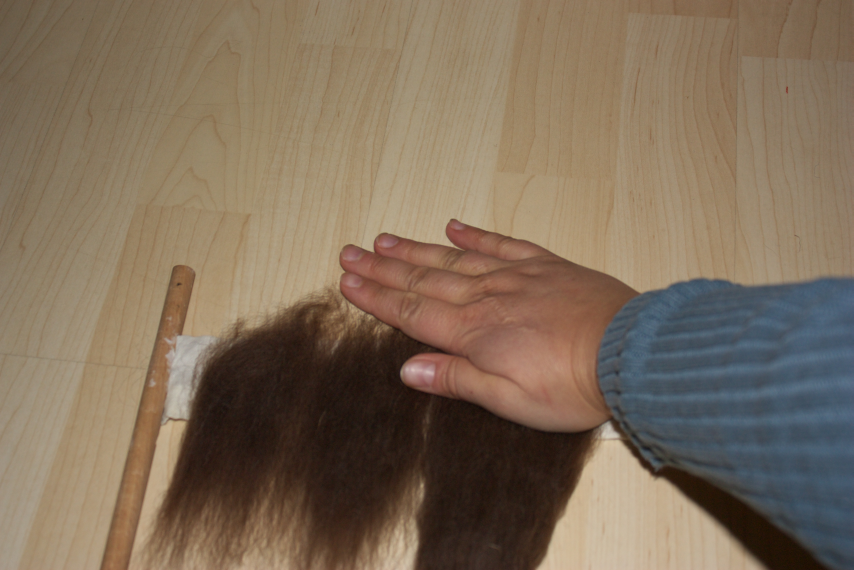
In my experience, you can use the fibre that sticks out from the bottom of each band and the fibre still touching the band, but usually not the fibre sticking out above the top. So I position my wool accordingly: I place the end of my top at the upper edge of the band, put my hand down on the band and pull the top away, leaving a bit of fibre on the band.
I work myself along the band in this way with a first layer of fibre.
I then go back and forth, evenly layering the fibre into the thinner spots, not going too thick with the layers. (I have not gathered enough experience yet to know how much you can load on without it getting awkward.)
I leave the last hand width worth of the band without fibre
and then I start rolling up the distaff.
Rolling is done with only the gentlest pressure, and without tensioning the band (at most, I put on enough tension to just keep it properly straight). You can roll up with tension, but that may prevent you from drafting out easily - I've had more success with going easy on the distaff when rolling it.
Roll until you can roll no more, resulting in something like Cousin Itt with a nice headband, and secure the end of the band (I used a modern pin for it here).
That's it. You can go spin now. The band may shift with spinning, developing into a spiral that sort of droops down the distaff. Thus, after a while of spinning, it might be necessary to adjust the distaff - I do that by gently unrolling and re-rolling the band.

If you try this method or a similar one, I'd be delighted to hear about your experience!
0
JAN.
13
4

Spinning like "back then".

A good week ago, I received a nice email from somewhere in the US, asking me this:

I do living history demonstrations, and since I am learning to spin, I will be adding spinning to what I demo. I've seen the pictures of the long double tapered spindles with distaff, it looks like there was either no spindle whorl, or it was a bottom whorl.

 My problem is trying to learn how they actually spun the wool on the spindles.  Do you know where I can get enough information on how the spinning was done so I can demonstrate it correctly?


First of all, I am thrilled that demonstrators pause and think about what tools were used, and how exactly they were used. Thrilled! Because (as I have learned, and to my great chagrin much too recently) that modern-style spinning, even with a distaff, is a long way removed from how medieval spinning pictures look.

So how do you spin medieval-style? First of all, the caveat: This is the attempt to reconstruct a spinning style from, basically, pictures and a few surviving tools. Spinning is, at its core, a very basic thing (adding twist to fibres) and this thing can be achieved with a myriad of tools, and a myriad of techniques; there is no guarantee that everybody in the MA spun alike, and there's no guarantee that we as modern people trying to reconstruct it actually hit the correct version(s). Even if it works really, really well, it's no proof. (It is a strong indication that it may be right or close, though.) If I'm talking about "medieval spinning" in the following text, it may refer to pictures and other sources or the reconstructed technique, so please read accordingly.

Typical modern spinning is drop-spindle spinning, where the spindle travels down, hanging freely from the hands and wandering towards the floor; the hands stay close to the fibre supply. Drafting takes place between the two hands. The spindle is flicked periodically with one hand (which leaves its normal drafting place for this).

In contrast to that, medieval spinning always keeps one hand close to the spindle tip and one hand close to the fibre supply. Drafting takes place between the top hand (drafting hand) and the distaff, which is indispensable for this kind of spinning; the other hand keeps the spindle in motion.
The spindle can either be kept in the hand and turned between the fingers or suspended right below the twisting hand from the thread already spun. In both cases, there is an almost continual twisting action done with the twisting hand.

And because you will probably be all confused now, here's a video of me spinning in that technique.


I am indebted to Cathelina from the 15thcenturyspinning blog, who has done a lot of research on the reconstructed technique. She also has some videos on her blog, most of them showing the in-hand spinning, not the close-to-the-hand-suspending that I prefer. Especially this slo-mo one is worth watching.
If you want an overview on spinning pictures, I can also recommend her pinterest board.

With this technique for spinning, you can use a spindle with a whorl (giving a little more heft to the spindle and making for a better twist when spun suspended) or without a whorl (in my experience, nice to do when the spindle is already quite full, or when you are spinning long fibres such as linen). You do definitely need a distaff, either a free-standing one or one that you tuck into your belt, or place beside you.

You try to draft an equal amount of fibres from the distaff, letting the twist enter these fibres as fast as needed (the twist travels upwards from the spindle). As every style of spinning, it takes practice - but it's a lovely and quite fast style in my experience. The well-dressed distaff with well-prepared fibres is crucial for this. I'll try to do a blog post on how I dress my distaff one of the next days, since it's different from Cathelyne's version.

For now, though, I hope this helps to shed some light on medieval spinning!

1
DEZ.
06
0

Spinning Experiment Article!

Today it's time for me to rejoice - my article about the Spinning Experiment (yes, that one back from 2009) has been published in Archaeological and Anthropological Sciences. Here's the link.

It's not open access, since that requires the author (yes, the author) to pay a stupid amount of money which I can't afford (and even if I did, I would not since I am a strong believer in the Rule, or Yog's Law). I'd much prefer if it were free, or open access, or offered at an affordable price - but as things are, I am very happy to have the article out there, and published in a journal where it will be seen (and hopefully read) by a lot of people.

(If you would like to read the article, you may have access to it from a library computer if the library subscribes to the journal.)


0

By accepting you will be accessing a service provided by a third-party external to https://pallia.net/

Kontakt