Latest Comments

Guest - Aislinn Dyestuff Citizen Science.
09. Oktober 2026
This is a great project. I look forward to the results. Thanks for letting us know.
Guest - Aislinn Time for...
09. Oktober 2026
Looks delicious!
Guest - Katrin Sprang Discussion
18. September 2026
Hi Rachel, I have looked for more photos of you, but that was not very successful. I found a link on...
Guest - Beatrix Sprang Discussion
15. September 2026
That lozenge pattern element is not a photograph, but a scan. So it should be to scale. But I pinned...
Guest - Katrin Sprang Discussion
15. September 2026
I was not referring to Rachel's reconstruction (is the reconstruction you refer to the one photograp...
NOV.
27
0

Very Old Knitting, Part 3.

As Harma pointed out yesterday in the comments, there' s an issue with crossed stitches in the knitting method I've shown. Well. Let' s tackle this issue right away, shall we?

I took very good care to follow the instructions exactly, including the direction the yarn wraps around the needle. Which, indeed, results in twisted stitches (the legs crossing) every other row... why? Because of the stitch alignment. Remember that I mentioned how the stitches lie on the needle in that method, partly with the right leg in front and partly with the right leg in the back?

Having twisted stitches every other row points to there being an issue in only one of the rows - either when working on to the left needle, or when working on to the right needle. So let's make things easier to sort it out by restricting ourselves to one direction only. This is done by working in the round (all the extant pieces I know of, by the way, were worked in the round). Or, if you are a lazy person like me who just wants to do a few test stitches and not fiddle too much, on a pair of double-pointed needles. (The trick is to just move the knitting over to the other end of the needle, let the yarn go right across the back of the fabric, and knit the next row in the one and only working direction.)

I'll be sticking with the first row for now... here we go:

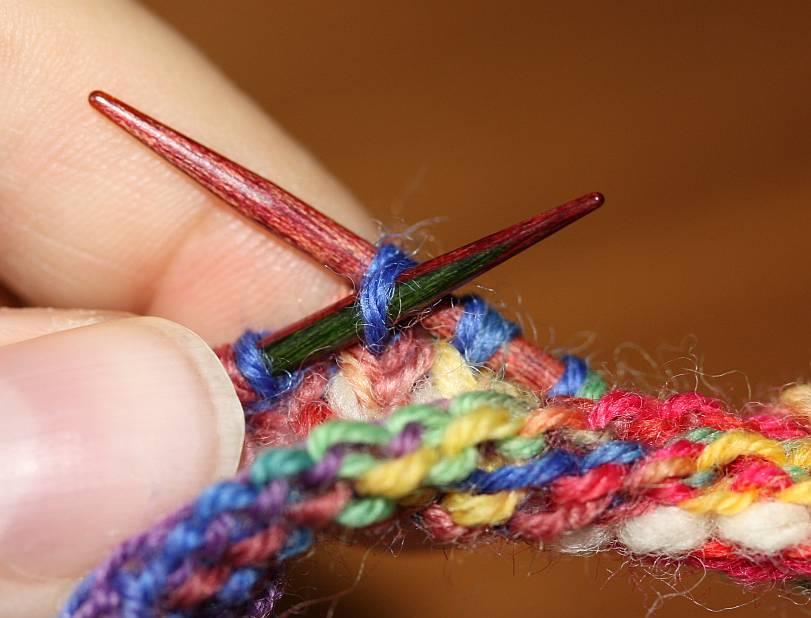
[caption id="attachment_2025" align="alignnone" width="300"]After a few rows of working on to the right needle. After a few rows of working on to the right needle.


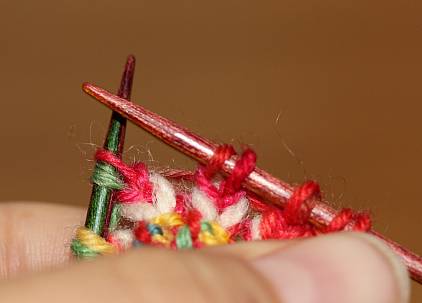
This is what it looks like after a few rows, always working from the left needle on to the right needle (following the instructions). All stitches are aligned in the same way: with the right leg in front of the needle, as customary in modern Western European knitting. And you can hopefully see that all the stitches are twisted - the left leg crosses over the right leg in every stitch. So this is the row, obviously, where something happens that should not happen.

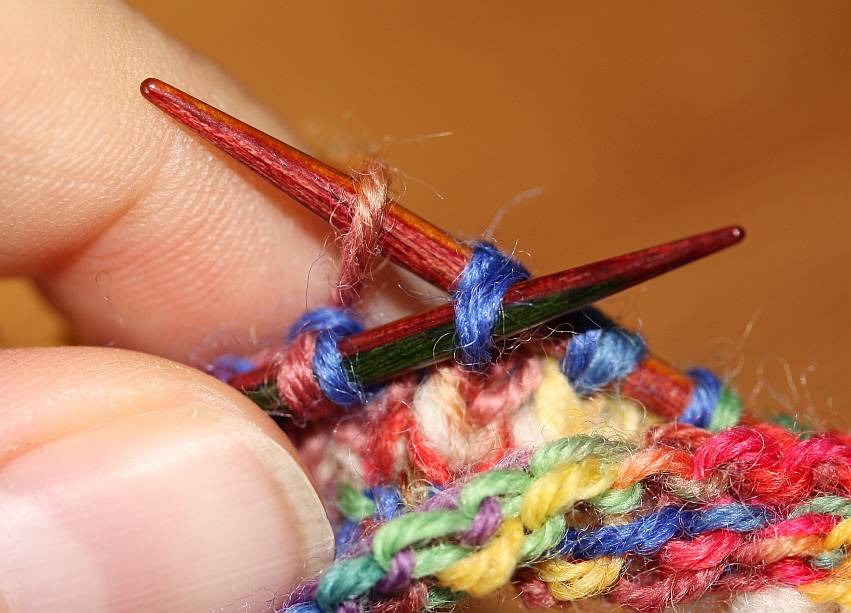
Where does the twisting occur? Here' s what happens:

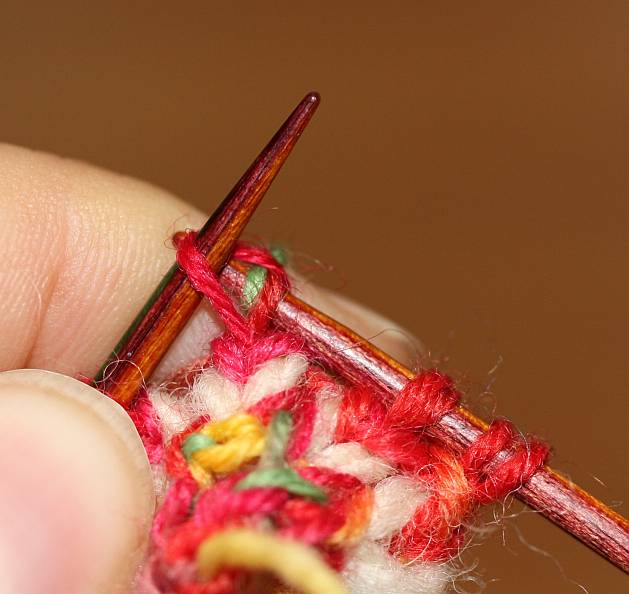
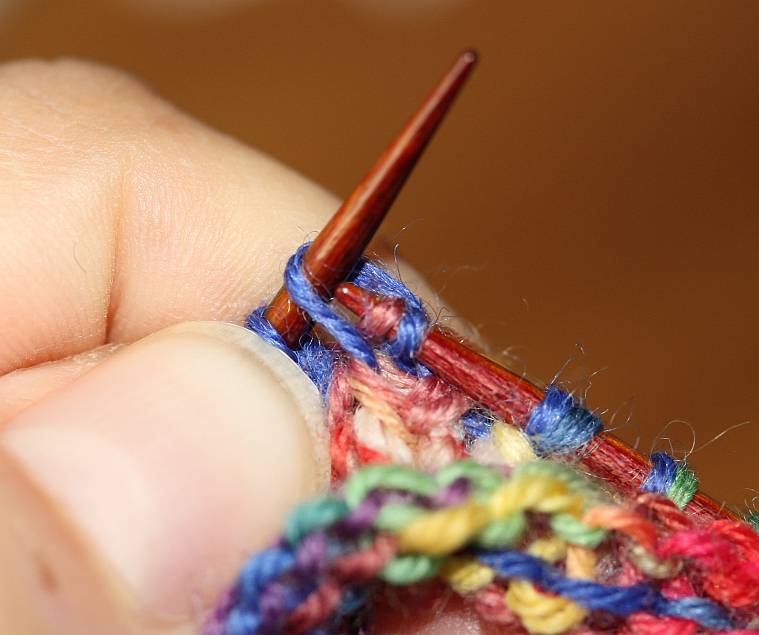
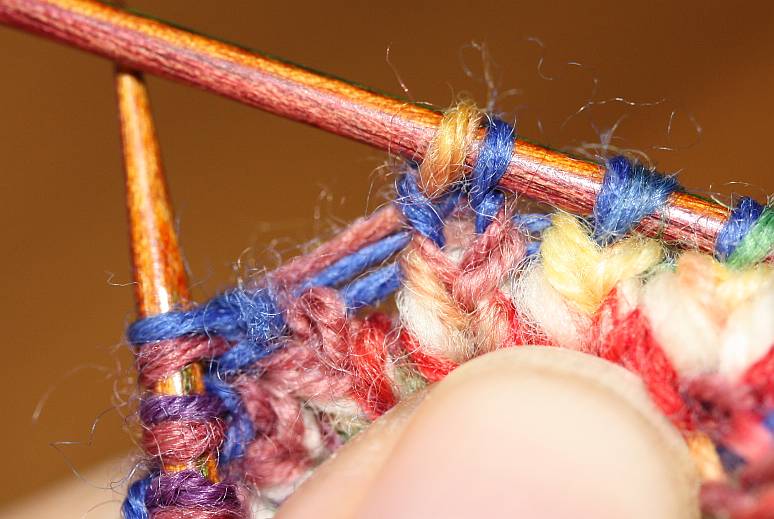
[caption id="attachment_1935" align="alignnone" width="300"]... and pull through. ... and pull through.


The right stitch, with its right leg in front of the needle, is drawn over the two newer stitches. The right leg is thus drawn to the left of the two stitches - resulting in a twisted stitch.

Sometimes it can be hard to see whether stitches are twisted or not - if in doubt (and the fabric can take it, obviously that' s not possible with archaeological knitting) just stretch the thing out.

If the stitches are untwisted, it opens up completely:

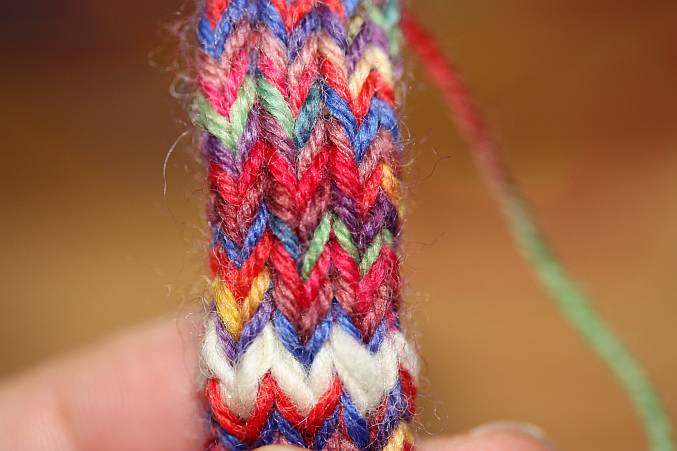
[caption id="attachment_2029" align="alignnone" width="300"]Knitting from the dolly, in its normal state... Knitting from the dolly, in its normal state...


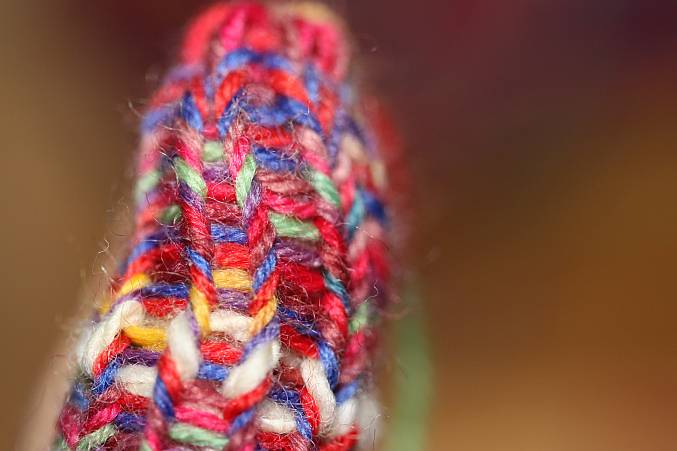
[caption id="attachment_2030" align="alignnone" width="300"]... and stretched horizontally. Stitches and ladders between stitches both open up. ... and stretched horizontally. Stitches and ladders between stitches both open up.


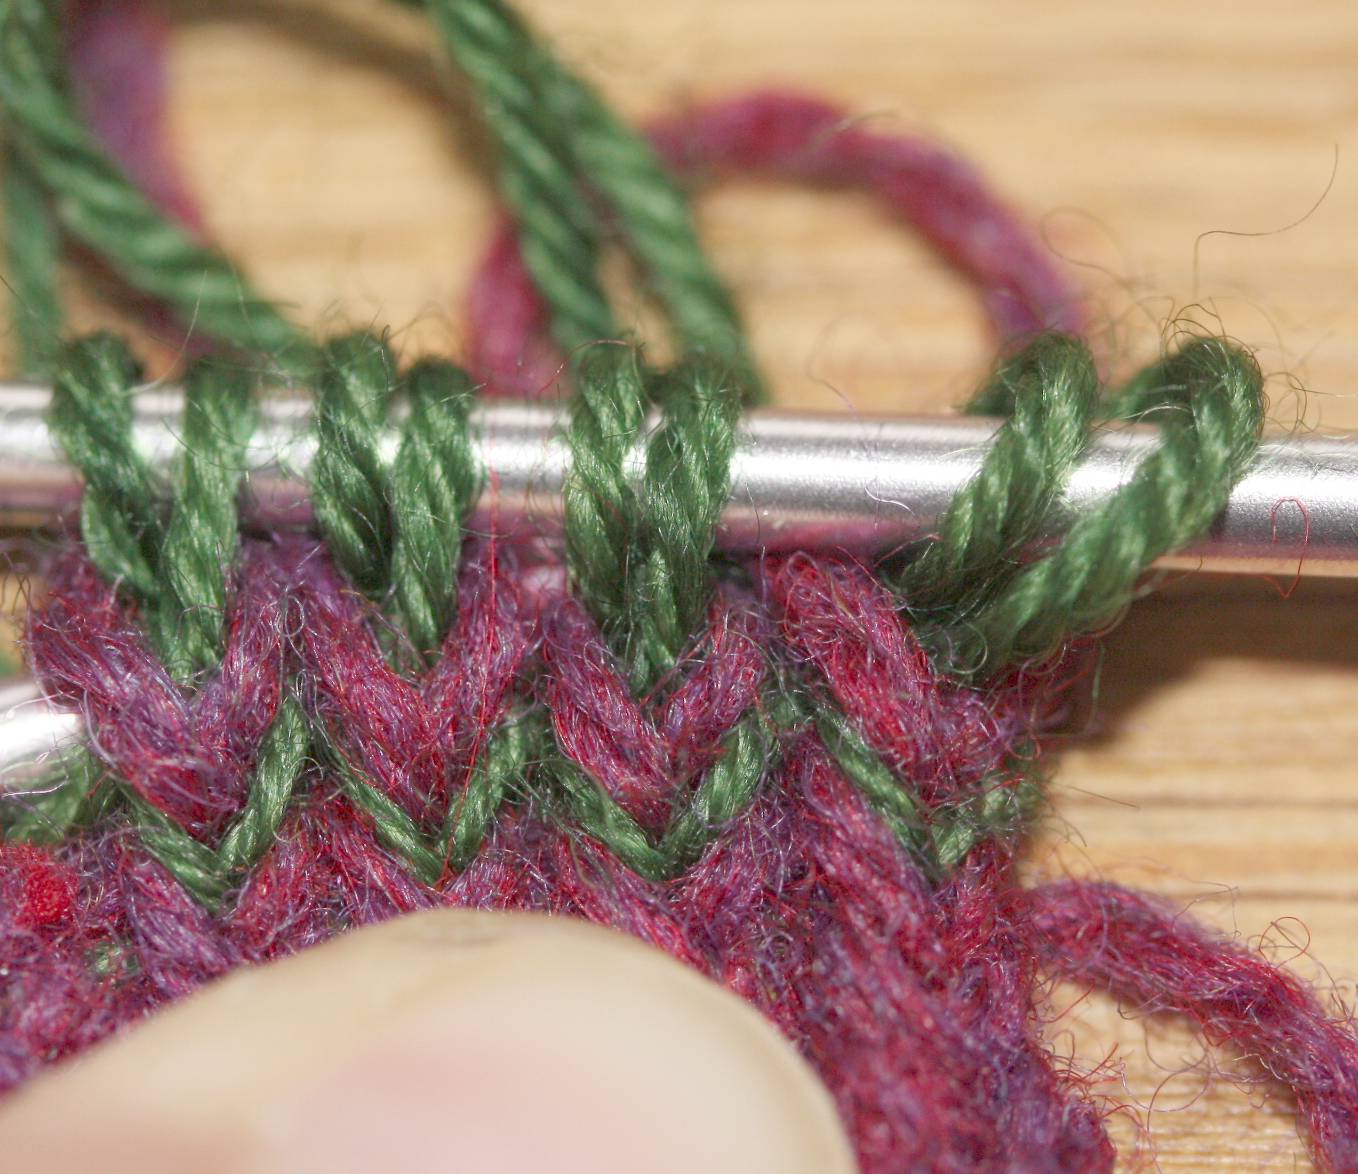
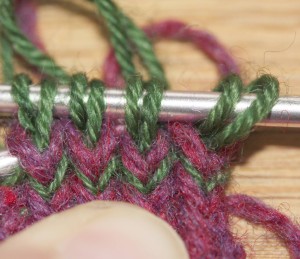
When you stretch out the knitting with twisted stitches, the ladders between the stitches open up, but the stitches themselves are pulled tighter, forming firm little columns between the ladders:

[caption id="attachment_2031" align="alignnone" width="300"]IMG_8112 The knitting stretched out - you can see that the stitches are pulled tighter together. 


So. Our twisty issue lies with the stitches in the row working onto the right needle, and it' s related to the alignment of the stitch on the needle when pulling the stitch over. There you go. Next time, we'll take a look at the other row...
0
NOV.
25
0

Very Old Knitting, Part 2.

So... as seen yesterday, working compound knitting (or double-depth knitting) on a dolly or similar thing is very easy. Let's add some challenge - off to the needles with this!

Ruth Gilbert (who is one of the reasons I started knitting a few years back) brought instructions with her to the Textile Forum, taken from Marianne Erikson's book Textiles in Egypt 200-1500 A.D. in Swedish Museum Collections, Gothenburg: Rohsska Museet. You can find them on p. 235, fig. 23. Or look at the following knitting pictures, where I'm following her instructions.

You're always working with a pair of stitches (so cast on double the amount you want to work).

Transfer both stitches to the right needle.

[caption id="attachment_1929" align="alignnone" width="422"]Unworked stitches on the right needle... Unworked stitches on the right needle...


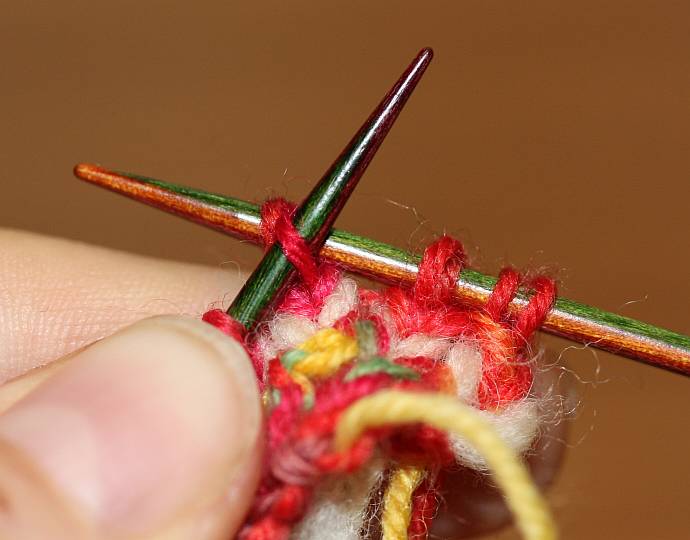
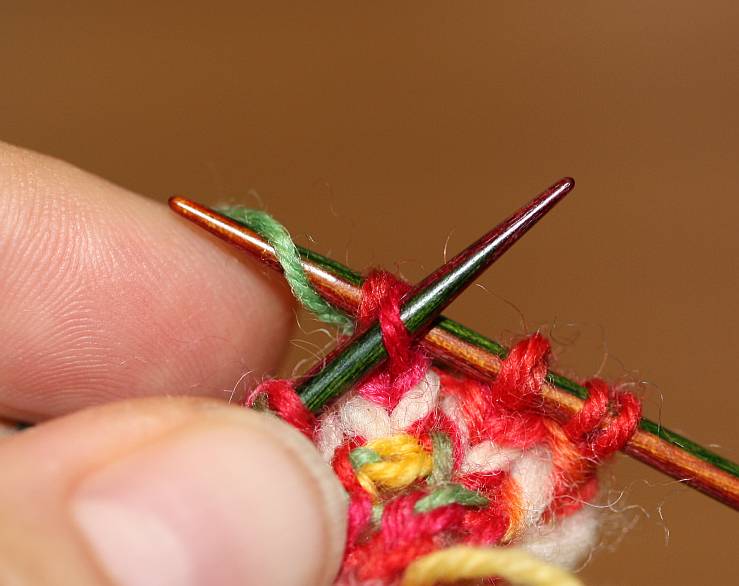
Insert left needle into the right stitch, loop yarn around right needle, and pull yarn and stitch through.

[caption id="attachment_1928" align="alignnone" width="420"]Needle inserted... Insert left needle into the right stitch...


[caption id="attachment_1936" align="alignnone" width="420"]IMG_8086 ...loop yarn around...


[caption id="attachment_1935" align="alignnone" width="422"]... and pull through. ... and pull through.


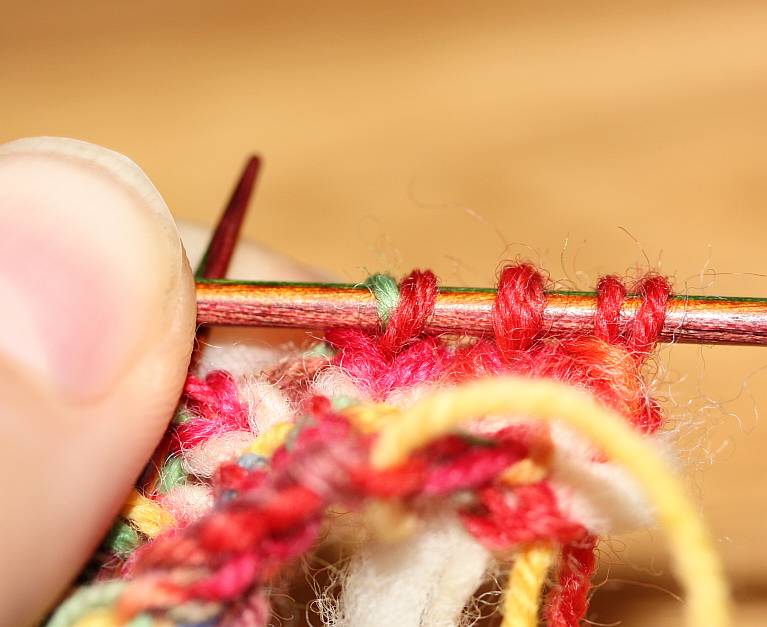
Note the alignment of the stitches: The older stitch lies to the right, its right leg behind the needle; the new stitch lies to the left, its right leg in front of the needle (as is the customary orientation in Western European knitting).

[caption id="attachment_1934" align="alignnone" width="300"]Stitch alignment. Stitch alignment.


For the return row (if you are knitting flat), you insert the left needle into the second stitch on the right needle,

[caption id="attachment_1933" align="alignnone" width="300"]Insert left needle into right stitch on right needle... Insert left needle into right stitch on right needle...


loop the yarn around the right needle, and draw yarn and the stitch on the right needle through.

[caption id="attachment_1932" align="alignnone" width="300"]... loop yarn around... ... loop yarn around...


[caption id="attachment_1931" align="alignnone" width="300"]...and draw through. ...and draw through.


The older stitch now lies again to the right of the pair, with its right leg in the back; the old stitch on the right has its right leg in the front.

[caption id="attachment_1930" align="alignnone" width="300"]Stitch alignment. New stitch to the left, old to the right. Stitch alignment. New stitch to the left, old to the right.


Now transfer both stitches to the left needle and continue.

These instructions totally work - and they are a lot of slipping stitches. It gets less slippery if you work in the round (where you only use the instructions for the first row, working from left to right), but it still feels... awkward.

Is there a better way to do it? One more efficient, and involving less slipping? We'll see. Later this week.
0
NOV.
24
1

Very Old Knitting, Part 1.

After all the computery shenanigans, it's high time for a proper textile post again. And fortunately, I have just the topic!

When I was at the Textile Forum, one of the presentations was about old knitting, more specifically what can be called "compound knitting". These really early knitting finds (from Egypt, dated to about the 5th to 7th century, to give you a rough timeframe) are not showing the same knit structure as we are used to. Modern knitting goes through the stitches in the last row to add the next row to the top. These finds done in compound knitting go through the last two stitches to add the next row. Are you confused yet?

The pieces presented at the Forum are all tubular, usually rather narrow, and sometimes striped across or worked in colour sections. They might have been worked on a knitting dolly, or worked on needles - it is hard to tell. We can look a bit at the different methods, though.

Compound knitting is very, very easy to do on a knitting dolly (or however you call these gadgets with pins to loop your yarn over) - you set up as usual, with base loops, and then you wrap the working yarn around the dolly twice instead of just once. Now when you are working your first round, lift the bottom loop over both the strands above it.

Here's how it looks when you are a few rounds in:

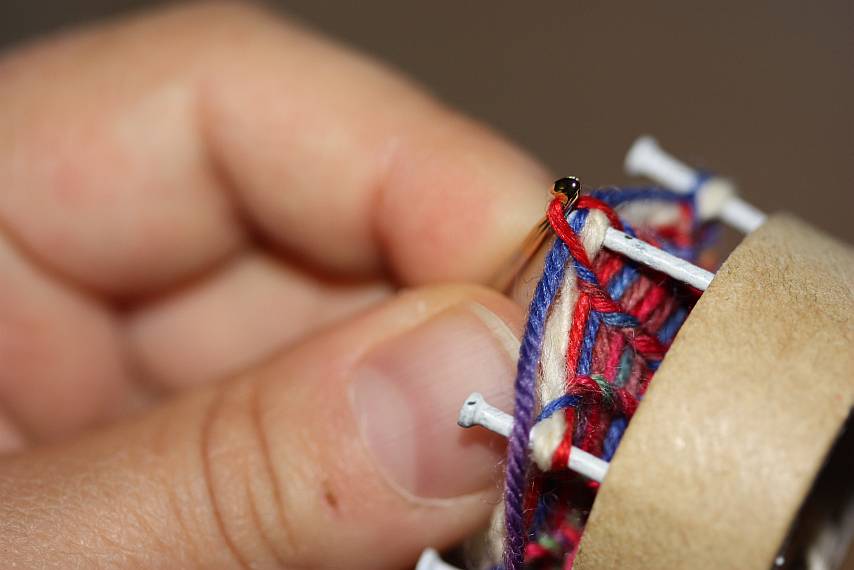
[caption id="attachment_1920" align="aligncenter" width="428"]Lifting the lowest of the loops on the dolly over the one on top of it and the working thread. Lifting the lowest of the loops on the dolly over the one on top of it and the working thread.


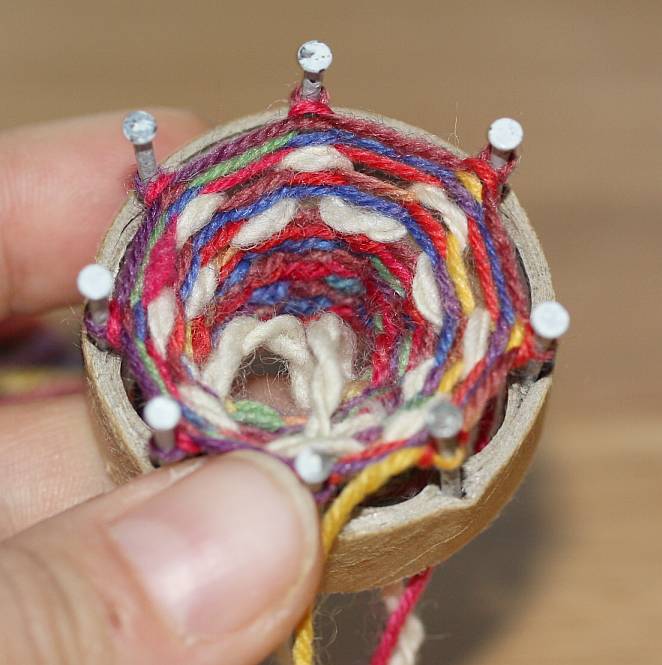
The white thread is there for better orientation. You can see the red (lowest) thread being lifted up over the white thread (which has been on the dolly for one round now) and the blue working thread. (The dolly, by the way, is a very crude homemade version that sports some nails left over from my active digging days.)

As a result, you get the compound stockinette fabric.

[caption id="attachment_1917" align="aligncenter" width="437"]Compound knitting on the dolly, knit side. Compound knitting on the dolly, knit side.


It doesn't look much different from regular modern knitting, but you can see that the stitches go through two of the previous rows - look at the green stitch in the top middle, for instance. This is even easier to see when you use a contrasting thread and look at that:

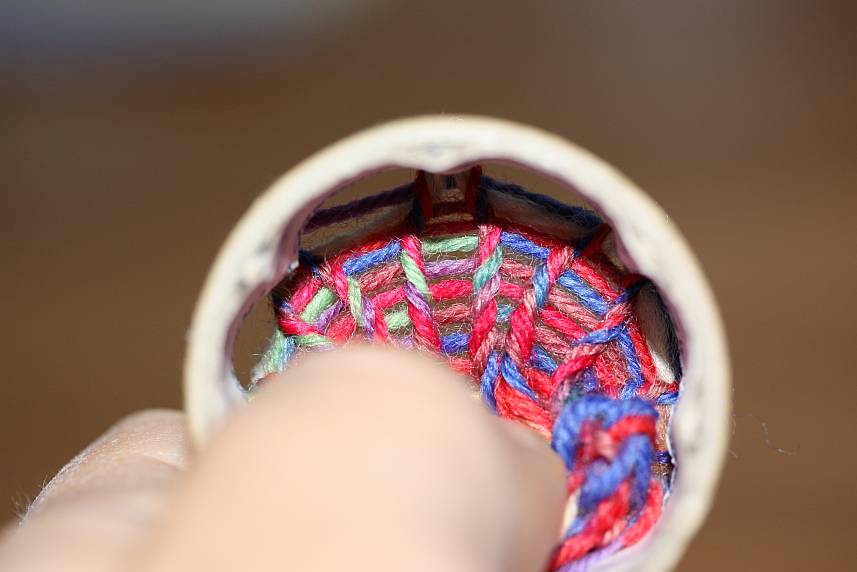
[caption id="attachment_1919" align="aligncenter" width="386"]Compound knitting on the dolly, seen from the inside. Compound knitting on the dolly, seen from the inside.


When you knit in a single row in a different colour in regular modern knitting, you have the little "dashes" on the purl side in one row, followed by a row of your regular colour, followed by the contrast colour row again. In compound knitting, the dashes are one extra row apart, as you can see in the picture.

Working this on a dolly takes no extra effort to do (it might be a tiny bit more fiddly to pick the loop to pull over, but it doesn't make much of a difference). The resulting fabric, though, is a different creature from regular modern knitting: it is much thicker while still very stretchy.

It gets really interesting when we try to take this to the needles, though... which is something for the next post.
0
NOV.
16
0

Behold the Stretchiness of Sprang.

I've already hinted that I did some sprang at the Textile Forum - and it was an utter joy to do. My previous dabblings in this wonderful technique had always fizzled and died before I got to the stage where I could understand what is going on. Add in a few misunderstandings (I had a knot in my brain and didn't really get what the instructions were trying to tell me) and the resulting mistakes, and there is no chance in really getting it at all.

For those of you who have little question marks hovering above your heads - sprang is a braiding technique where you braid on ends (or elements) that are stretched in a frame. You work in the middle, in a shed, crossing threads from the back with threads from the front, and your work grows from the top and bottom edge towards the middle. Once you are in the middle, you have to secure it in some way to prevent unravelling.

This time around, however, sprang finally clicked for me. Plus I finally got to use a ball of lovely cotton yarn that some friends had given me as a present years ago - a single ball of cotton, about 230 m length, so not really a thing to knit with, and not something suitable for historical stuff.

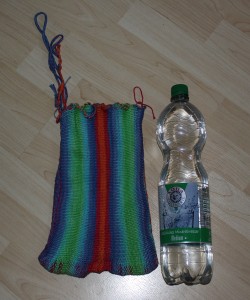
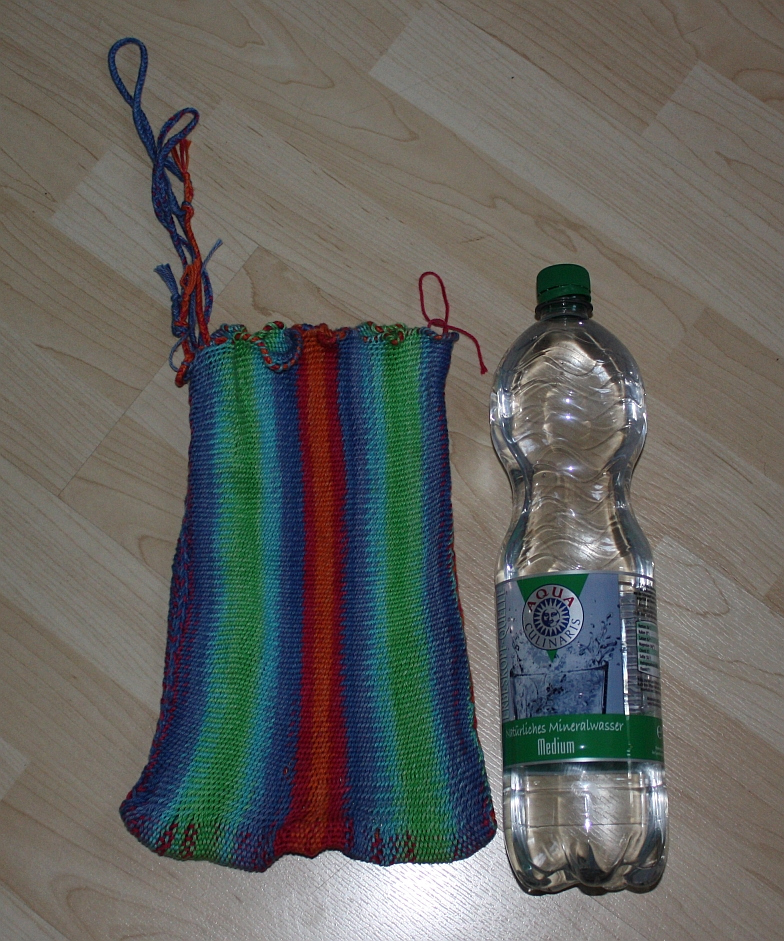
It made a wonderful bag, though:


This is the little bag hanging out next to a 1.5 l bottle of water, for size comparison.

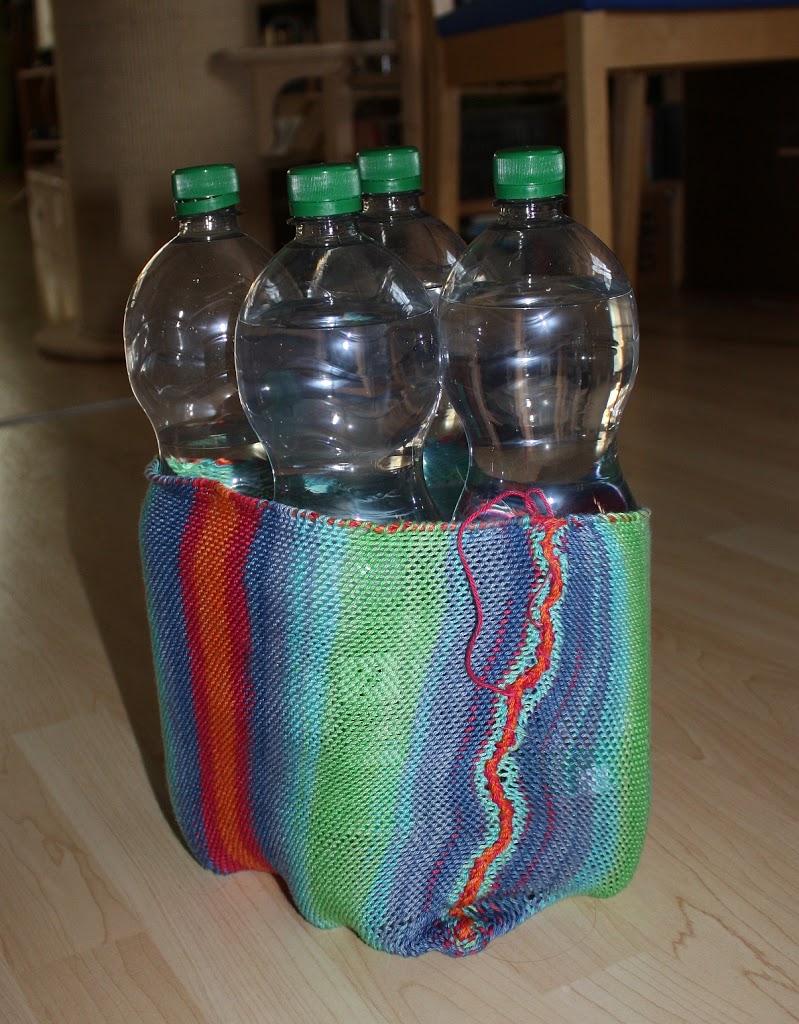
And this picture will show you the amazing stretchability of sprang:


Yes, it will hold four of these water bottles without complaint. It might even hold five, but the cord drawn in at the top (the other place where you have to secure your elements) limits the maximum opening of the bag's top. I think it's still impressive.
0
SEP.
25
0

The Gold Embroidery Book is here!

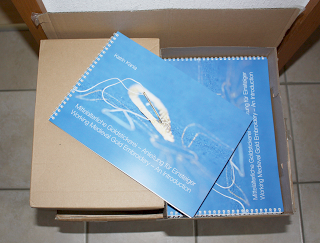
It just arrived this morning, and oh, it is pretty! I'm very happy with it, and I can finally stop worrying. (I never stop worrying about a print product until it is in my hands, and I can be sure the printing went okay. Glitches can happen, after all.)


Also, since I have been gently prodded, I have already put it up in the shop.

So now it's time for me to pack up the complimentary copies due to the museums and institutions, and for the German National Library (which keeps a copy of all the things published in Germany).

If you want to be sent a copy too, you can order it in my shop - or come and see me at the Nadelkunst on October 2-4 and buy it there.


0
SEP.
18
0

I'm all covered!

Yesterday was spent (partly) at the library, checking up things in books. Today is putting the last few pictures in (they will arrive today), then final layouting and related edits, and then our trusty little printer gets to churn out the whole thing once for a very last check-up. (Oh, and showing it off to my family over the weekend.)

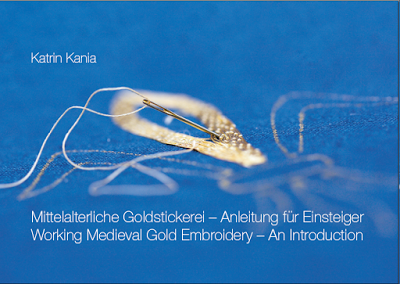
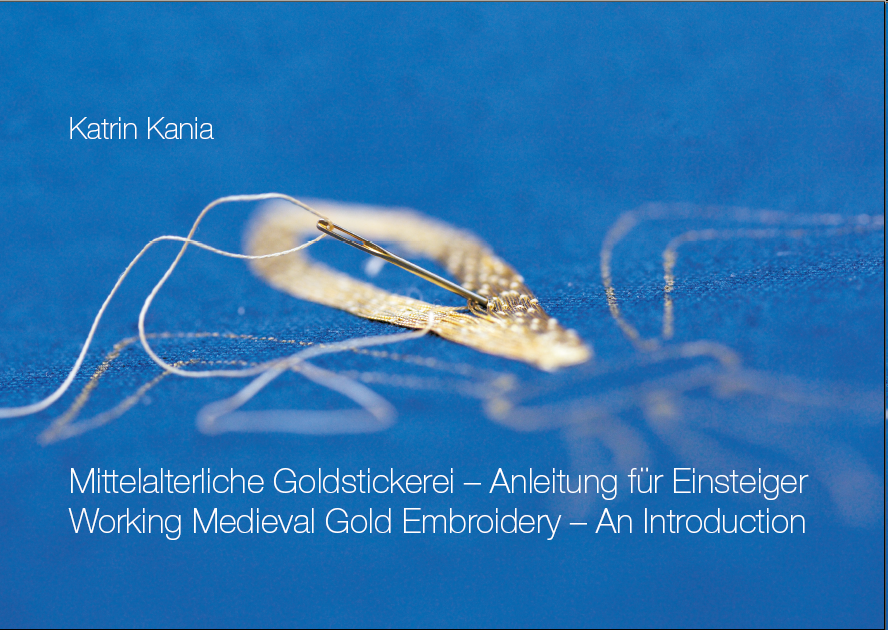
Also, there is a cover. It's blue, and gold, and beautiful, and it looks like this:


Also: Thank Goodness it's Friday. I can use a bit of weekend!
0
SEP.
15
1

An encore to yesterday's ornament.

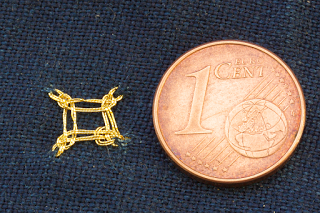
I posted yesterday about a small gold ornament embroidered on fabric, and the post received this comment:

Looking at your ornament, I realized that because I had seen that particular technique only separate from the fabric ground, and because I was thinking about it as structurally similar to macrame and rope knotting techniques, it had never occurred to me that it might have been created using the ground fabric to help create and maintain the shape, rather than being created "in air" and then attached to a ground fabric by sewing. I'd been making them (and teaching people to make them) by using pins on a board with the wire wound in pairs on bobbins, as if I were making a sort of bobbin lace. I'll have to experiment with this approach. I'm curious: given that some of the surviving pieces using this technique are quite long, what would your approach be to dealing with the lengths of wire needed, if they need to be loose in order be able to "sew" them through the fabric as you create the knots?

Well. This does need more than just a few words in reply, so I'm making it a blogpost.

Firstly, and most importantly, this is a special form of gold thread embroidery and not a wire ornament, so if you are thinking "knots in wire", you have the wrong material in mind.

Let me show you - here's the ornament again:


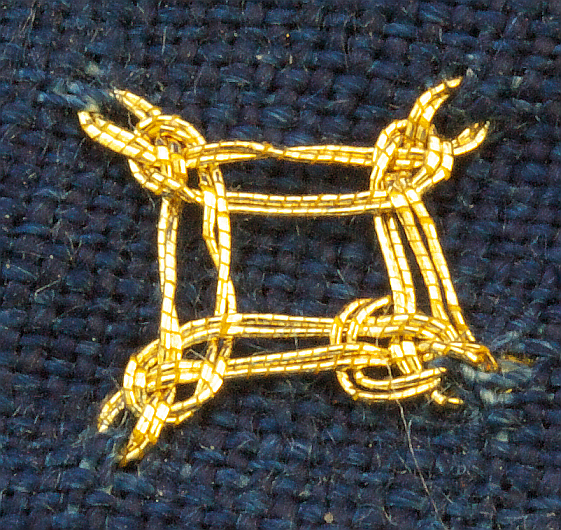
And here's the thing in closeup.

Gold thread is a pain to photograph - but it's so pretty when it works!
You can clearly see that it's not a wire, but a spun gold thread - a thin, narrow strip of gilt silver wound around a silk core. You can also see how the threads go through the fabric at the corners; start and end of the ornament are in the lower right part of the picture.

Hopefully you can also see that it is a real knot, not a braid or bobbin-lace-like crossover between a braid and a weave.

I thus have no clue on how you would be able to do this particular knot in wire, over pins, with the wire wound on bobbins, as there's not only crossovers - it is basically real knotwork that is stitched through the fabric at the corners, and the gold thread goes through loops.

I can tell you how I do it, though: I snip off a piece of gold thread in the length needed (that took about 16-17 cm), fold it in half and tie an overhand knot into the very end. (I feel very badass when I do this. Knots! In gold thread! It's the fastest way to really anchor the gold, though, and it doesn't take up a lot of material, so it's an efficient thing to do, but it still feels like a badass move.)
Then I take a (rather thick) needle and a piece of (thin) linen thread. The linen thread goes through the gold thread loop, then both ends of the linen thread are threaded through the needle's eye.

Now I have the gold thread secured to the needle, with enough slack via the linen helper thread to comfortably do the stitching. Pulling the gold thread through using the linen loop needs some care, but it works really well that way, and it's a rather quick way of making the ornament. After the last knot of the work is done, I just pull the end to the back of the fabric, pull out the linen thread, and that's it.

I don't think this approach would work with wire, though; spun gold thread is a lot more pliable than solid metal, even if it's fine solid metal that has been nicely softened.
1

By accepting you will be accessing a service provided by a third-party external to https://pallia.net/

Kontakt