Latest Comments

Guest - Aislinn Dyestuff Citizen Science.
09. Oktober 2026
This is a great project. I look forward to the results. Thanks for letting us know.
Guest - Aislinn Time for...
09. Oktober 2026
Looks delicious!
Guest - Katrin Sprang Discussion
18. September 2026
Hi Rachel, I have looked for more photos of you, but that was not very successful. I found a link on...
Guest - Beatrix Sprang Discussion
15. September 2026
That lozenge pattern element is not a photograph, but a scan. So it should be to scale. But I pinned...
Guest - Katrin Sprang Discussion
15. September 2026
I was not referring to Rachel's reconstruction (is the reconstruction you refer to the one photograp...
JUNI
21
0

More from the Mini-Loom, Part 3: Heddling.

A loom with a front and back layer of threads is nice and fine, but a single shed not a weaving makes, or so. Which means... heddles.

Now in the very first, quickly-thrown-together setup, I had done a very, very bad job at making the heddles. There were only a scant dozen or so of them, if that many, but they all had a different length... which is a seriously bad idea for weaving. Especially since, see scaling issues, heddles with a slight length difference are annoying enough in full-size weaving, but the slight length difference will scale up with making the loom, and with it the shed, smaller.

Shed size, by the way, is another scale problem. If you could just have a miniature weaver or two use the miniature loom for demonstrations, you would have no problem with a shed that is to scale for the small loom. (Actually, it would solve almost all the problems. They could also do the loom setup, and spin the yarn. From miniature sheep wool, with finer fibres... ah, let's not go there.)

My hands and fingers, though, do not get smaller when I downsize a loom, and I have to pass yarn through the shed for the demo - so it needs to be large enough for this. The shed size of the natural shed is easy to adjust by changing the angle that the loom has against the wall (in my case, that angle is relatively fixed by the angle the side support ends have; they are equipped with rubber soles so the loom doesn't slip).

With the heddle stick in resting position, my heddle loops now have to be long enough to reach across the depth of the natural shed, and they should all be the same length as well, for good looks (important in a model) and good functionality (just as important).

Since I didn't trust myself to do this free-hand, I used aids. First of all, I figured out a good length for the heddles (in my case, a tiny bit less than the depth of the natural shed, because the little loom has a very generous one). I then found a suitable stick and a position for that stick on the back of the side supports that, when the heddle yarn is wound around the stick, would result in the proper length.

Heddling was then done bringing the heddle thread through the front layer, around the thread of the back layer, around the gauge stick at the back, back through the front layer (in the same slot between threads, obviously) and around the heddle stick. It took me a good while to figure out how to make the knot consistently, so the left part of the heddle rod looks not as nice as the right part, but ah. I thought about doing it once more, all nicely... and then decided against it.
heddling
By the way: it is ridiculously easy to make a heddling mistake. Ridiculously easy. My respect for all those weavers who are setting up looms without any mistake went up a few notches again when I was doing this.
0
JUNI
20
0

More from the Mini-Loom, Part 2: Tensioning.

Next step for the loom setup was getting the weights... and there's another thing that does not scale down easily. I had looked for typical weight per thread numbers, but a quick search did not give me any conclusive data, there was no time for more than a really quick search, and so I basically fiddled around a bit with some items and the kitchen scales and then sort of decided on a weight per guesstimate.

Off into the fishing tackle shop, then. I had decided on 20 weights (10 per row) with about 65 g of weight, each tensioning a bundle of 11 threads - this means about 5 g of tension per thread, which, I hoped, would be easily sufficient for the smooth cotton warp.

The friendly man in the tackle shop informed me that there were 64 g weights available. They were not only available, but also in a sufficient quantity, and they were covered in a sort of camouflage paint (thus closing in the lead, much to my appreciation), and had a suitable form and shape - sort of pear-shaped, with two flattened sides. So I happily went out of the shop with my 20 weights. This part of the loom, by the way, is the most expensive part - the little bits of wood that it is made from were all scrap wood.

Back at the loom, it was bundling the threads of the front and back layer into bundles of 11 threads each (the last, obviously, of only 10 threads), tying them and attaching the weights. I chose to do the tying with a slipknot and then tied the weight in with a bit of linen thread.

setup_1
You can see how it all hangs nicely in bundles, with almost all the weights at the same height. The weights give it a nice tension, and the whole thing is surprisingly heavy when you lift it - the small size of the weights is misleading to the eye.

Next step: Heddles... which was something that I sort of dreaded.

A lot.
0
JUNI
19
0

More from the Mini-Loom, Part 1: Warping.

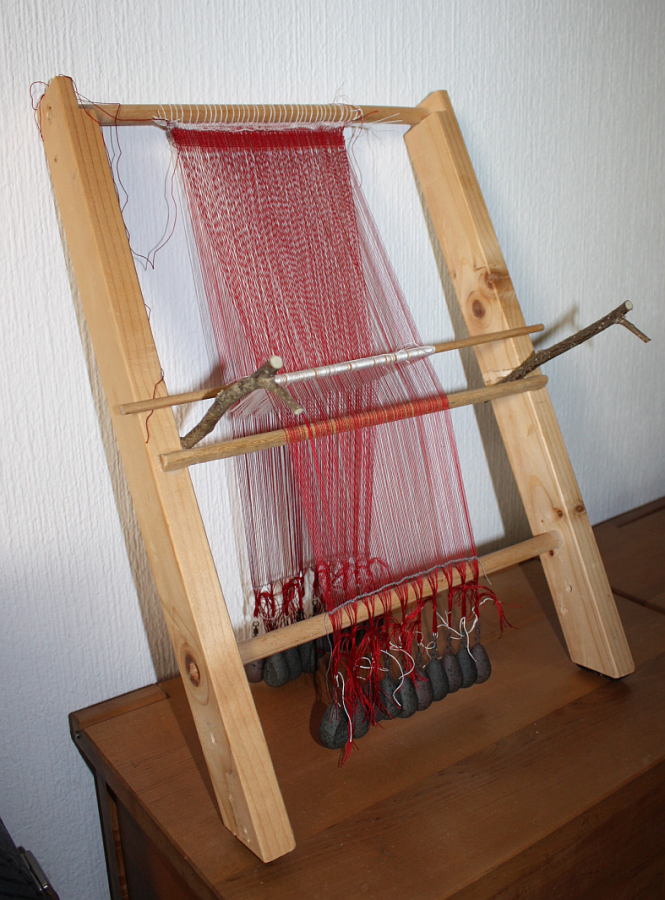
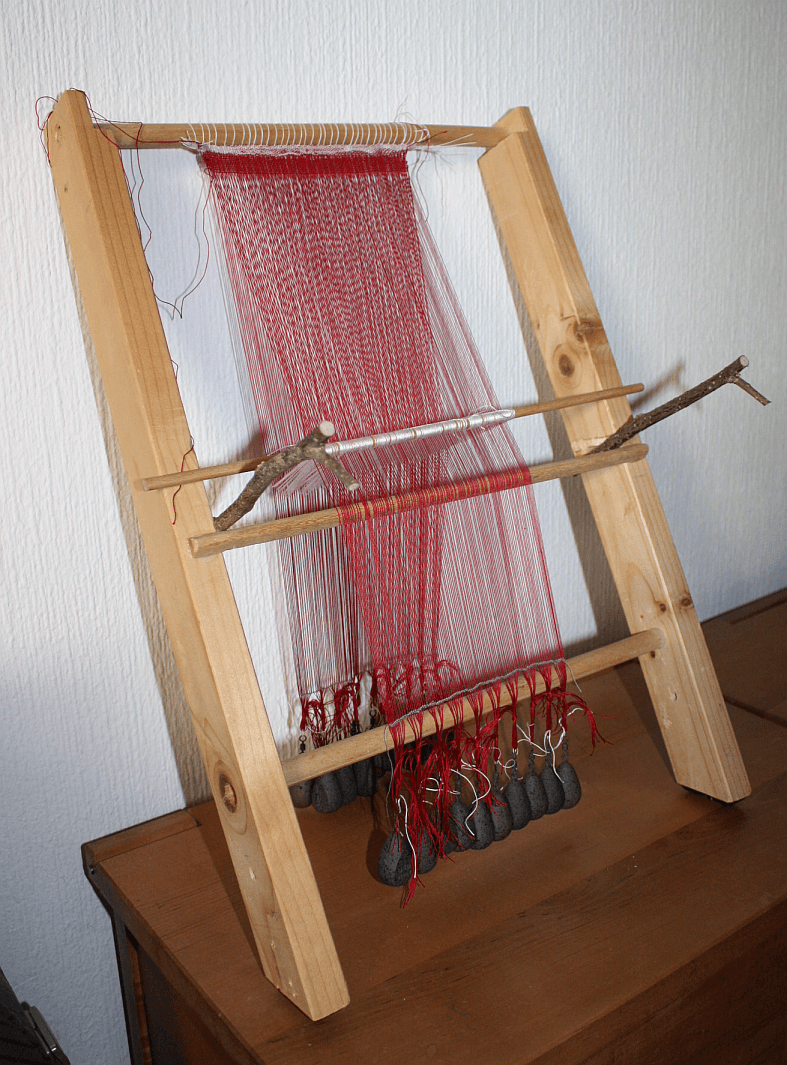
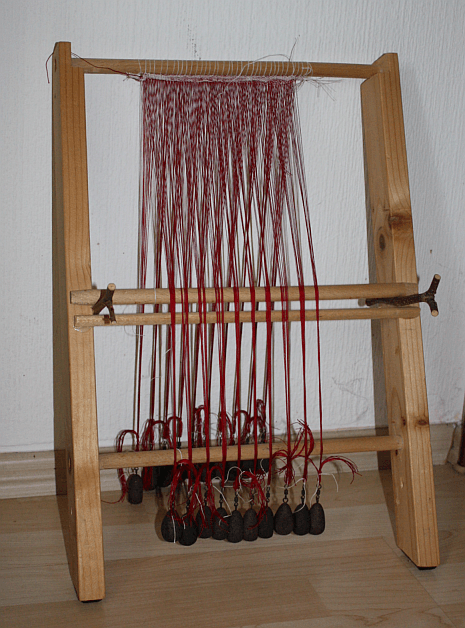
The miniature model loom is set up, and functioning, and it was a really fascinating project to do - plus I'm really, really happy with the result. Which looks like this:

loom_1
Setup took quite a long time - as was to be expected, as I'm a) not super-experienced regarding warping and loom setup, and b) not everything scales down to model size, especially not the time needed to do each individual task.

So... it all started with warping the red threads with help of the white starting border. You set up a warping frame and a rigid heddle for the band (at least that is what I used), weave a few passes on the starting border band, and then you draw loops through each band shed, bringing the loop around the warping frame.

This was a pleasant task, though I did end up with slightly irregular lengths of warp thread, and the edge of my starting border was not as nice as I'd have liked (but that was possible to fix after setting up the warp, at least to an extent). If I had already decided on how many warps to a weight I would set up, I could have separated the batches in this stage; but as everything sort of was still in flow decision-wise, I just did three batches (which also accounts for the warp length irregularity).

Thread length irregularity, by the way, is another thing that will not scale. You'll easily end up with one or two centimetres length difference, maybe even more if you have stretchy thread and real tension issues, and that will be no real issue on a warp length of, say, 2 metres. If your whole warp length is only about 35-40 cm, though, 2 cm difference are a lot, percentage-wise!

So once that warping was done, I attached the starting border to my top beam. On a proper large loom, that beam would have a lever and brake so it could turn to wind the woven cloth onto it. In my model, it is firmly glued in between the sides and thus not turning, so there'll be no demo of how to take up the woven cloth. Should I ever build another model loom, though, I would consider making a proper top beam, even though it adds another weak point in regards to transportability.

little_loom
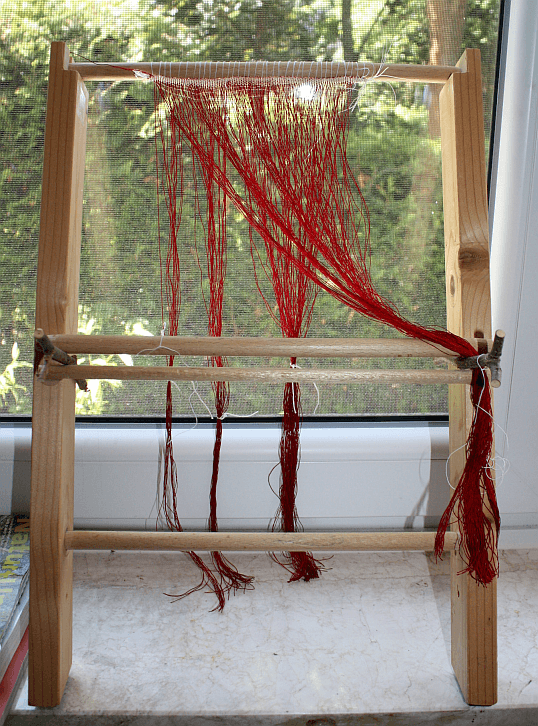
You can see the attached warp in its irregular bundles here, and you can also see the very, very messy bottom edge of my starting border, due to bad tensioning in the warp of the border and to bad alignment of the warping setup. (Which I didn't bother to correct, as I was counting on being able to fix it to a good enough state later on. Yes, yes, I know. Shocking.)

The finished warp is about 16 cm wide and has two layers of 109 threads each. Warp threads are a plied mercerised cotton yarn (intended for embroidery, originally) and the starting border is white linen yarn. I had thought about using wool for the cloth, but for several reasons settled on the cotton. First of all: durability. Not that wool isn't durable, mind you - but the model might sit in a basement cupboard for longer periods of time, and I don't want to pull it out again after, say, a year or so to find that some moth has found her way to my loom model and decided it would be a fine thing to feed her offspring. Then, second: scaling/tensioning issues. Wool tends to be a bit stickier than cotton or linen, and that might require more weight per thread, which I'd rather not have; also, doing it properly with wool would have meant doing it properly using single yarns spun in the correct direction, and while I have quite a bit of handspun yarn that might suit hanging around here, with my lack of practice regarding loomy things, I'd rather not do the first try for something like that on a miniature model. So cotton it was.
0
JUNI
16
3

Too little yarn error. Again.

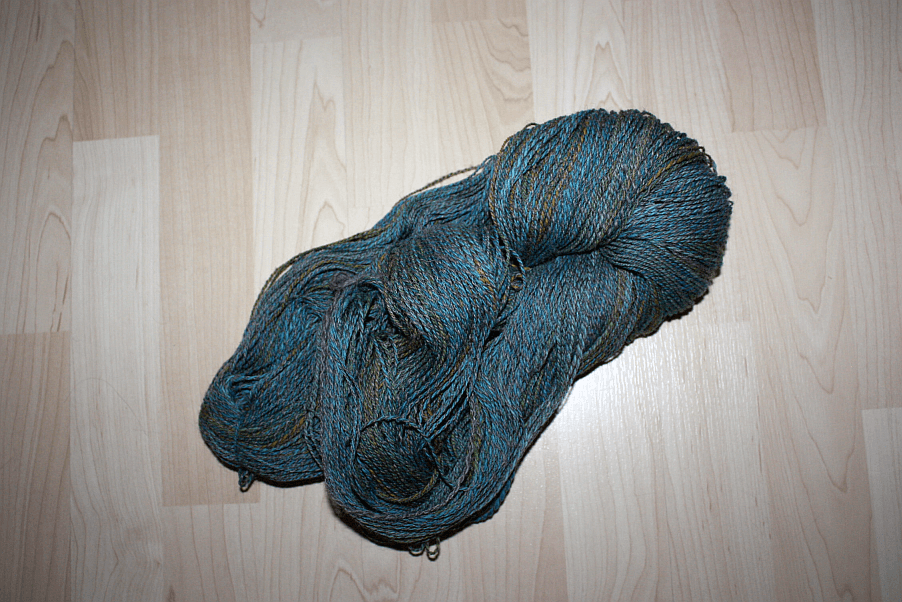
skein
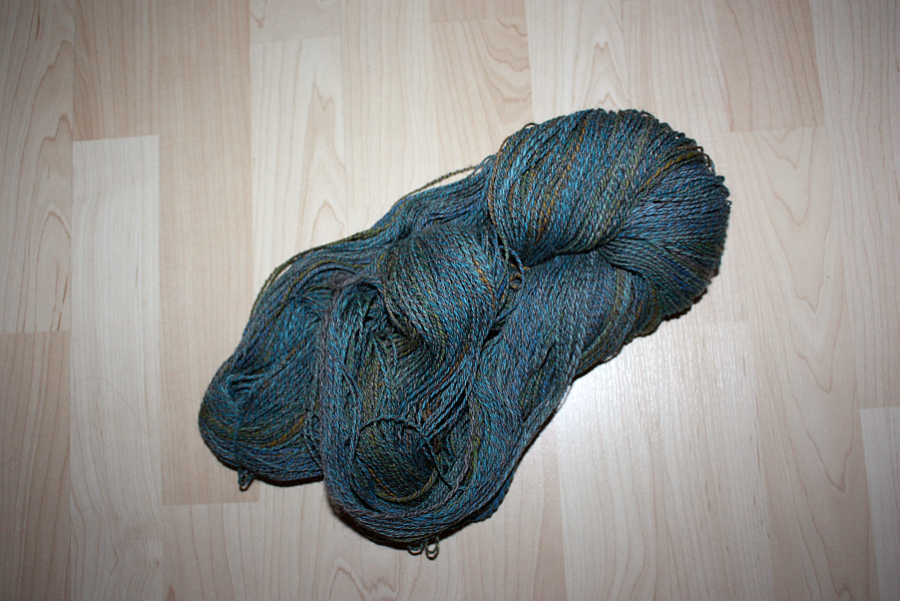
I've told you about my spinning project, and my glorious decision to ply the yarn spun from the dyed top with nice, grey Gotland yarn, to get more length. Well, it is finished now, and it looks really nice. It also knits nicely, and results in a pleasing fabric. Only problem?

It's not much. I have 278 g of yarn, but this weight only runs to a scant 458 m according to my length-measuring thingie. (Damn you, high twist resulting in high-density yarn!) Which is definitely not enough for something sweater-like... so now I have the usual not-enough-yarn problem again.

Sigh.

Maybe if I spin up some more plain Gotland, ply that, and use the two threads alternatingly?
0
JUNI
08
0

More spinning... but just for fun.

While I was at it, and the Zwirnzwerg was out, I finally finished spinning up that nice, dyed top that had been hanging out here for a good while. It was about 150 g altogether, which means it's a rather generous amount for a pair of socks, but way too little for anything sweater-like. I have more than enough pairs of socks, though (the sock drawer is overflowing), and I also have more scarf- or shawl-like objects than I actually wear. Same goes for hats. Which means... sweater-like things are currently high on the list of stuff I'd like to knit.

So out came some of the Gotland sheep wool. There must be an upside to having different kinds of wool for sale, right? And obviously, from time to time, I have to check whether the quality is good and it spins nicely...

Well, I can tell you - it did. The fibre is really lovely, with a soft, silky feel to it, and the colour is ever so slightly variegated, since the grey effect is achieved by a mix of dark and white individual fibres. It looks very nice, and very chic all on its own.

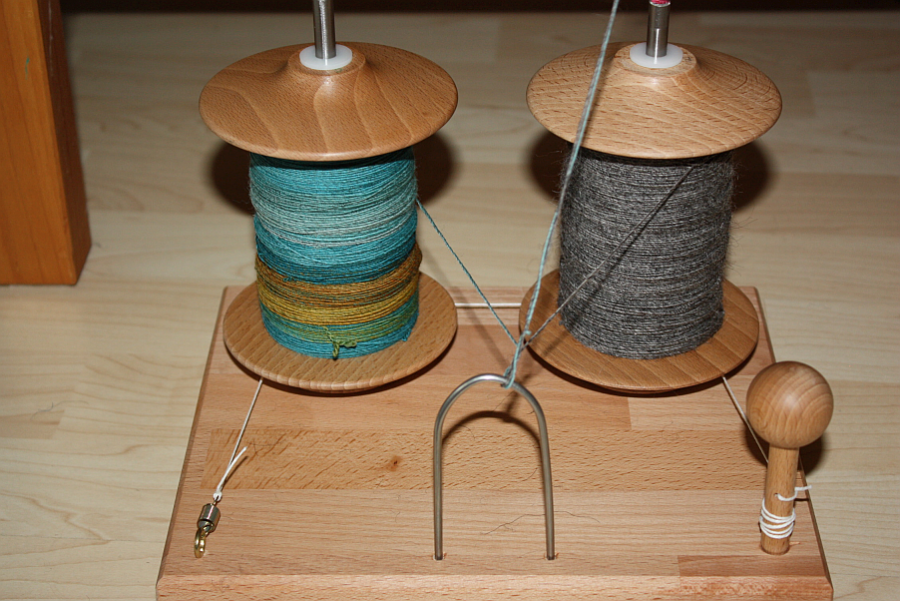
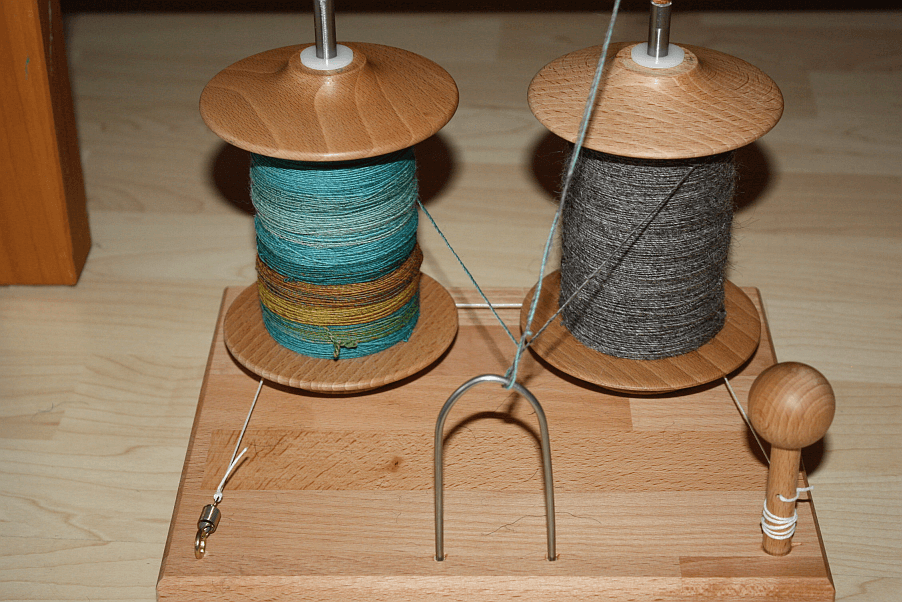
So. Spinning took place, which means that after a while, I had this:

lazykate
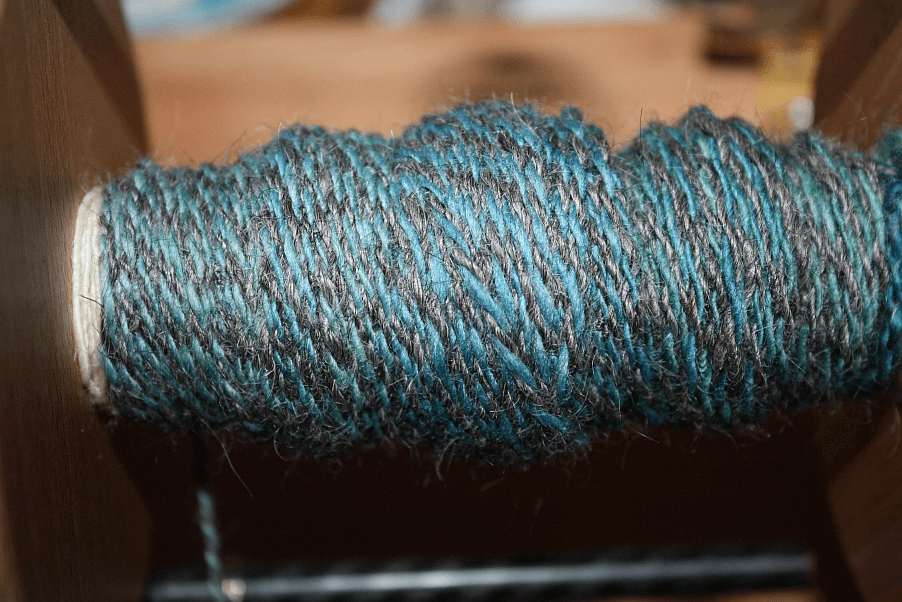
...which turns into something like this when plied together:

pliedyarn
And that's the current status. Which will not progress at all until tonight, when I will hopefully have a nice hour or two on the sofa, with the spinning dwarf in front of me, humming away quietly and turning these two singles into lovely, lovely yarn to knit with...
0
APR.
28
1

Finished! Shiny!

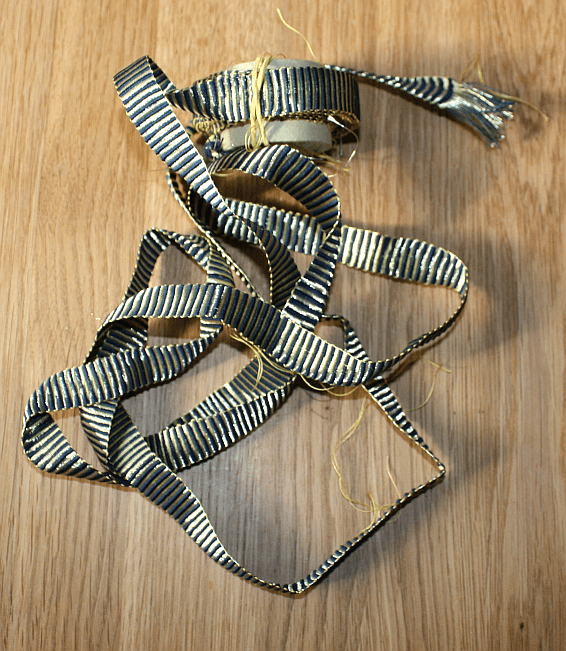
I'm done and finished with the weaving; now there are the warp and weft ends to take care of, and then the lovely gold band is ready to go off to its new owner.

Here it is, in all its raw unfinished glory:

goldband
After the hiccups at the start, I'm now really happy with how it turned out - and it will make a gorgeous trim for the dress it is intended for, I'm sure!
0
APR.
27
0

Almost done.

The weaving has progressed, and it's almost done - which is nice, because that means we won't have to bow to my work for too long when crossing the room. The band is fascinating, too - it's such a simple pattern with just stripes running across it, but the combination of dark silk and the luscious gold make it all shiny and gleaming - it sometimes looks as if it's glowing from within. Definitely a gorgeous thing, and probably nothing that can be photographed easily.

The tension difference between the silk and gold has become even more noticeable by now, it is not just a few millimeters, but runs up into the decimeter range - I think it's about 12 cm by now, after about two metres of weaving. Amazing, really, and definitely something to remember with the next warp, and to plan for accordingly.
0

By accepting you will be accessing a service provided by a third-party external to https://pallia.net/

Kontakt