Latest Comments

Bounty Hunter Seeds Tomato Seeds.
02 November 2024
Thank you for taking the time to share such valuable insights! This post is packed with helpful info...
Miriam Griffiths Blog Pause...
01 November 2024
Hope you have a most wonderful time! One day, I really should get organised and join you.
Katrin Cardboard Churches!
18 October 2024
I didn't know there's foldable models - I will have a look into that, thank you!
Katrin Cardboard Churches!
18 October 2024
I'm very happy that you enjoyed it, and hope you will have lots of fun with the models! Hanging them...
Natalie Ferguson Cardboard Churches!
17 October 2024
Isn't this the happiest thing I've met today! You may guess that one or two will be winging their wa...
JUN
22
0

Norwegian Band Looms.

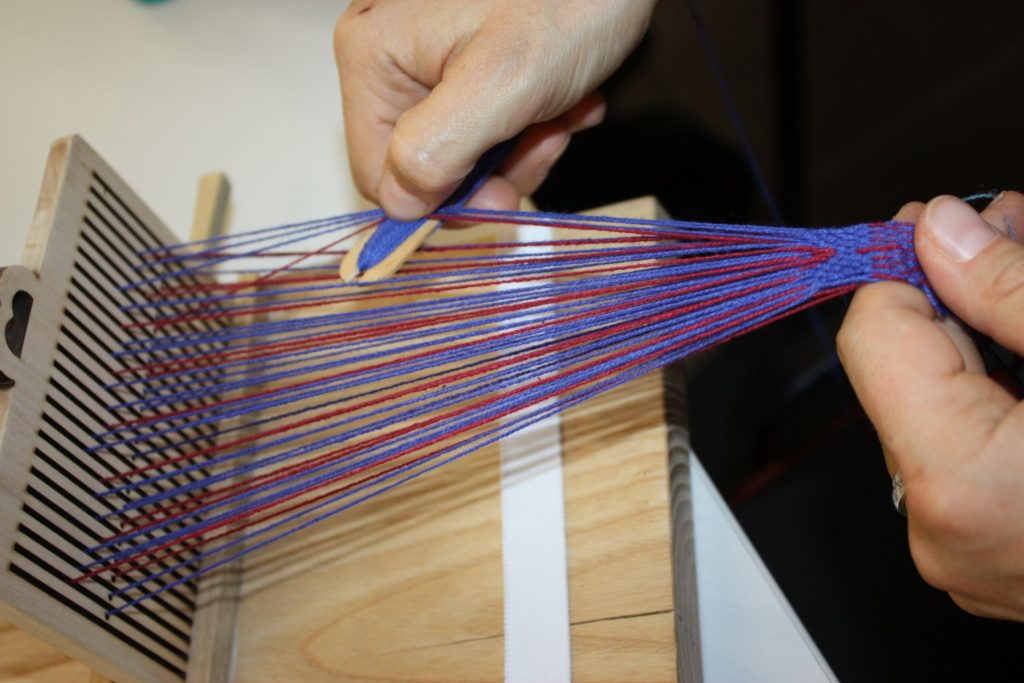
Band weaving with rigid heddles (or with string heddles) is a wonderful technique - it's relatively easy, quick, and versatile, and if you like patterns, there's always the possibility to do pick-up patterns or insert some extra heddles. Small wonder that there's a lot of band weaving implements in folk museums...

The North, especially, seems to be a place for beautiful bands and, consequently, for looms and other weaving tools. There was a discussion on the Braids and Bands mailing list a few days ago about a certain form of band loom, the Norwegian cradle loom, and Mari Voipio did the list a favour and made a public list of the looms in the Digitalt Museum (thank you Mari!). You can find the list here - it contains a lot of looms, and there is also a very interesting video about band weaving included. 

0
DEC
05
3

Library Day!

Today was a library day - I'm writing on an article about clothes on a ship depiction, and that needed some research (plus bringing back some due books I had loaned out for that article), so today was spent among books, with a nice lunch break to meet a friend.

Which means that you get a gratuitous, late-in-the-day textile picture:


This is my try at weaving rigid heddle pickup patterns - something I had wanted to do for ages, and I finally got around to trying it at this year's Textile Forum. It was... not exactly what I had expected, and it is one of the techniques that are more "meh, don't need to do that" for me.

The basic principle is simple: You have threads in two colours, and you can let the non-background colour come do the surface by picking it up and suppressing the background colour threads between your pattern colour threads. Basically, this means you can do anything at any time (as opposed to twill tablet weave patterning, where the ground structure gives you a framework that you cannot break through). Which, it turns out, is a degree of freedom that I found awkward to handle... plus I did not really care for the many long floats on the back of the band.

That said - I was really happy to have finally tried this!
0
DEC
12
2

Faking it, Part Two.

So let's say you need to have a starting border on a fabric that doesn't have one.

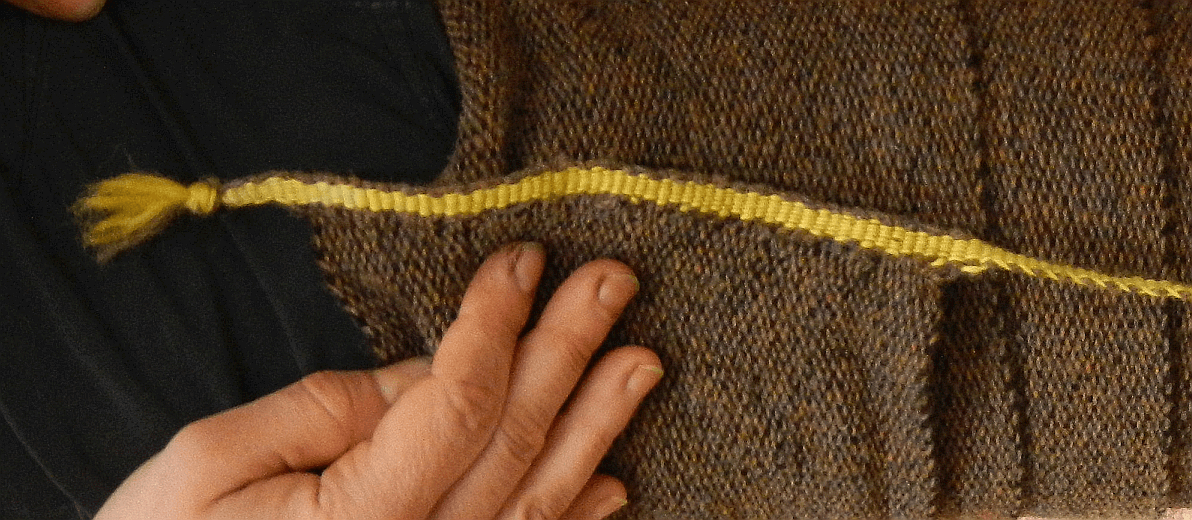
Traditionally, you have the two obvious usual suspects for doing this: rigid heddle weaving or tablet weaving. In both cases for the Bernuthsfeld Project where we were lacking a starting border, the originals had a rigid heddle border.

So for faking a border, you set up the warp of your band just like you would for a normal band - the necessary length plus a bit more for the loss of yarn at start and end. Then you take the edge of your finished fabric and make sure that there is a warp fringe long enough to go through the width of your band twice, plus a little extra to grab. How much of a little extra you need depends on your fingers and your love of fiddlyness.

You weave a few picks to get a proper start to the band, with a normal weft thread, and then you start using the warp fringe as weft. For this, you pull one warp through the shed so it sticks out of the band at the far side of the fabric, change shed, and go back towards the fabric with the same warp. Into that same shed, you also put the next warp thread in line so that it sticks out at the far side of the fabric. Repeat ad nauseam, or until you reach the other edge of your fabric, and take care not to switch warp threads or miss some. It's not difficult to do, but it is fiddly, and it is time-consuming - as you can see on this video:

Privacy Policy Notification

This site attempts to embed videos from the YouTube web server. Please note that when loading YouTube videos, personal information may be transmitted to YouTube. Do you agree with the loading and playing of Youtube videos? You can find more information HERE

You will also have to pay close attention to the growth rate of your band (in length) as compared to the spacing of your warp threads - and here is where the difference between the fake and the real really comes in.

When you make a real starting border, you have two ends going through each shed, as you do with the fake starting border. However, both ends in each shed in the real border are functional warp ends of the main fabric - in contrast to one functional warp end in the faked border, which is accompanied by its colleague going back. So you effectively have to fit double the amount of weft threads into the length of the band if you're doing a fake border.

Can you smell the problem already? If you use a band warp yarn that is as thick as the original starting border warp yarn, the distance between your sheds will be large enough to spread the band out way too much in the faked border. You will have to remedy this by occasionally placing two or more live warp ends into a single shed. This is the way I did the starting border for one of the leg wrap edges:

startingborder_legwraps2

This is not nice to weave, and the slightly too high spread is still visible. You can also see a tiny hint of the trimmed fringe that is left underneath the border - a telltale sign that it is a faked one.

The alternative is choosing a warp for the starting border that is a lot thinner than it would be in the original. This reduces the distance between sheds along the band, so you can fit all your warp threads one by one into the band. This is the solution I chose for the border faking shown in the video, as the border was much longer. Obviously, using thinner threads also means a narrower border, so you'll have to use more warp ends for the starting border to get it a similar width as the original.

In both cases, you might be able to see a hint of the fringe sticking out of the band. So if you're looking at a replica fabric, or a reconstruction, and it has a starting border - fibre ends sticking out between border and fabric will tell you it's a faked one. If you cannot see fibre ends, look at the thickness of the starting border threads; if they are significantly thinner than the yarn of the main fabric, it's probably also a faked one. It's definitely also fake if the yarns are similar in thickness to the main fabric warp, but there are more than two ends in individual sheds. All that is assuming you can get close enough to the piece, of course!
0
APR
28
1

Finished! Shiny!

I'm done and finished with the weaving; now there are the warp and weft ends to take care of, and then the lovely gold band is ready to go off to its new owner.

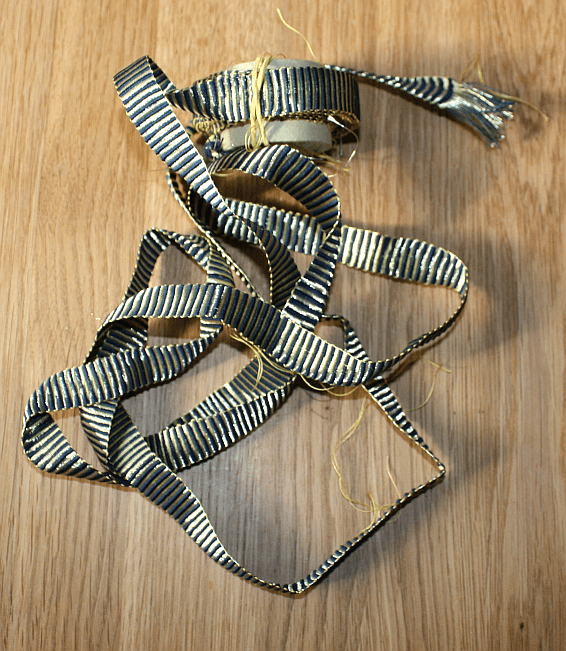
Here it is, in all its raw unfinished glory:

goldband
After the hiccups at the start, I'm now really happy with how it turned out - and it will make a gorgeous trim for the dress it is intended for, I'm sure!
0
APR
27
0

Almost done.

The weaving has progressed, and it's almost done - which is nice, because that means we won't have to bow to my work for too long when crossing the room. The band is fascinating, too - it's such a simple pattern with just stripes running across it, but the combination of dark silk and the luscious gold make it all shiny and gleaming - it sometimes looks as if it's glowing from within. Definitely a gorgeous thing, and probably nothing that can be photographed easily.

The tension difference between the silk and gold has become even more noticeable by now, it is not just a few millimeters, but runs up into the decimeter range - I think it's about 12 cm by now, after about two metres of weaving. Amazing, really, and definitely something to remember with the next warp, and to plan for accordingly.
0
APR
26
0

Unboxing. The other kind.

A while ago, I got a commission for a gold and silk band, woven on the rigid heddle. Which delighted me no end, since I just love working with these materials, and I love rigid heddle band weaving, and the band itself is totally stunning in its simplicity. So I did the calculations, and the test run, and everything looked A-OK. Green. All systems go.

I even made a boxloom for this, to have something to wind up the long warp, so everything would stay balanced and nice and tidy. You might remember this:
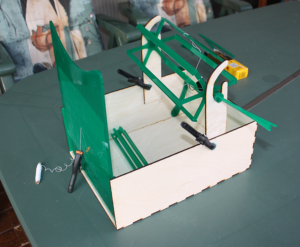
boxloom_half-finished

Well. It then evolved a bit (which was to expect)...
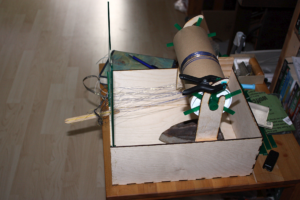
boxloom_evolved

...and for the final run, because the laser had not cut all the slits perfectly and some had a rough spot, I decided to use a wooden rigid heddle (way too wide, but who minds, right?) instead.

The warp was warped, the ends were threaded through the heddle, weaving started... and I quickly discovered that while my calculations for the bandwidth were correct and I had plenty of warp (I'd made it a bit longer, just in case), there were problems.

Tension problems.

The threads, both gold and silk, are fine and smooth and slippery. This can cause an issue when not holding the band at the very same angle to the heddle all the time, because then it will curve (or zig-zag). This is not as obvious with the narrower test bands I did, but with 1.5 cm of width to weave? It suddenly becomes an issue.

The threads are also very, very different from each other regarding their elasticity - which means that though the warp was nicely tensioned at first, it very, very quickly deteriorated.

Well. Tools evolve, right? And when something like this comes up, you cope with it as best you can. Which, in my case, meant... unboxing.

See what I mean here:
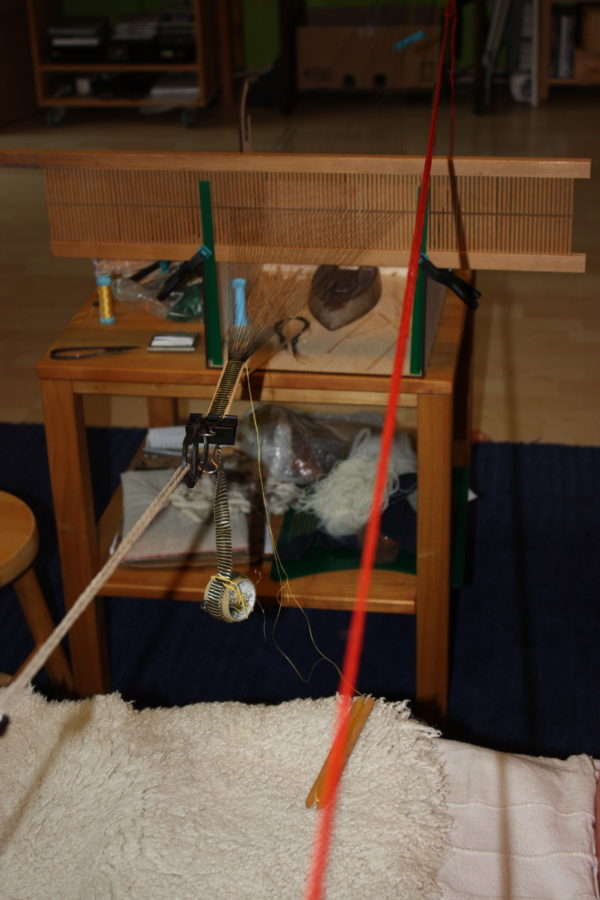
IMG_2263
There's a white cord temporarily taking my place, holding the woven end of the band (hooray for foldback clips). There's a red cord tensioning the main warp, through the whole room - twice, actually. This is how it looks from the other side:
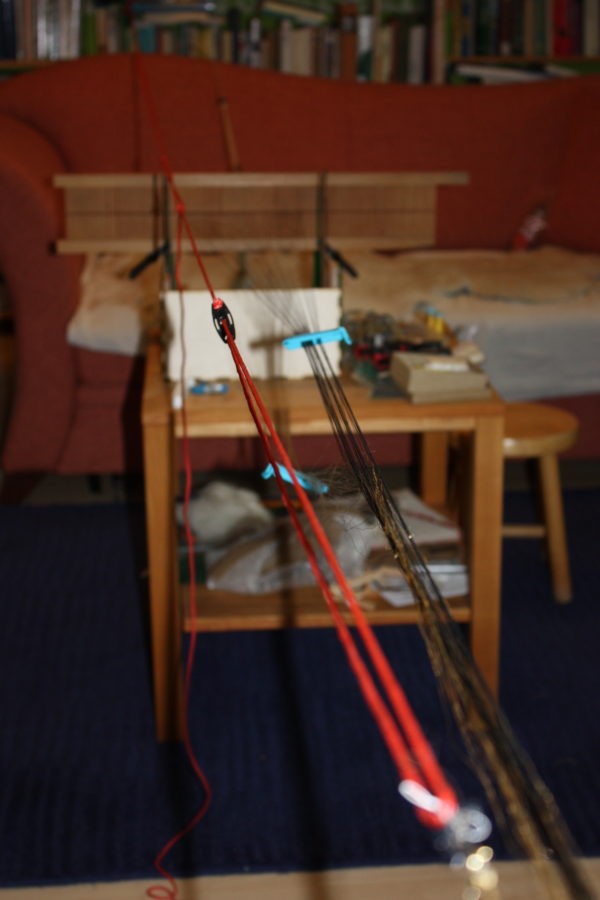
IMG_2264
Because it is easier to adjust the tension a smaller bit of warp at a time, there's clamps a bit behind the heddle:
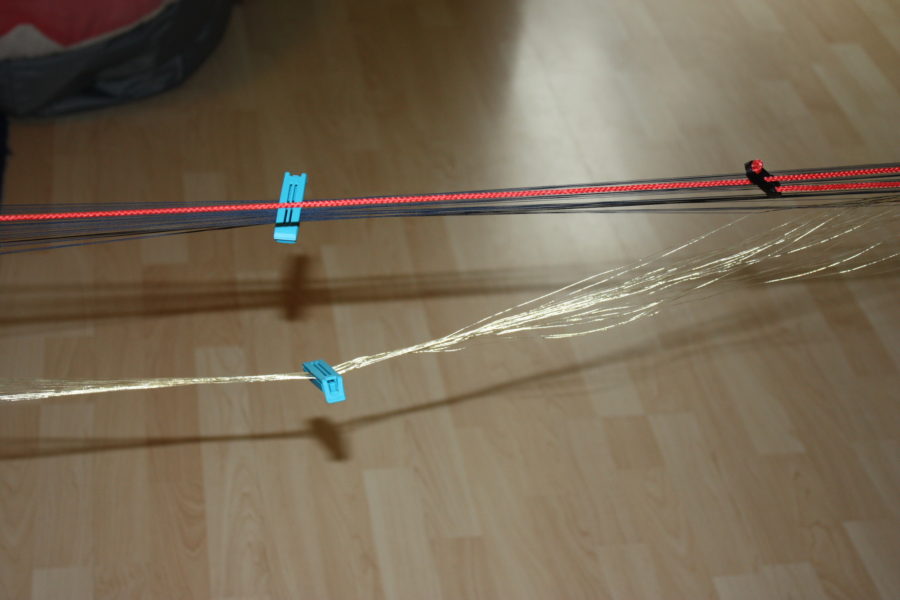
IMG_2265
...and you can see here, in the picture taken before I installed the final thingummygadget (made from a piece of string), that the difference in warp tension is really huge, only a relatively little way into the weaving process.

So here's the coup de grace for this issue:
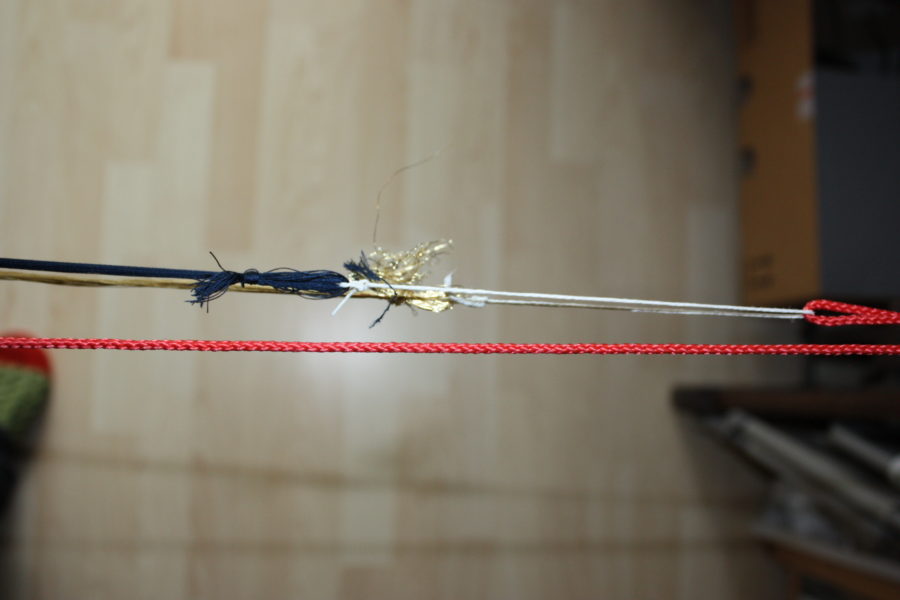
IMG_2267
Silk and gold warp separated, then tied together with a bit of string, and that is used to tension them. Voilà - equal tension for the two.

Next time I'll make something like this from silk and gold? I'll handle things a good bit differently from the very beginning!
0
MAR
20
1

More gold band weaving.

Well, what do you do once you have made a box loom? Try it out, of course. So I've been test-weaving some more, again with silk and gold... and by now, it's become a fairly long band:

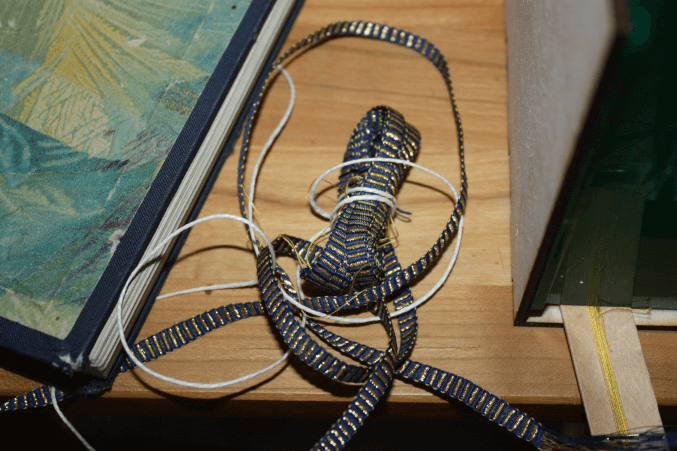
blueband
...so long that I have wound it up and tied it together with the white cord. (That band will probably show up in my online shop, eventually.)

The boxloom, of course, has also evolved a bit during all this weaving:

boxloom_evolved
My original plan to make a sort of reel from acrylic has not stood the test of time - or rather, the glue I used was not strong enough. So the construction (you can see the leftover parts behind the loom, half-hidden by the sandpaper to smooth out any remaining catchy edges) got replaced by a cardboard tube. To keep the warp from unreeling, I have a suitable gear and stopdog, but haven't taken time to install them yet (they are on the far side in the photo), so for now, a clamp is taking on the stopping duty for the warp reel. (I love those clamps. We have a gazillion of them, and they are just. so. handy.) There's an old iron providing the heft that the lightweight materials do not give, so I can beat in the weft without beating the loom towards me.

It always fascinates me to see how tools, and even those that seem so simple, have a lot of details that turn out to be more important, or less important, than you would have supposed them to be - even if you know the textile technique in question, and how those tools get changed and evolve when you work with them...
0

Contact