Latest Comments

Guest - Katrin Sprang Discussion
18 September 2026
Hi Rachel, I have looked for more photos of you, but that was not very successful. I found a link on...
Guest - Beatrix Sprang Discussion
15 September 2026
That lozenge pattern element is not a photograph, but a scan. So it should be to scale. But I pinned...
Guest - Katrin Sprang Discussion
15 September 2026
I was not referring to Rachel's reconstruction (is the reconstruction you refer to the one photograp...
Guest - Beatrix Sprang Discussion
14 September 2026
There is something Rachel did not mention. She told me: "Well, I worked with the measurements we too...
Guest - Katrin Sprang Discussion
14 September 2026
Well, this is certainly developing into an interesting discussion. Firstly, going from that lovely l...
JUN
25
0

Hah. Is it weekend already? No?

It's still way too hot here, the Little Cat is better (at least it looks like it to us), and I am getting the hose stuff ready to be sent off. 

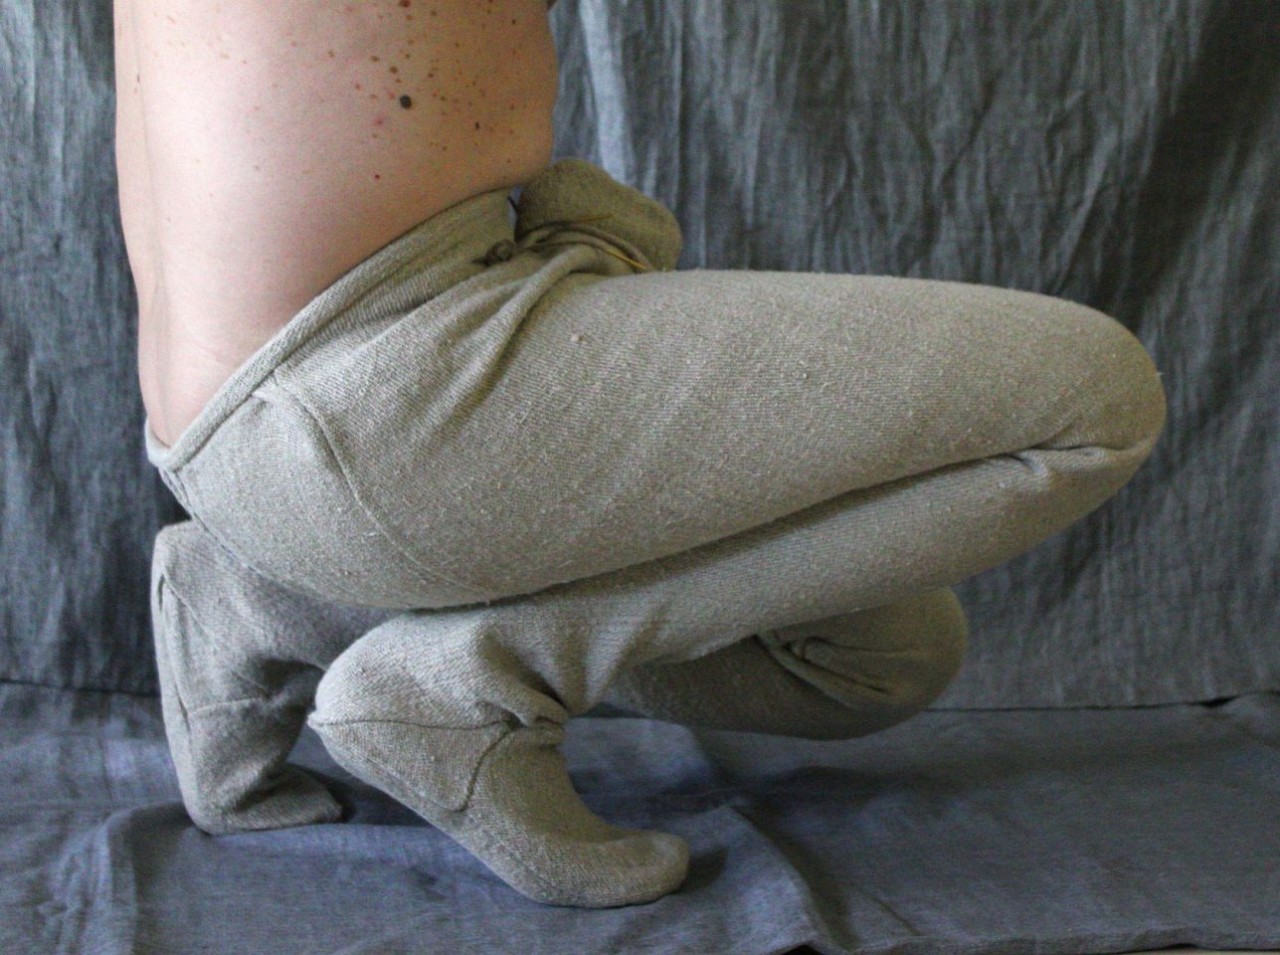
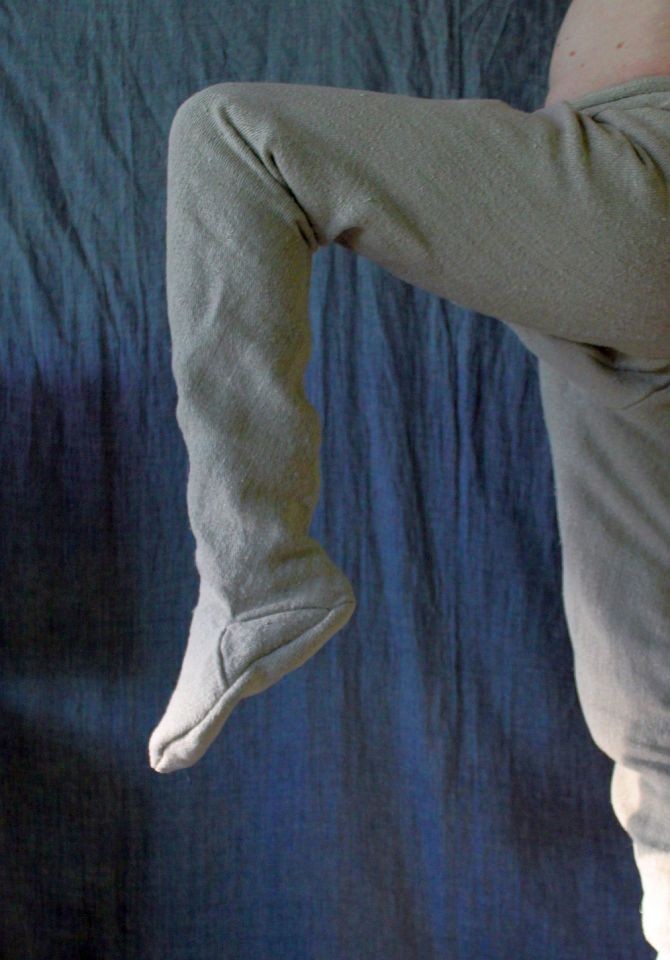
Thanks to my lovely model whom you can see in this picture, you can now see how it could have looked when it was new, and still had its feet on, and the thighs were not yet worn through. It was definitely an adventure!

The hose will go to the castle museum in Urach, where it will be mounted so it looks nice as it chills in its own little place in the exhibition. But there will be a piece of the fabric to touch for the visitors, which is always something that I really appreciate.

So... this is done, and I'm looking forward to the weekend (where I will give a sprang workshop in Landshut), and then... the summer break draws near. And other, new adventures.

(Though it would be nice if they were coming with a little less heat outside. Have I mentioned that it's way, way too hot here?) 
0
JUN
22
0

It's Finished.

After fiddling with the feet (the small bits at the end always take more time than seems fair!) the hose is now finally finished. I'm very happy that it is, and there's nothing that went superduper wrong, but I'm also not over the moon. 

With all the pattern making and pattern taking and pattern transferring, after having cut the very first pattern attempt a little too small, it's now a little too large. Not really bad, but, well, it would sit even nicer if it were a tiny bit tighter.

Fortunately it's not intended to be worn by my most patient model husband, but it will be in a case with a support that fits it right, so I'm trying to not beat myself up over it too much. It also has quite a bit of fold puddling around the ankles, but again, a little tighter would make this less obvious. And since the linen fabric is not very stretchy, and it needs a bit of room for the feet to pass through, well, I think the extra width at the ankle could have been less, but not avoided entirely.

The whole thing could have profited from some nice fitting sessions after cutting and before sewing, but I have to admit skipping these because I was afraid the fabric could unravel too much when fitting. (Also see above, the goal was a reconstruction to sit in a case, not one to fit perfectly.) There's some other bits that I would like to tweak some more, where I'm not entirely happy with how it worked out, and I do wonder if there's a better (read: quicker and less annoyingly fiddly) way to make the foot parts. 

For now, though, I'll be happily done with the thing. There's a few touching samples of the fabric to be seamed, then it will all go off to its new permanent home, and I can prepare for the sprang workshop this weekend!

0
JUN
02
0

It has begun!

I've started cutting and sewing for the Alpirsbach project... and it's definitely interesting!

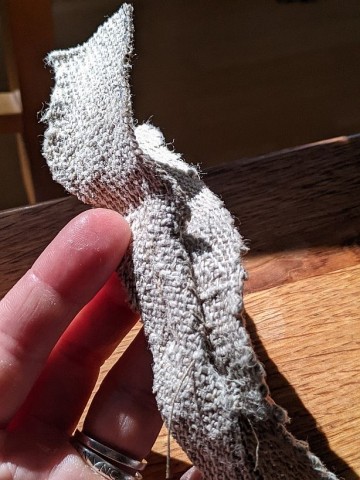
This was a test seam I made before starting on the real one, after cutting the first leg. That was really hard work; fortunately the fabric is much more cooperative being sewn than being cut! 

0
JUN
01
0

First Cut is the Scariest.

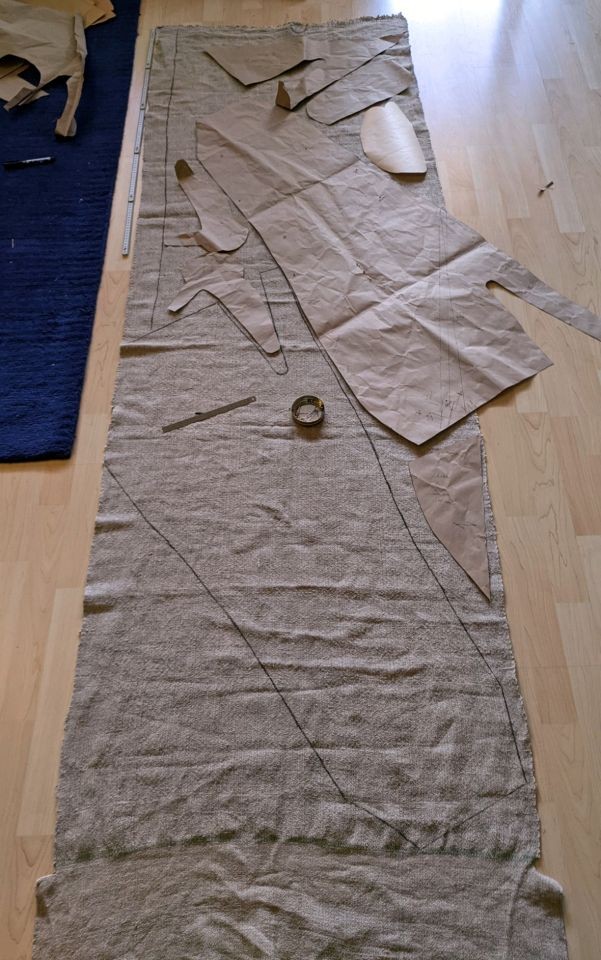
So. There has been drawing, and thinking, and staring at photos, and cutting out, and pushing bits of paper around, and then drawing on larger pieces of paper, and more cutting out, and more arranging and re-arranging and cutting other bits and then, finally, drawing lines with charcoal around the pieces of paper. 

In general, I am no fan at all of paper patterns - I prefer the construction right on the fabric and play it by ear method. But in this case, where the aim is to get close to the original and there's not much prior experience on my side on how to place pattern bits, and with limited amounts of fabric (easily enough to do this, but not enough to botch the cutting! The fantastic fabric, by the way, was woven by the equally fantastic Marie Ekstedt Bjersing, and it was such a lovely experience to follow her process.)

Well. There you go.

Most of the bits line up very nicely to leave some few but not-too-small leftover pieces from where to cut the foot bits. Not pictured here are the possibly necessary toe parts for the feet of the hose, and the surely necessary small triangles for the ankle area. All the rest... is there. Now I only need to cut.

But first... chocolate. And a deep breath. And potentially a night's sleep, and then, then - cutting! 

0
MAY
12
0

Up and away for the rest of the week...

...while the little cat will have our upstairs neighbour to look after her. There's cat food freshly prepared (and frozen) so she also can't complain about that. (Well, complaining is always a possibility. She's a cat, after all.)

The test hose are still missing the finishing touches on the feet, as this and that came up and somehow I haven't managed to finish - but that will happen in the next few days. The main plan is all done, though, and the reports from the weaving are all sounding very, very good - and like the scary cutting bit coming up soon.

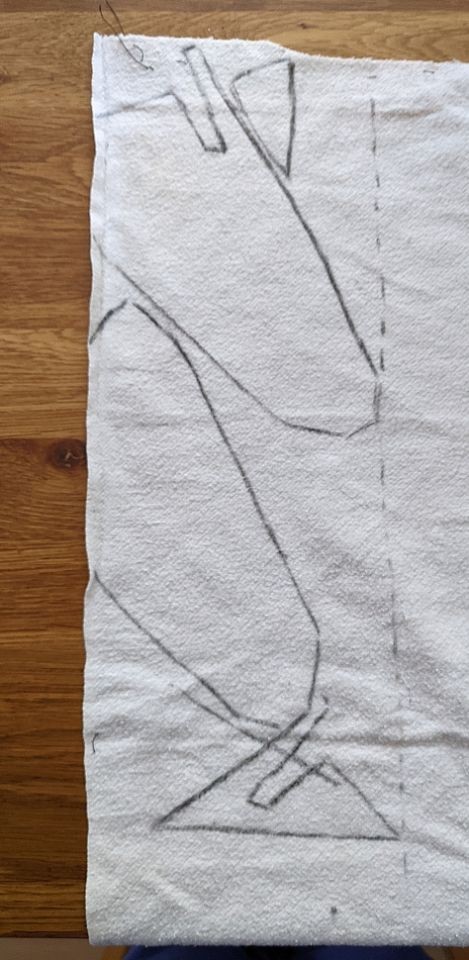
My test fabric was wider than the original was, and the reconstruction fabric will be, but I did lay the pieces out like on a more narrow fabric. Same with the mini version, which gives a nicer image of how, approximately, the pieces are cut: 

Not drawn in here are the soles for the foot parts, the codpiece parts, the small triangles for the feet, and the waistband plus the extra bits for the front slit. Also not drawn are the toe pieces for the top of the feet, should they be necessary - I'm still not a hundred percent sure about that, but will be once that part is also done.

The codpiece is also still up to some potential tweaking. It stays interesting. 

I will be back on the blog next week!

0
MAY
11
0

Progress Report.

The test hose is almost done - one foot piece is under construction, the second one still has to be done, otherwise about everything is finished. It does fit very well - only the legs have the tendency to twist around the wearer's legs when worn. This should be much better (read: gone, hopefully) once the feet are on.

The upside of the twist: There's some extra room, due to folds in the fabric, at the knee region. It might also be an effect of the fabric (which is, in fact, rather thick and stiff). Or it might be an error in my reconstruction. Or it might be an error in the pattern drawing in the publication. 

Once the feet are both on, and fit properly, we will see how it works, and looks. 

The fabric, meanwhile, is being finished and made ready at some place up in beautiful Sweden, and soon it will be all finished and washed and dried and on its way down south to me... which is when the real fun will begin.

The sprang piece is also progressing, though I don't know if I want to call it "nicely" - it does look very much like I will not be able to do the full amount of rows, as I am quickly running out of free thread space now. I have already progressed to using a knitting needle for the picking hand, while the holding hand can still squeeze in. Because I have been running a little longer per row than the original, though, it should be fine and large enough for a cap.

Pictures will come once it's really done. I'm also hoping that washing and blocking it might even out some of the irregularities that occur mainly in the bottom part. Here, too, we will see.

0
MAY
07
0

Fun Details.

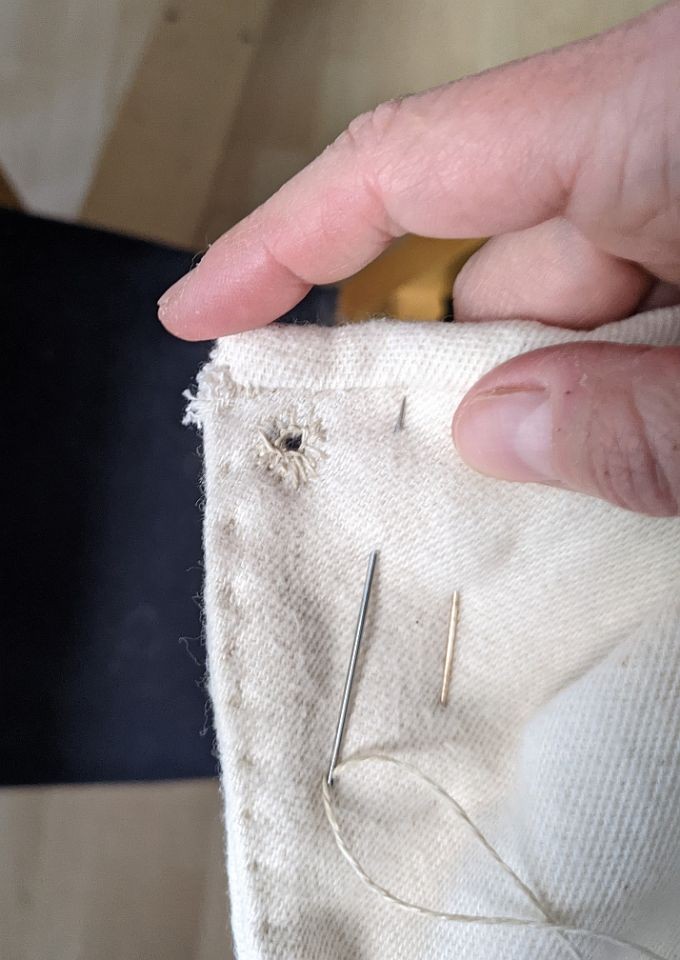
One of the things that I love so much about doing reconstructions is how many of the little details become clear when you are working on it. I have made the first of the holes for the laces to tie the hose closed... and while doing it realised that this thing, which holds the brunt of the force on the whole garment, sits in a very good place.

When you look at the images of the original, there's the waistband that is narrow on the front and wider on the back. The hole is just underneath the band in the front - so logically, it also pierces the band in the back (thus also transferring the force to the band cut on the grain; all other pieces on the upper end are on the bias). In addition, the front slits are neatened and strengthened by using a piece of fabric sewn onto the back. The logical way of doing this (and the typical one) is to place them right side on right side, then run a seam through both pieces close to the edge, then fold the extra bit to the inside and hem down the other edge (folded under) to keep it in place. Because that never gives a neat edge, I've added a line of small stitches fixing the foldline.

This means the hole is pierced through one layer of the waistband, one layer of the strengthening fabric inside (that I've also cut on the grain) and the main fabric of the hose. Three layers of thick, sturdy fabric, two of which are on the grain.

It took a bit of force and some re-opening of the hole while doing the first round of stitches (and I have made nicer holes, too) but it is there, it's open, wide enough to easily take a lace, and I am very, very much looking forward on how it will work once the whole thing is done. 

0

By accepting you will be accessing a service provided by a third-party external to https://pallia.net/

Contact