Latest Comments

Guest - Katrin Sprang Discussion
18 September 2026
Hi Rachel, I have looked for more photos of you, but that was not very successful. I found a link on...
Guest - Beatrix Sprang Discussion
15 September 2026
That lozenge pattern element is not a photograph, but a scan. So it should be to scale. But I pinned...
Guest - Katrin Sprang Discussion
15 September 2026
I was not referring to Rachel's reconstruction (is the reconstruction you refer to the one photograp...
Guest - Beatrix Sprang Discussion
14 September 2026
There is something Rachel did not mention. She told me: "Well, I worked with the measurements we too...
Guest - Katrin Sprang Discussion
14 September 2026
Well, this is certainly developing into an interesting discussion. Firstly, going from that lovely l...
JUN
29
0

A Closer Look at Fibres.

I'm back with my Bronze Age Fibre problem. Well, it's not just my problem... it's a pretty common one if you look at reproducing fabrics from that time. Let's take a look...

Modern Merino wool, which is seen as rather fine stuff, has - if of the fine kind - fibre thicknesses of around 20 micron. Sometimes you get extrafine, which is at about 17 micron.

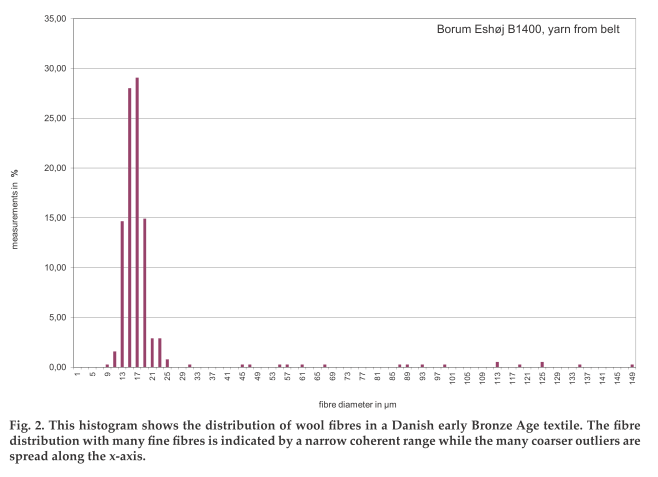
Bronze age fibres were, mostly, around 17 micron. There's fluctuations, of course, but that's the main component of the textiles - really, really fine fibres. Then there's some few extra coarse ones thrown in, with 45-150 micron thickness. A diagram of fibre thicknesses counted was published in Skals, I., & Mannering, U. (2014). Investigating Wool Fibres from Danish Prehistoric Textiles. Archaeological Textiles Review56, 24-34, and thanks to the generousness of ATR, you can download the whole issue with the article included here. To save you the search, the histogram is on p 26, and it looks like this:


Getting this mix of fibres is difficult these days. I have gotten some superduperfine special wool now, with (according to my supplier) around 15 micron of fibre thickness. You can see it to the very left in this picture; next to it is a sample of my beloved Eider wool, and on the right Valais Blacknose wool.
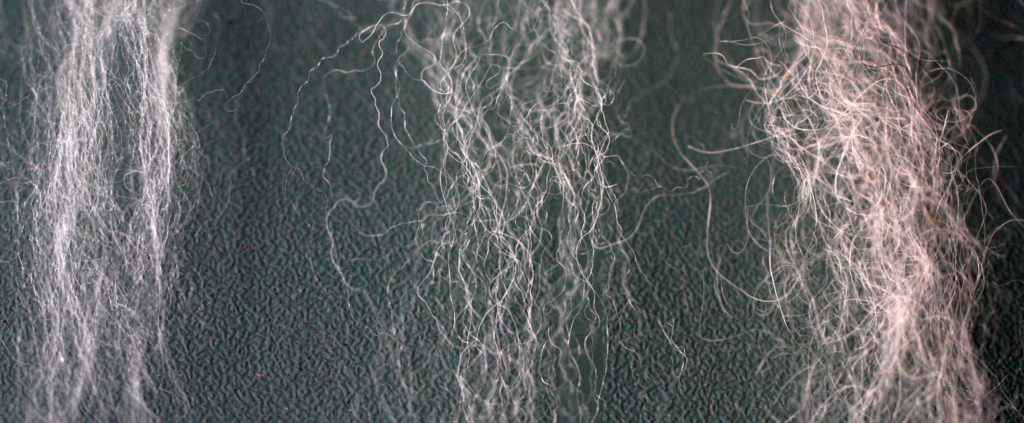


Even though it's just a macro photograph, I think the difference is quite clear. The difference when you touch it is very clear as well - the superduperfine wool feels like silk, and it's supershiny (which is partly due to some post-shearing treatment), while the Eider and Valais are just normal shiny.

I've also compared it to the Manx Louaghtan, which is an old breed, and to another wool sample that I got for these comparison reasons:
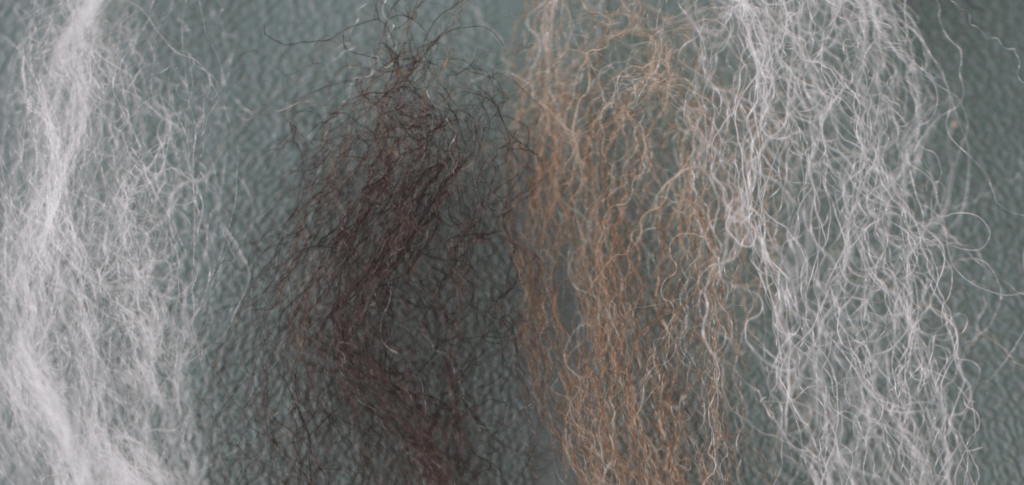


Again the superfine is on the left, followed by my South American test candidate, then the Manx (which appears more saturated brown than in real life) and, for comparison, the Eider wool again. Both candidates are definitely finer than the Eider wool (which should have around 30-33 micron), but considerably coarser than the superduper benchmark.

And here you are. The Bronze Age Fibre Problem, in pictures. The superduperfine wool lacks the coarse fibres strewn in, and has been seriously processed to make it silky, smooth, and shiny. It also is very, very white, and BA fibres are mostly quite heavily pigmented. The two coloured wools have a mix of coarse and fine, but way too many coarse fibres strewn in to match the BA originals. They are, however, nicely pigmented.

So, like with many reconstruction projects, there's the choice between compromises. Use the very fine fibre although it has been heavily processed, dye it, and accept the fact that it lacks the coarse hairs? Try to blend some extra coarse fibres in (it would still need to be dyed)? Or use a wool that is naturally pigmented and not supertreated, but has too coarse fibres, or too many coarse fibres for the amount of fine ones?

Or... would someone please invent a time machine and fetch a handful of Bronze Age sheep? Pretty please?
0
MAY
31
0

Test Run: Successful.

Today was a little test run for the camera setup for the online courses - and I'm delighted to say that it was successful. It includes my putting on a slightly daft-looking hat with a camera installed on it to give the workshop participants the maker's perspective... definitely something that you can only do with an online course.

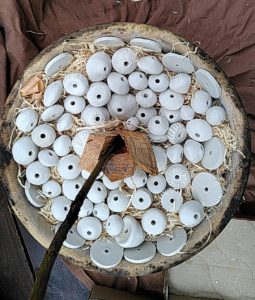
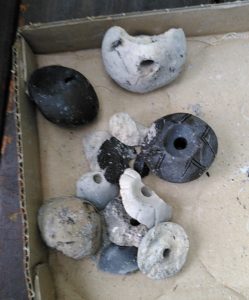
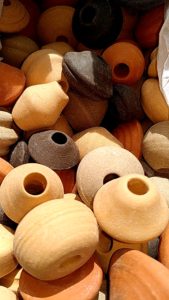
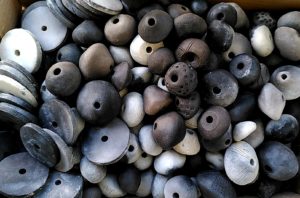
And because delightful things might well be accompanied by other delightful things, here's a picture of the cleaned, dried, not-yet-sorted fresh spindle whorls for you:


0
MAY
28
0

Fire in the Bowl.

My hair still smells a bit like wood fire... a nice smell, if you ask me. It reminds me of many, many different activities, and lovely times with friends and colleagues, in many different settings.

Yesterday's fire was a true work-fire, though - and since I had a lot of other things to do as well, I didn't get to sit down, relax, and enjoy watching the flames this time around. I didn't even make coffee on top of the spindle whorls, that would have been fun, and it's definitely on my list for the next time!

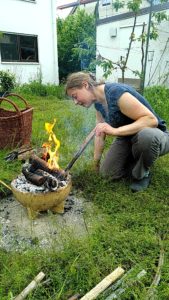
Firing whorls, the way I do it, is a kind of simulated pit firing. Instead of digging a hole in the garden and filling it with wood and the things to fire, I use a clay fire bowl (which is also the bowl that travels to Living History events with me). The bowl keeps the warmth of the fire nicely as opposed to the metal fire bowls, thus making cooking much more efficient in terms of fuel use. And for firing whorls, it is quite good at simulating the dugout pit.

In pit firing, generally, there's a high percentage of reduction firing (most of the whorls will turn out at least partly black). Temperature control is possible only in a limited way, by choosing how you build up your fire/pit, and what kinds of wood you use, and how long you let the fire burn. In my case, the firing temperature is not very high to quite low, and there is also always some loss of whorls if they get heated too quickly, or too unevenly.

But you want pictures, right? Here you go.

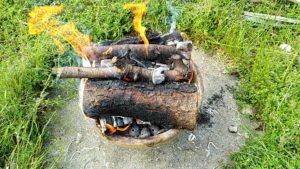
It all starts with filling the bowl with wood, wood shavings and, of course, whorls. It's a bit like whorl lasagna.


I start the fire on top of the whole thing then, trying to heat it up as slowly as possible. When that does not work out as well as intended, I get to hear cracking sounds... which means exploding whorls.


That is not a good sound - but there is some loss, that's just how it is.

Firing then goes on, with me putting more bits of wood on, and trying to have it burn nice and hot all the time:


That takes a few hours. It would definitely be enough time to make coffee on top of the whorls!


Once the firing is done, the bowl has to cool off a bit before I can take out the whorls. Usually I have a hard time waiting long enough, but I don't want to risk more damaged whorls because of taking them out too quickly. Then, once they're completely cold, the ashes and soot have to be wiped off or washed off, and once the whorls are completely dried again, I can weigh and sort them.

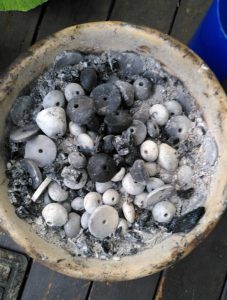
Here's the dead ones from yesterday's pit:


About ten whorls that did not make it, approximately. Not too bad - though I've done better in the past!
0
MAY
05
6

New Things Afoot.

In German, there's the saying "Alles neu macht der Mai" - May makes everything new. Coincidentally, there's a few new things afoot here...

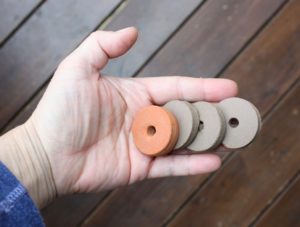
Thing One: Recycling Spindle Whorls! Medieval spindle whorls came in oh so many shapes, forms, sizes and materials... and one of the types was disc-shaped whorls made from broken pottery. This has been on my list for a while now, but finally I've gotten around to getting the tools and the broken pottery to try making them.


These are cut using modern tools, and the material is modern broken pottery. In the best-case scenario, I'll be able to get some potsherds from replica pots in the future... but for now, I think these will do nicely. They weigh somewhere between 11 and 19 g, depending on which pot they came from, and which part of the pot... and I confess that I'm utterly delighted by those.

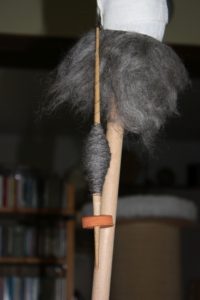
They have been tested first thing, of course:


I find them a bit too light for starting off an empty spindle, but then I am fond of using heavy whorls for that. They do run beautifully on a half-filled spindle, though!

I'll be making a few more the next days, and then they will find their way into the shop as well.

Thing Two: I've finally decided to take the plunge and try online teaching. I've done in-person courses only up to now, and I do think it's so, so helpful to be able to touch and feel things and not just see them, but with the pandemic going on and on, I'm starting to think that half the deal is better than nothing. So now I'm planning an online spinning course... I am still trying to figure out a few details, but it will be about 2 hours, showing how to spin with hand-spindle and distaff. My biggest question at the moment is how to make sure that every participant has suitable tools and materials - in my in-person courses, I just bring a bunch of distaffs and a pile of spindle whorls so everyone can pick one to use during the course, and then either buy afterwards or toss them back to me. That is not so easy when teaching over distance, of course. Unfortunately, many modern spindles will have rotational properties that don't work well with the distaff spinning style. So... do I send out kits as part of the course? Or do I just offer them as an option, with the possible danger of someone participating with entirely unsuitable tools?

If you're interested in a spinning course, feel free to drop me an email, or comment here - and once I've figured out the rest of the open questions, you will also be able to find info in the shop in the workshops/courses section.
0
MAY
03
0

Instagram Live... Conserved.

Botanica Yarnfest this weekend was a lot of fun, and I found out, once again, that I get quite, quite nervous before doing an online livestream demo thingie. It's worse than doing  a real-life demo somehow, even though there are no people present. Probably because there are no people present... there's just no feedback whatsoever, nobody sitting down and waiting for you to start, no room vibes to be read and acted upon. I find I actually prefer having a bunch of people look at me and being able to look back instead of having just that tiny little screen showing myself, so I can make sure I'm not running out of the picture.

Anyway, I did my demo, there were a few questions, I had some fun, and I did get some very nice feedback afterwards. I also managed to download the whole thing to my phone (which did the filming). It was not possible to re-post it to my own Instagram account, though; apparently that is only supported for videos up to 15 minutes, and mine is a bit over 30.

But there's youtube... so here you go, in case you'd like to see it: My demo of medieval spinning, with all the funny "big nose" camera effects that you get when you go close to the camera, and the weird portrait screen ratio helpfully provided by my phone.

0
APR
12
2

What is "Full"?

Yesterday, I got asked on Instagram how much wool I can get on a spindle... which is a very good question.

It's been a rather long time since I last tried and measured this. Most of my spinning is done for a specific purpose, and most of the time that is demonstrating or testing something - which means I usually spin smaller amounts of yarn, frequently of very thin yarn. So it's rather rare for me to try and pack as spindle with yarn until it's really, really full.

What is "full", anyways? Different people have different opinions about that. For me, it means that the spindle will not run easily and efficiently anymore when I flick it. The point where this occurs will, of course, depend on a number of factors: The type of spindle, the technique you are using to spin, the kind of yarn you are making, the density of the fibre, the density of the yarn, how you wind it onto the spindle, the placement and size and weight of the whorls you are using. I also find that with the growing cop, it can be necessary to adjust how I wind the yarn. At the beginning, it's helpful to spiral the leading thread up the spindle shaft before making the half-hitch. With a large cop, this can sometimes stop working so well; then I wind around the bottom of the cop, go straight up to the tip of the spindle, and place the half-hitch.

As my spindle fills up, I also replace the whorl I used at the start with a smaller, lighter one, so that the spindle turns quickly and nicely again. At one point, no whorl is the best whorl. At some point, the spindle, now whorl-less, is so full that it will be harder and harder to flick it into a speedy rotation, and that is when I declare it full.

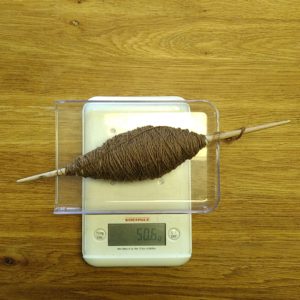
In yesterday's test case, that happened at a total weight of a little more than 50 grams. The spindle stick comes in at about 8-12 g, depending on the stick, so that means I fit about 40 g worth of thread onto the spindle.


Which, if you ask me, is a pretty decent amount.
0
MAR
25
0

New Whorls!

I spent part of the day today standing in the wonderfully sun-warmed wintergarden, sorting these wonderful new arrivals:


Fresh wheel-thrown spindle whorls, with a new colour - there are some grey ones among the mix now, too! I'm all delighted with them.

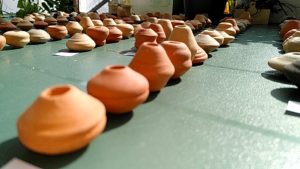
They were lined up in neat rows according to their weight range:


Now they are in my shelf, sorted away, waiting to be sent to new homes... and, of course, waiting to be properly photographed so they can be listed in the shop! That will happen tomorrow, though, when the light is nice and bright but not too bright yet.
0

By accepting you will be accessing a service provided by a third-party external to https://pallia.net/

Contact