Latest Comments

Guest - Katrin Sprang Discussion
18 September 2026
Hi Rachel, I have looked for more photos of you, but that was not very successful. I found a link on...
Guest - Beatrix Sprang Discussion
15 September 2026
That lozenge pattern element is not a photograph, but a scan. So it should be to scale. But I pinned...
Guest - Katrin Sprang Discussion
15 September 2026
I was not referring to Rachel's reconstruction (is the reconstruction you refer to the one photograp...
Guest - Beatrix Sprang Discussion
14 September 2026
There is something Rachel did not mention. She told me: "Well, I worked with the measurements we too...
Guest - Katrin Sprang Discussion
14 September 2026
Well, this is certainly developing into an interesting discussion. Firstly, going from that lovely l...
MAR
05
5

Old things, new things.

Sometimes, things change unexpectedly, and while that can be a nuisance, it's somehow also an opportunity. Or at least t can be seen as such.

And something like that happened semi-recently, when my woodcrafter, who has been quick and friendly and reliable for years now, suddenly decided not to answer my mails anymore. Which is weird, and annoying, and I'm debating with myself whether to give them one last try now or not, but let's say that I am not amused at all about this situation.

Something similar happened to me twice ago. In one case, the crafter had changed his line of work, which I found out through a common contact later. In the second case, I never found out why - a supplier suddenly broke contact and there was no reaction anymore. Weirdly, I got a number of letters a good while afterwards asking me to update my customer information.

In the previous case, I was rather annoyed as well - but in the end, I found a new supplier, and the result was good - the linen yarn I carry now is even closer to the yarns used historically than what I had before, and it is at a better value as well.

So. Now I'm sitting here, using the opportunity to go through the wooden things that I offer and review whether I want to change anything, add anything, or take something out of the stock while I am at the search for someone new to make things according to archaeological originals.

As always, your input is welcome. Any wooden textile tools you're aching to have available?
0
DEC
12
2

Faking it, Part Two.

So let's say you need to have a starting border on a fabric that doesn't have one.

Traditionally, you have the two obvious usual suspects for doing this: rigid heddle weaving or tablet weaving. In both cases for the Bernuthsfeld Project where we were lacking a starting border, the originals had a rigid heddle border.

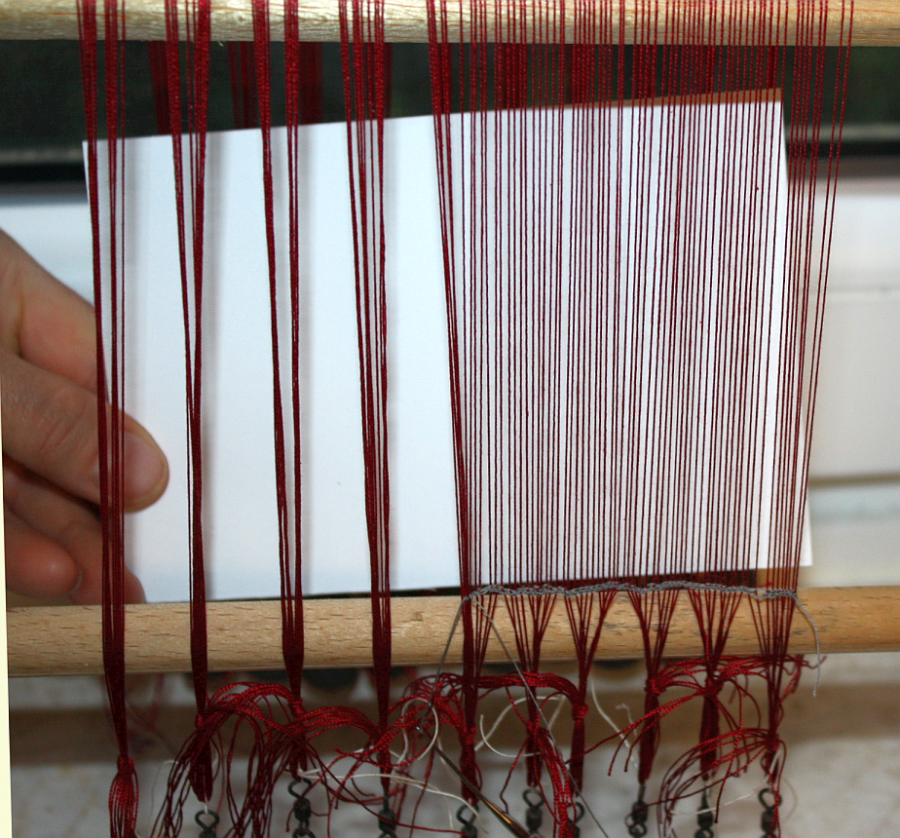
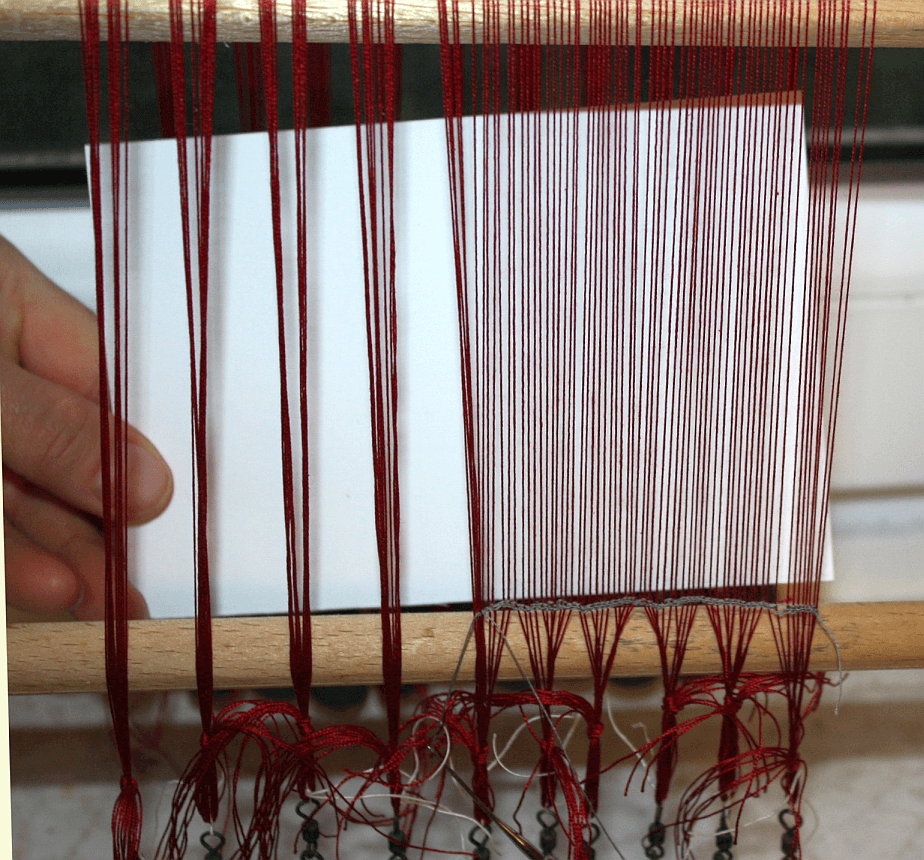
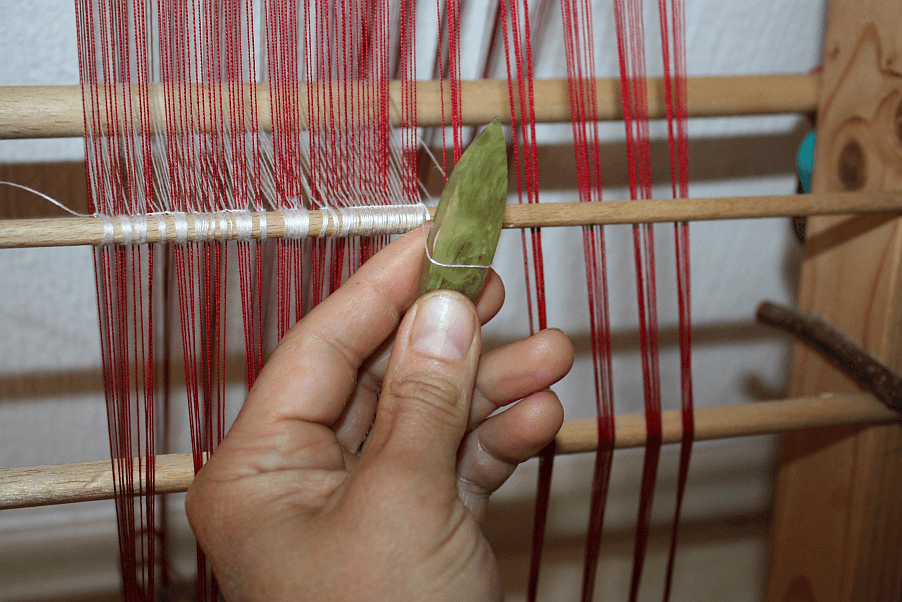
So for faking a border, you set up the warp of your band just like you would for a normal band - the necessary length plus a bit more for the loss of yarn at start and end. Then you take the edge of your finished fabric and make sure that there is a warp fringe long enough to go through the width of your band twice, plus a little extra to grab. How much of a little extra you need depends on your fingers and your love of fiddlyness.

You weave a few picks to get a proper start to the band, with a normal weft thread, and then you start using the warp fringe as weft. For this, you pull one warp through the shed so it sticks out of the band at the far side of the fabric, change shed, and go back towards the fabric with the same warp. Into that same shed, you also put the next warp thread in line so that it sticks out at the far side of the fabric. Repeat ad nauseam, or until you reach the other edge of your fabric, and take care not to switch warp threads or miss some. It's not difficult to do, but it is fiddly, and it is time-consuming - as you can see on this video:


You will also have to pay close attention to the growth rate of your band (in length) as compared to the spacing of your warp threads - and here is where the difference between the fake and the real really comes in.

When you make a real starting border, you have two ends going through each shed, as you do with the fake starting border. However, both ends in each shed in the real border are functional warp ends of the main fabric - in contrast to one functional warp end in the faked border, which is accompanied by its colleague going back. So you effectively have to fit double the amount of weft threads into the length of the band if you're doing a fake border.

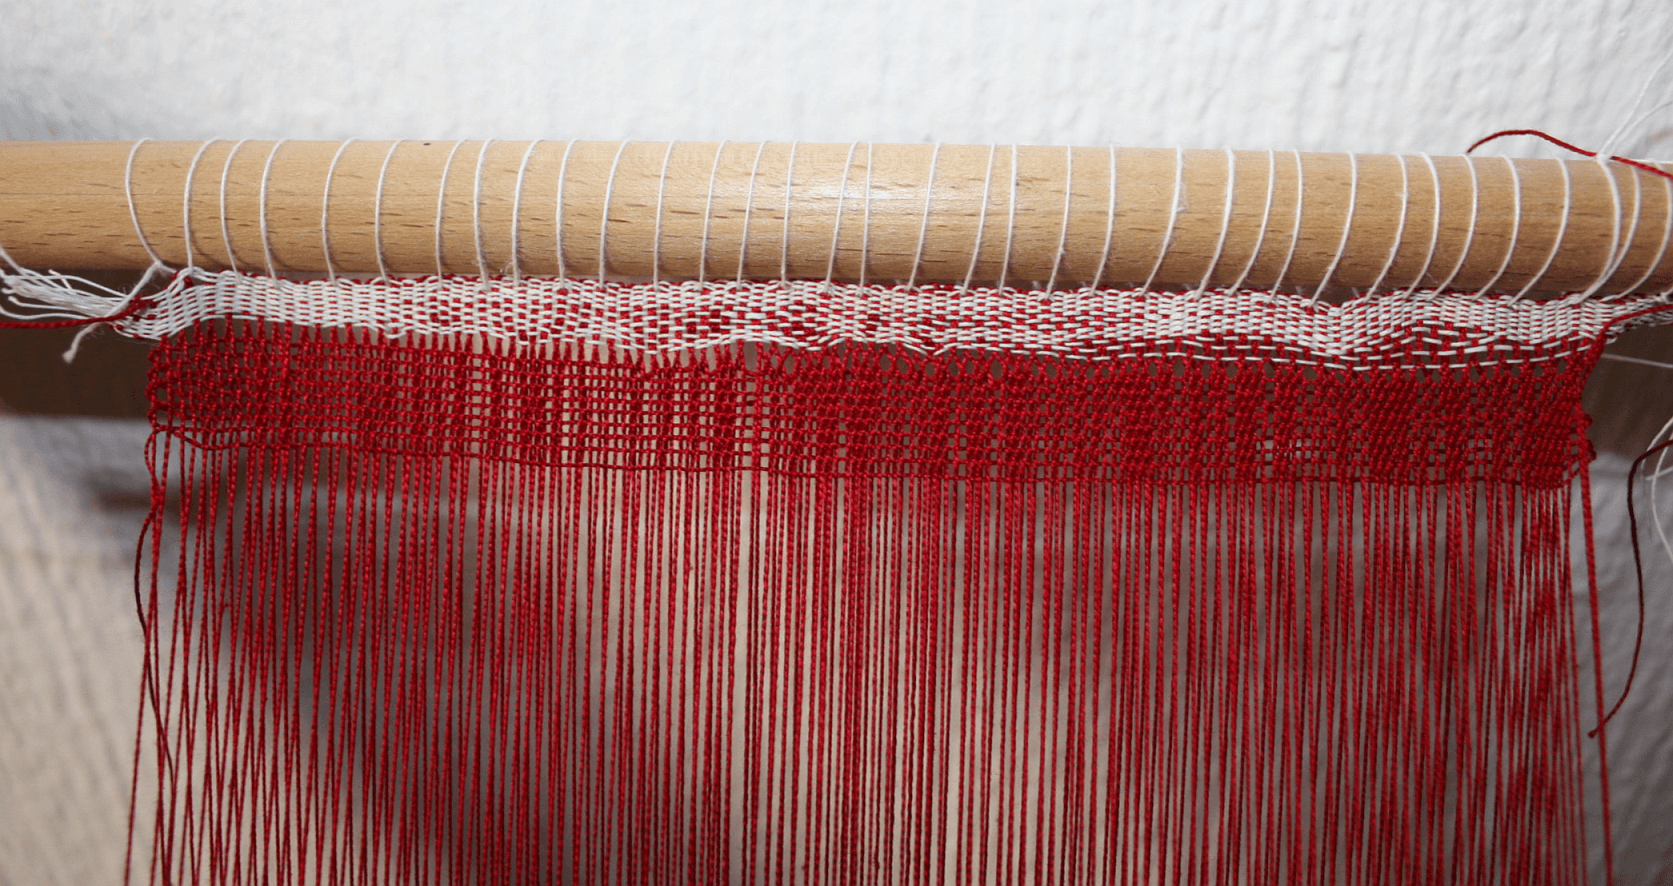
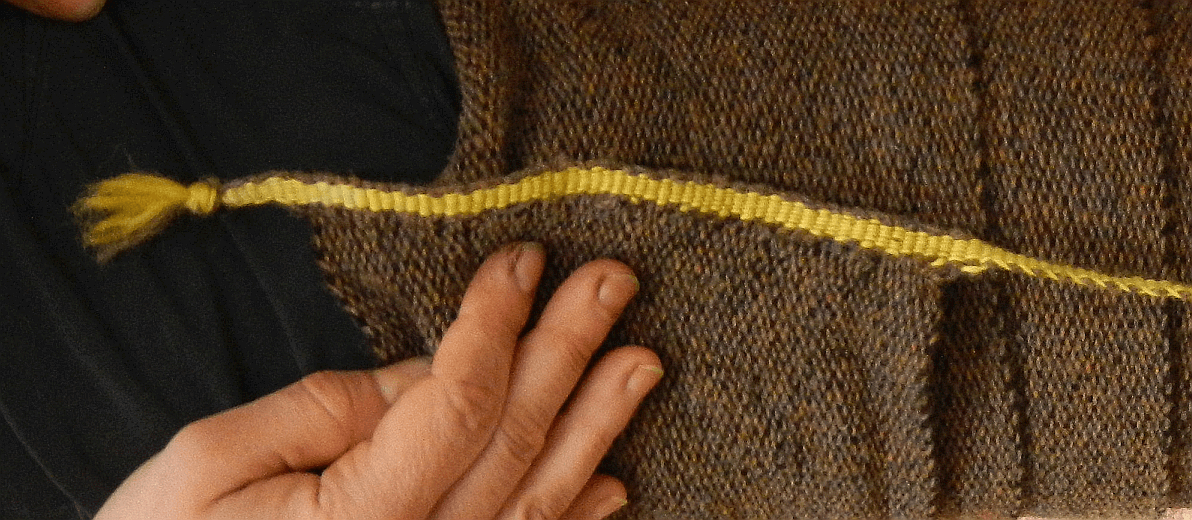
Can you smell the problem already? If you use a band warp yarn that is as thick as the original starting border warp yarn, the distance between your sheds will be large enough to spread the band out way too much in the faked border. You will have to remedy this by occasionally placing two or more live warp ends into a single shed. This is the way I did the starting border for one of the leg wrap edges:

startingborder_legwraps2

This is not nice to weave, and the slightly too high spread is still visible. You can also see a tiny hint of the trimmed fringe that is left underneath the border - a telltale sign that it is a faked one.

The alternative is choosing a warp for the starting border that is a lot thinner than it would be in the original. This reduces the distance between sheds along the band, so you can fit all your warp threads one by one into the band. This is the solution I chose for the border faking shown in the video, as the border was much longer. Obviously, using thinner threads also means a narrower border, so you'll have to use more warp ends for the starting border to get it a similar width as the original.

In both cases, you might be able to see a hint of the fringe sticking out of the band. So if you're looking at a replica fabric, or a reconstruction, and it has a starting border - fibre ends sticking out between border and fabric will tell you it's a faked one. If you cannot see fibre ends, look at the thickness of the starting border threads; if they are significantly thinner than the yarn of the main fabric, it's probably also a faked one. It's definitely also fake if the yarns are similar in thickness to the main fabric warp, but there are more than two ends in individual sheds. All that is assuming you can get close enough to the piece, of course!
0
JUN
26
0

More from the Mini-Loom, Part 6: Wrap-Up.

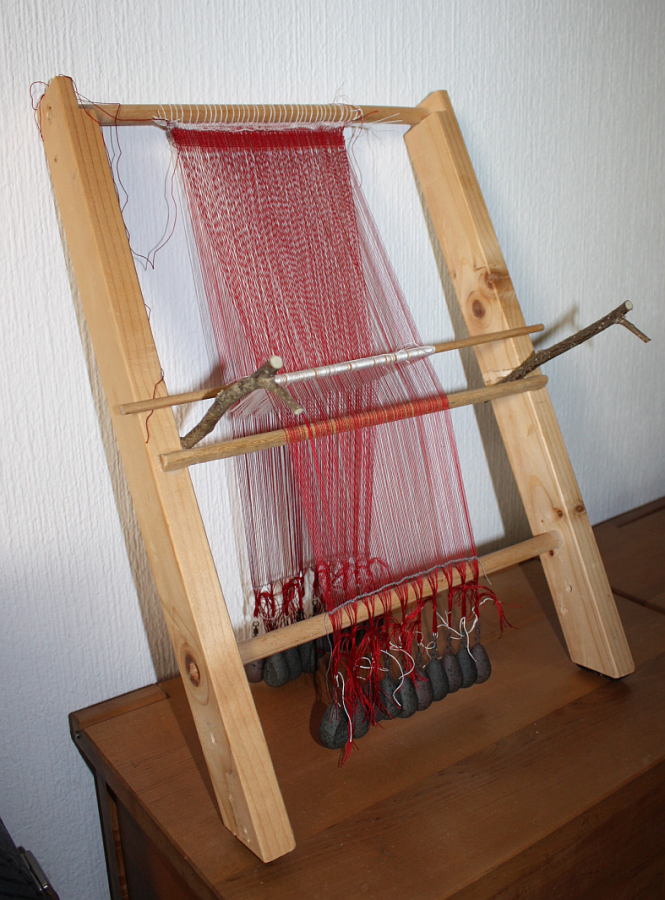
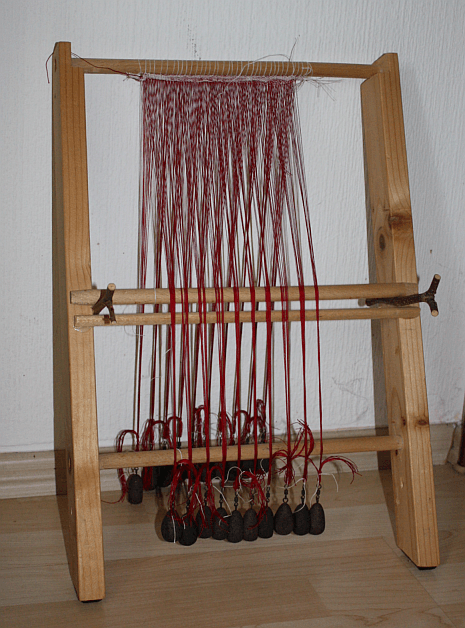
So now the loom model is done, and I'm quite happy with it, and here's picture proof of how it looks with the natural shed open:

loom_1
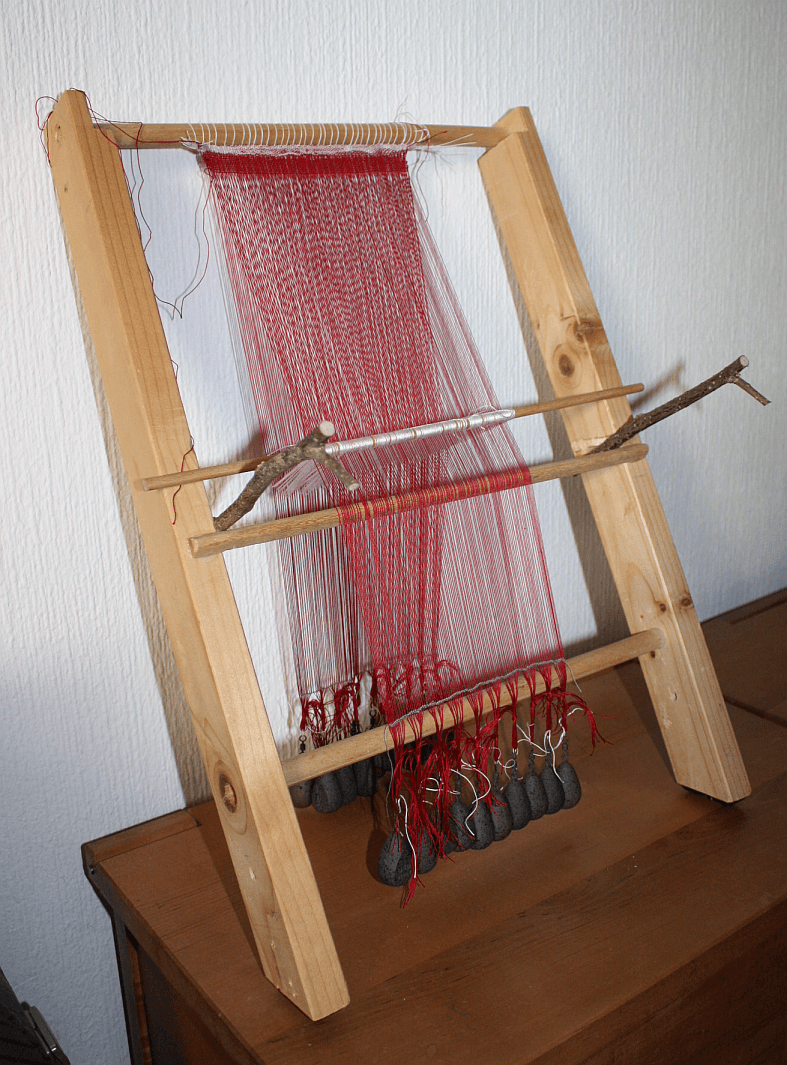
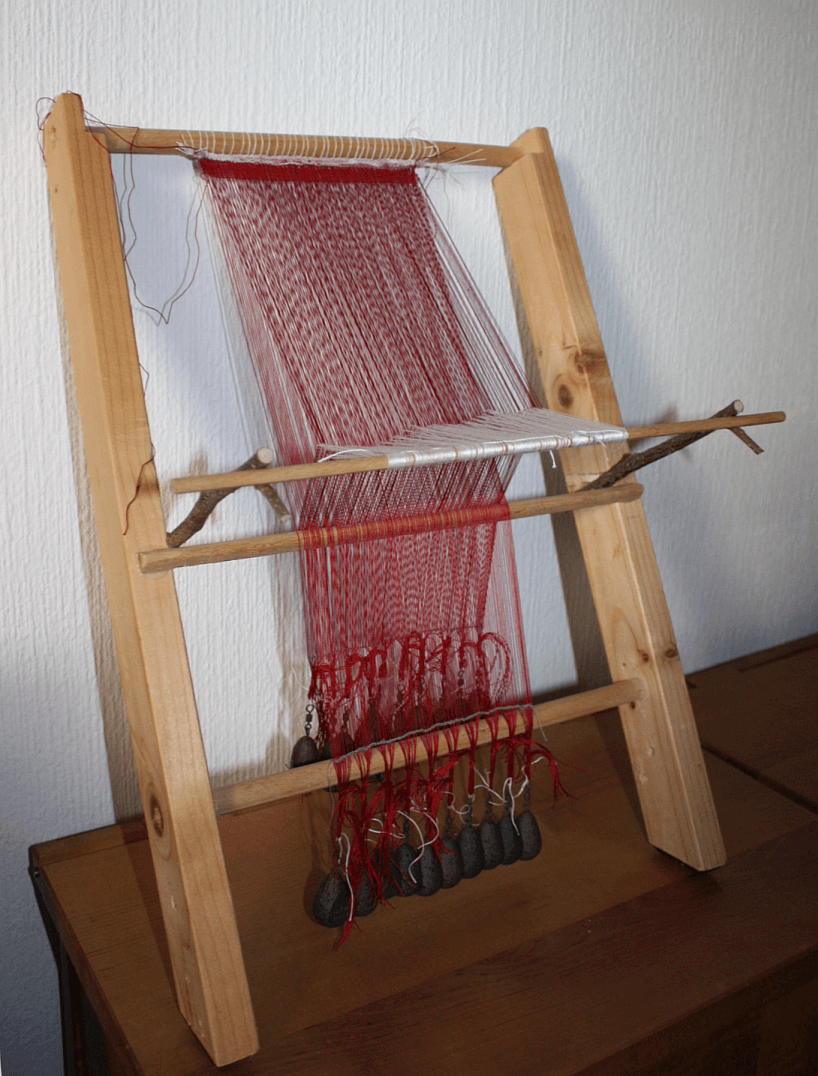
and the artificial shed open:

loom_2
And did I mention that it is ridiculously easy to make mistakes when setting up a loom? Here's picture proof of that, too:

weave
It's not too obvious, but I made a heddling mistake, and there is a double thread in one of the sheds, mucking up the order. You can see that the starting border looks a bit less horrible now that I have tensioned the warp and shoved the side in, though it still has issues on the right-hand side. You can also see that there is a nice crossover of the warp yarns on the left of the fabric, just as it should be, and then there is a different, more obvious crossover of the warp yarns on the right-hand side, after I made that heddling mistake. It was clear to me that there has to be a mistake when I finished heddling, because there were two back layer threads where only one should have been at the end, but I didn't take the time to find the mistake or re-heddle.

And actually, while it is not entirely flattering for me, and is a little awkward to say "hey look, I messed up here, that is how a weaving fault looks", I have decided to leave the loom as it is - because yes, it does give an opportunity to tell people "look, setting up a loom is not as easy as you might think, and making mistakes is easier than you'd suspect, and you can see how one single little mishap leaves its mark right through the whole fabric, and things like this can also help conservators and archaeologists identify an individual fabric or find out how things were cut from one fabric"... so it's a teaching opportunity, and well worth feeling a little awkward for.

Plus it's not bad to be reminded from time to time to be humble in regard to these old techniques, and that the skills and mastery of our ancestors with these seemingly simple tools were really, really incredible.
0
JUN
23
0

More from the Mini-Loom, Part 5: Spacer Chain.

The next thing that I sort of dreaded: the spacer chain.

For many, many years, I had answered all questions about whether or not I knit with "No, I don't, that is too modern for me!" and the same is true for crocheting, which is even more modern. So I'm very, very far from being a heroine of the hook - and it's just that who would have been needed for that next step.

As you have seen on the picture with just the weights on and without the heddles, the threads on the loom tend to lump together. It gets better with the heddles in, but they still run together as they near the weights - something that is made much less obvious by adding a spacer cord to the bottom.

The spacer cord is basically just a chain of chain stitches made around the individual threads of each layer, in order. (Obviously in order.) Making the spacer cord was the job I had most trouble with (see above: Heroine of the Hook, not), and it took me three starts to get it right enough to pass muster.

The first tries were made even harder by using the same thread I had used for the heddles (another cotton thread), which has a tendency to split when handled with a crochet hook. The final chain is made with Gütermann silk, and it does do a nice job at spacing.

You can see the difference this puny little chain makes on the picture:

setup_2
I had hoped, at the start, I might be able to omit the spacer chain - but this picture shows very, very clearly that it would not have been an option. At all.

So, after a lot of cursing and trying a larger and a smaller crochet hook, and finding that no, sometimes it's not the tool but the tool wielder who just needs to practice more at that, dangit, and finding again that it is ridiculously easy to make mistakes, I had finally finished chaining all two layers of their 109 ends each.

Whew.

And with that... the loom is set up completely, and ready to go forth and demonstrate how a warp-weighted loom does work.
0
JUN
22
2

More from the Mini-Loom, Part 4: Shed Issues.

It's been a while since we had scale issues, right? So it might be time for the next instance of these. And the shed should be a nice place for them...

I already mentioned that the shed might need to be deeper than proper scaling would mean, as I need to fit my fingers through it. While I do have rather small hands, I found that a shed depth of 6 cm would be nice to handle - a rather deep shed for the small loom.

So my heddle length is also 6 cm... which means that to change the shed, I have 6 cm of way for the two layers to match, and then I need to go as much further as my artificial shed has to be deep. Which, in my case, is 4.5 cm. This means rather long holders for the heddle rod, though - 10.5 cm in length in the model.

For this, the hazelnut bush in the garden had to lose two branches, because the holders that were attached before were too short - the artificial shed only opened about 2 cm or so, and that is definitely too narrow for my fingers.

You can see the difference between the holders on the first image and the second one - the new ones are considerably longer.

setup_1loom_2
So now the heddles are done and in proper length, the shed issues are solved, and the loom is ready for the next step: chaining the spacer cord into the bottom edge...
0
JUN
21
0

More from the Mini-Loom, Part 3: Heddling.

A loom with a front and back layer of threads is nice and fine, but a single shed not a weaving makes, or so. Which means... heddles.

Now in the very first, quickly-thrown-together setup, I had done a very, very bad job at making the heddles. There were only a scant dozen or so of them, if that many, but they all had a different length... which is a seriously bad idea for weaving. Especially since, see scaling issues, heddles with a slight length difference are annoying enough in full-size weaving, but the slight length difference will scale up with making the loom, and with it the shed, smaller.

Shed size, by the way, is another scale problem. If you could just have a miniature weaver or two use the miniature loom for demonstrations, you would have no problem with a shed that is to scale for the small loom. (Actually, it would solve almost all the problems. They could also do the loom setup, and spin the yarn. From miniature sheep wool, with finer fibres... ah, let's not go there.)

My hands and fingers, though, do not get smaller when I downsize a loom, and I have to pass yarn through the shed for the demo - so it needs to be large enough for this. The shed size of the natural shed is easy to adjust by changing the angle that the loom has against the wall (in my case, that angle is relatively fixed by the angle the side support ends have; they are equipped with rubber soles so the loom doesn't slip).

With the heddle stick in resting position, my heddle loops now have to be long enough to reach across the depth of the natural shed, and they should all be the same length as well, for good looks (important in a model) and good functionality (just as important).

Since I didn't trust myself to do this free-hand, I used aids. First of all, I figured out a good length for the heddles (in my case, a tiny bit less than the depth of the natural shed, because the little loom has a very generous one). I then found a suitable stick and a position for that stick on the back of the side supports that, when the heddle yarn is wound around the stick, would result in the proper length.

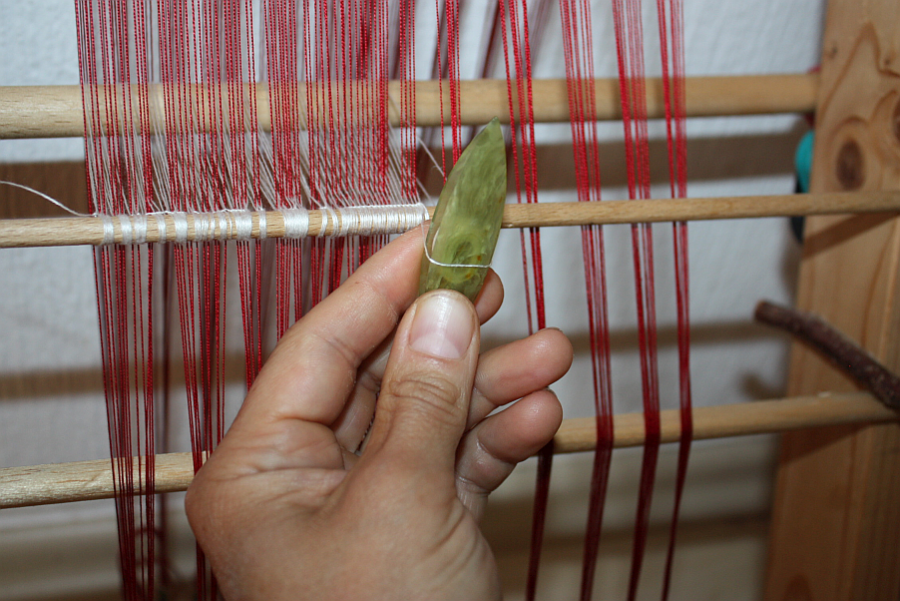
Heddling was then done bringing the heddle thread through the front layer, around the thread of the back layer, around the gauge stick at the back, back through the front layer (in the same slot between threads, obviously) and around the heddle stick. It took me a good while to figure out how to make the knot consistently, so the left part of the heddle rod looks not as nice as the right part, but ah. I thought about doing it once more, all nicely... and then decided against it.

heddling
By the way: it is ridiculously easy to make a heddling mistake. Ridiculously easy. My respect for all those weavers who are setting up looms without any mistake went up a few notches again when I was doing this.
0
JUN
20
0

More from the Mini-Loom, Part 2: Tensioning.

Next step for the loom setup was getting the weights... and there's another thing that does not scale down easily. I had looked for typical weight per thread numbers, but a quick search did not give me any conclusive data, there was no time for more than a really quick search, and so I basically fiddled around a bit with some items and the kitchen scales and then sort of decided on a weight per guesstimate.

Off into the fishing tackle shop, then. I had decided on 20 weights (10 per row) with about 65 g of weight, each tensioning a bundle of 11 threads - this means about 5 g of tension per thread, which, I hoped, would be easily sufficient for the smooth cotton warp.

The friendly man in the tackle shop informed me that there were 64 g weights available. They were not only available, but also in a sufficient quantity, and they were covered in a sort of camouflage paint (thus closing in the lead, much to my appreciation), and had a suitable form and shape - sort of pear-shaped, with two flattened sides. So I happily went out of the shop with my 20 weights. This part of the loom, by the way, is the most expensive part - the little bits of wood that it is made from were all scrap wood.

Back at the loom, it was bundling the threads of the front and back layer into bundles of 11 threads each (the last, obviously, of only 10 threads), tying them and attaching the weights. I chose to do the tying with a slipknot and then tied the weight in with a bit of linen thread.

setup_1
You can see how it all hangs nicely in bundles, with almost all the weights at the same height. The weights give it a nice tension, and the whole thing is surprisingly heavy when you lift it - the small size of the weights is misleading to the eye.

Next step: Heddles... which was something that I sort of dreaded.

A lot.
0

By accepting you will be accessing a service provided by a third-party external to https://pallia.net/

Contact